We live in a Golden Age of single-board computers. There was a time when a portable computer that was any good was a relatively rare and expensive device, certainly not something you could expect to replicate for yourself. A Psion, or later a Palm or perhaps a WinCE device would have been a lot more than an impulse purchase, and could not easily have been replicated using the components then available to the experimenter.
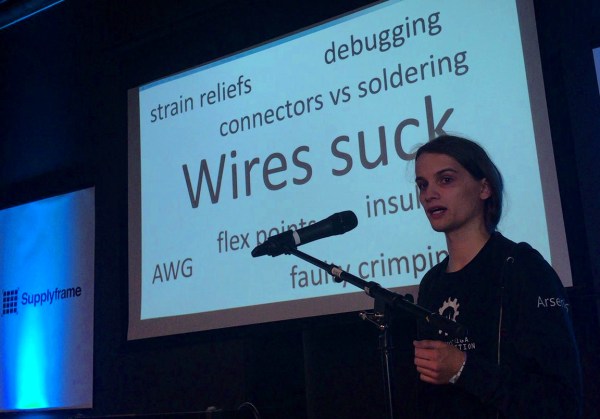
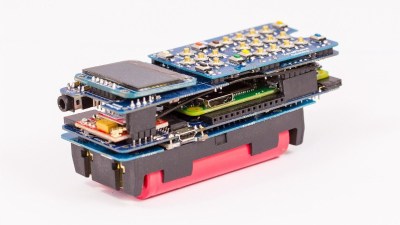
Thanks to spin-offs from technology developed for set-top boxes and mobile phones we can now buy any one of a pile of different boards that have almost equivalent power to a desktop computer. The experimenter can leverage that computing power to create their own small portables. Zerophone creator Arsenijs Picugins spoke about the tricky parts of designing a LInux portable at the recent Hackaday Superconference. You’ll find his talk below the break, which makes for a fascinating primer for those tempted to walk in his footsteps.
Minor Details of Portables are the Majority of the Build
In theory, it’s pretty easy to use one of these boards to make a portable computer. Take one of the smaller members of the Raspberry Pi or Beaglebone families, add a battery and a display, and away you go. But as always the devil is in the detail, and for a truly successful build there are a wealth of variables to attend to.
In his talk, Arsenijs takes us through the challenges of power supplies, connectors, and interfaces. In particular there is considerable challenge to running an SBC from a battery small enough to be portable, as efficiency concerns and the ability to easily recharge make for a critical set of choices. Then we learn of another pitfall, that of using USB as a default interface. Power loss in converting 5V to 3.3V that is inconsequential for a desktop computer is a battery-killer in a small device, so we’re pointed at the array of alternatives.
Screen Size is a Tricky Spec to Settle
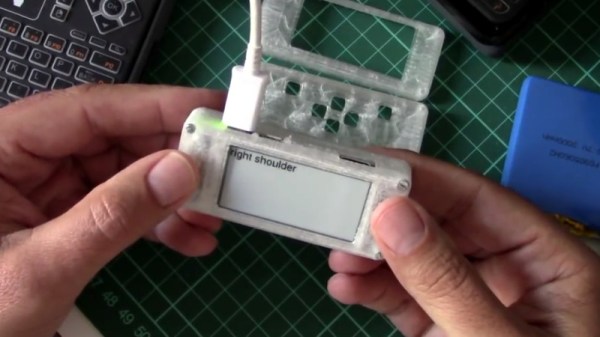
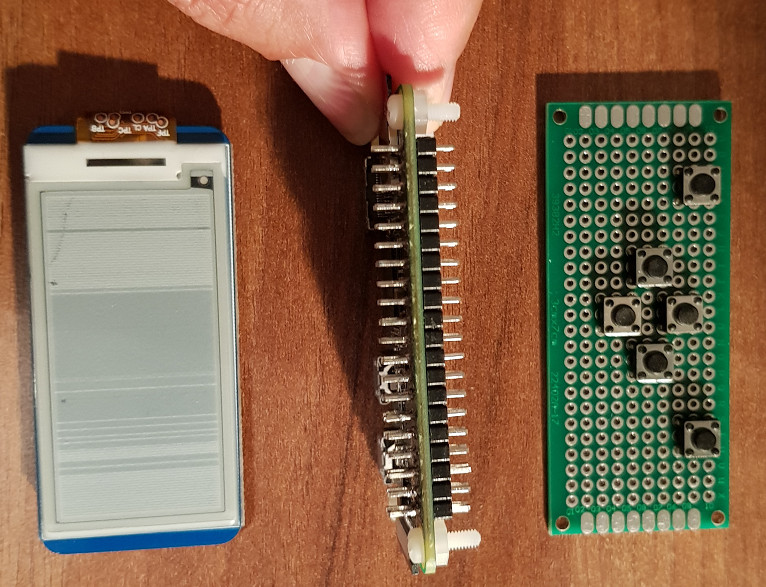
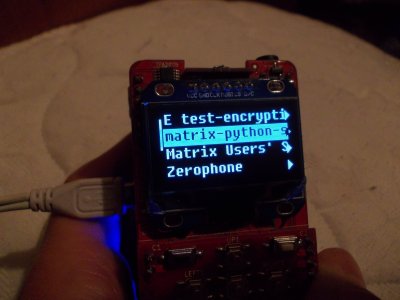
If you’ve been tempted by one of those cheap Raspberry Pi touch screens, you’ll certainly understand that while a full desktop on a screen the size of a playing card looks cool, the reality is almost unusable. Your device will require a user interface that fits its form factor, which from his experience, Arsenijs suggests is best achieved through the medium of buttons rather than a touchscreen on smaller screens. There are a variety of UI and display libraries he introduces us to which make the whole process significantly easier.
Arsenijs’ Zerophone Raspberry Pi smartphone was a finalist in the 2017 Hackaday Prize, and remains an exemplary portable project from which many others can gain inspiration. We are privileged that he was able to bring his experience to speak at the Superconference, and his talk makes for a fascinating watch.
Continue reading “Building Portable Linux Devices: Never Been Easier, But Still Hard”