Any maker worth their bits will look for new ways to challenge themselves. [Robert Fotino], a computer science student at the University of California, is doing just that: designing and building his own lightweight hobbyist game console that he has appropriately named Consolite.
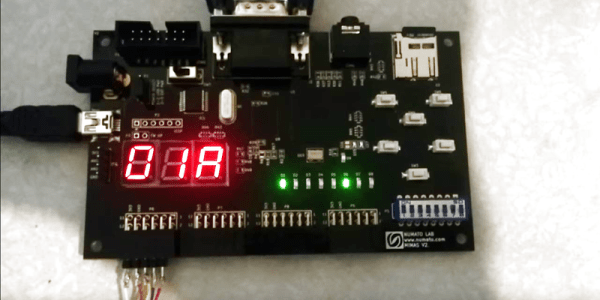
[Fotino] wrote his own compiler in C++ that converts from C-like languages to a custom-designed assembler that he has dubbed Consolite Assembly. To test his code, he also wrote an emulator before loading it onto the Mimas V2 FPGA board. Presently, Consolite uses 64KiB of main memory and 48 KiB of video memory; a future version will have 32 bit support to make better use of the Mimas’ 64 MiB of on board ram, but the current 16-bit version is a functional proof of concept.
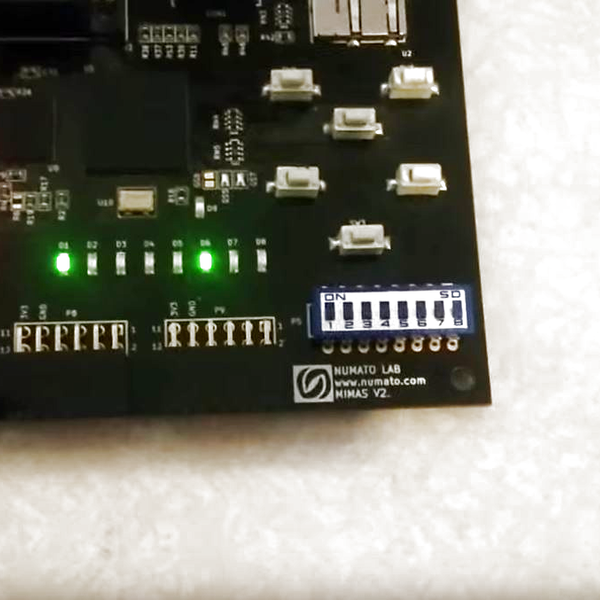 An SD card functions as persistent storage for up to 256 programs, which can be accessed using the hardware switches on the Mimas, with plans to add user access in the form of saving game progress, storage outside of main memory, etc. — also in a future update that will include audio support.
As it stands, [Fotino] has written his own versions of Breakout, Tetris, and Tron to show off his project.
Not wanting for diligence, [Fotino] has provided thorough documentation of nearly every step along the way in his blog posts and on GitHub if you are looking for guidelines for any similar projects you might have on the back burner — like an even tinier game console.
[via r/FPGA]
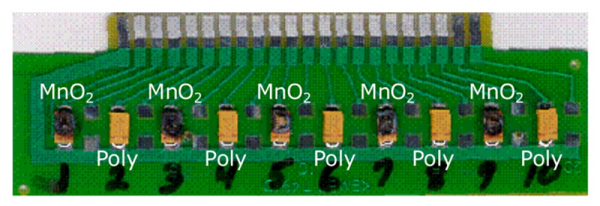
![Different capacitor applications. By Elcap (Own work) [CC0], via Wikimedia Commons](https://hackaday.com/wp-content/uploads/2016/06/capacitors-overlapping-applications.png)