Infrared Brute Force Attack Unlocks TiVo

While the era of the TiVo (and frankly, the idea of recording TV broadcasts) has largely come to a close, there are still dedicated users out there who aren’t quite ready to give up on the world’s best known digital video recorder. One such TiVo fanatic is [Gavan McGregor], who recently tried to put a TiVo Series 3 recorder into service, only to find the device was stuck in the family-friendly “KidZone” mode.

Without the code to get it out of this mode, and with TiVo dropping support for this particular recorder years ago, he had to hack his way back into this beloved recorder on his own. The process was made easier by the simplistic nature of the passcode system, which only uses four digits and apparently doesn’t impose any kind of penalty for incorrect entries. With only 10,000 possible combinations for the code and nothing to stop him from trying each one of them in sequence, [Gavan] just needed a way to bang them out.

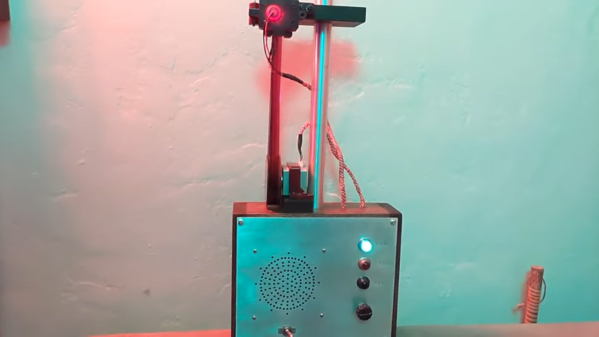
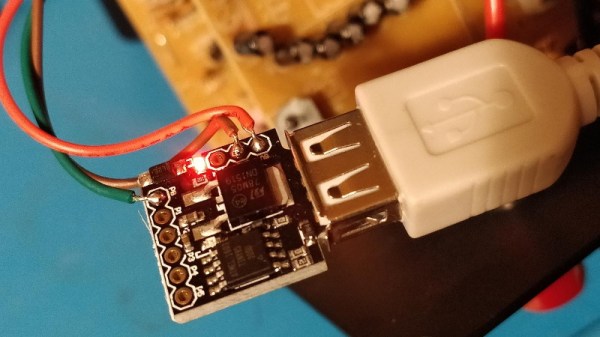
After doing some research on the TiVo remote control protocol, he came up with some code for the Arduino using the IRLib2 library that would brute force the KidZone passcode by sending the appropriate infrared codes for each digit. He fiddled around with the timing and the delay between sending each digit, and found that the most reliable speed would allow his device to run through all 10,000 combinations in around 12 hours.

The key thing to remember here is that [Gavan] didn’t actually care what the passcode was, he just needed it to be entered correctly to get the TiVo out of the KidZone mode. So he selected the “Exit KidZone” option on the TiVo’s menu, placed his Arduino a few inches away from the DVR, and walked away. When he came back the next day, the TiVo was back into its normal mode. If you actually wanted to recover the code, the easiest way (ironically) would be to record the TV as the gadget works its way through all the possible digits.

Back in 2004, there were so many TiVo hacks hitting the front page of Hackaday that we actually gave them a dedicated subdomain. But by the end of 2007, we were asking what hackers would do with the increasingly discarded Linux-powered devices. That people are still hacking on these gadgets over a decade later is truly a testament to how dedicated the TiVo fanbase really is.

[Thanks to Chris for the tip.]

Refurbishing A Classic Electrostatic Speaker PSU

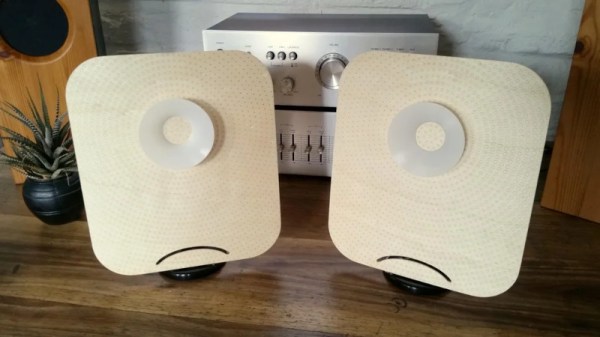
Sometimes a project takes longer than it should to land in the Hackaday in-tray, but when we read about it there’s such gold to be found that it’s worth sharing with you our readers despite its slight lack of freshness. So it is with [Andrew Back]’s refurbishment of his Quad electrostatic speaker system power supply, it may have been published back in August but the glimpse it gives us into these legendary audio components is fascinating.

The inner workings of an electrostatic loudspeaker

An electrostatic speaker is in effect a capacitor with a very large surface area, of which one plate is a flexible membrane suspended between two pieces of acoustically transparent mesh that form the other plates. A very high DC bias voltage in the multiple kilovolts region is applied across the capacitor, and the audio is superimposed upon it at a peak-to-peak voltage of somewhere under a kilovolt through a step-up transformer from the audio amplifier. There are some refinements such as that the audio is fed as a push-pull signal to the opposing mesh plates and that there are bass and treble panels with different thickness membranes, but these speakers are otherwise surprisingly simple devices.

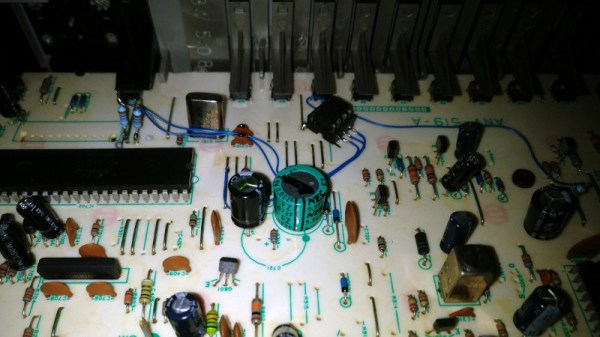
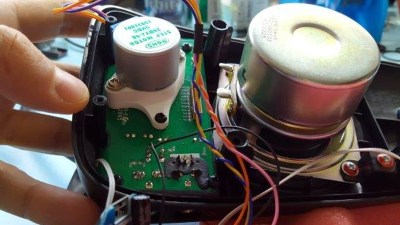
The problem with [Andrew]’s speakers became apparent when he took a high voltage probe to them, one speaker delivered 3 kV from its power supply while the other delivered only 1 kV. Each supply took the form of a mains transformer and a voltage multiplier board, so from there it became a case of replacing the aged diodes and capacitors with modern equivalents before applying an insulating layer for safety.

Electrostatic speakers are no stranger to Hackaday, we’ve taken an in-depth look at them in the past. You may also find some of our colleague [Steven Dufresne]’s writing on the matter to be of interest, on measuring high voltages, and his experience wrangling high voltage.

Welcome To The Slow Death Of Satellite TV In America

During an earnings call on November 29th, CEO of AT&T Communications John Donovan effectively signed the death warrant for satellite television in the United States. Just three years after spending $67 billion purchasing the nations’s largest satellite TV provider, DirecTV, he made a comment which left little doubt about the telecom giant’s plan for the service’s roughly 20 million subscribers: “We’ve launched our last satellite.

The news might come as a surprise if you’re a DirecTV customer, but the writing has been on the wall for years. When the deal that brought DirectTV into the AT&T family was inked, they didn’t hide the fact that the actual satellite content delivery infrastructure was the least of their concerns. What they really wanted was the installed userbase of millions of subscribers, as well as the lucrative content deals that DirecTV had already made. The plan was always to ween DirecTV customers off of their satellite dishes, the only question was how long it would take and ultimately what technology they would end up using.

Now that John Donovan has made it clear their fleet of satellites won’t be getting refreshed going forward, the clock has officially started ticking. It won’t happen this year, or even the year after that. But eventually each one of the satellites currently beaming DirecTV’s content down to Earth will cease to function, and with each silent bird, satellite television (at least in the United States) will inch closer to becoming history.

Continue reading “Welcome To The Slow Death Of Satellite TV In America”

Hacking Your Way To A Custom TV Boot Screen

More and more companies are offering ways for customers to personalize their products, realizing that the increase in production cost will be more than made up for by the additional sales you’ll net by offering a bespoke product. It’s great for us as consumers, but unfortunately we’ve still got a ways to go before this attitude permeates all corners of the industry.

[Keegan Ryan] recently purchased a TV and wanted to replace its stock boot screen logo with something of his own concoction, but sadly the set offered no official way to make this happen. So naturally he decided to crack the thing open and do it the hard way The resulting write-up is a fascinating step by step account of the trials and tribulations that ultimately got him his coveted custom boot screen, and just might be enough to get you to take a screw driver to your own flat panel at home.

The TV [Keegan] brought was from a brand called SCEPTRE, but as a security researcher for NCC Group he thought it would be a fun spin to change the boot splash to say SPECTRE in honor of the infamous x86 microarchitecture attack. Practically speaking it meant just changing around two letters, but [Keegan] would still need to figure out where the image is stored, how it’s stored, and write a modified version to the TV without letting the magic smoke escape. Luckily the TV wasn’t a “smart” model, so he figured there wouldn’t be much in the way of security to keep him from poking around.

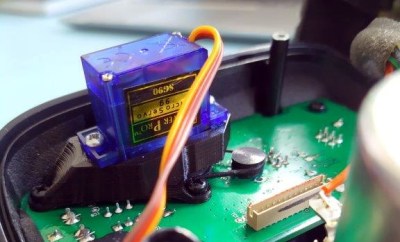
He starts by taking the TV apart and studying the main PCB. After identifying the principle components, he deduces where the device’s firmware must be stored: an 8 MB SPI flash chip from Macronix. He connects a logic analyzer up to the chip, and sure enough sees that the first few kilobytes are being read on startup. Confident in his assessment, he uses his hot air rework station to lift the chip off the board so that he can dive into its contents.

With the help of the trusty Bus Pirate, [Keegan] is able to pull the chip’s contents and verify its integrity by reading a few human-readable strings from it. Using the binwalk tool he’s able to identify a JPEG image within the firmware file, and by feeding its offset to dd, pull it out so he can view it. As hoped, it’s the full screen SCEPTRE logo. A few minutes in GIMP, and he’s ready to merge the modified image with the firmware and write it back to the chip.

He boots the TV back up and finds…nothing changed. A check of the datasheet for the SPI flash chip shows there are some protection bits used to prevent modifying particular regions of the chip. So after some modifications to the Bus Pirate script and another write, he boots the TV and hopes for the best. Finally he sees the object of his affection pop up on the big screen, a subtle change that reminds him every time the TV starts about the power of reverse engineering.

Rooting The Amazon Fire TV Cube With An Arduino

Amazon might not be happy about it, but at least part of the success of their Fire TV Stick was due to the large hacking and modification scene that cropped up around the Android-powered device. A quick search on YouTube for “Fire Stick Hack” will bring up a seemingly endless array of videos, some with millions of views, which will show viewers how to install unofficial software on the little media dongle. Now it looks like their latest media device, the Fire TV Cube, is starting to attract the same kind of attention.

The team at [Exploitee.rs] has recently taken the wraps off their research which shows the new Fire TV Cube can be rooted with nothing more than an Arduino and an HDMI cable you’re willing to cut apart. Of course, it’s a bit more complicated than just that, but between the video they’ve provided and their WiKi, it looks like all the information is out there for anyone who wants to crack open their own Cube. Just don’t be surprised if it puts you on the Amazon Naughty List.

The process starts by putting the device’s Amlogic S905Z into Device Firmware Upgrade (DFU) mode, which is done by sending the string “boot@USB” to the board over the HDMI port’s I2C interface. That’s where the HDMI cable comes in: you can cut into one and wire it right up to your Arduino and run the sketch [Exploitee.rs] has provided to send the appropriate command. Of course, if you want to get fancy, you could use an HDMI breakout board instead.

With the board in DFU mode in you gain read and write access to the device’s eMMC flash, but that doesn’t exactly get you in because there’s still secure boot to contend with. But as these things tend to go, the team was able to identify a second exploit which could be used in conjunction with DFU mode to trick the device into disabling signature verification. Now with the ability to run unsigned code on the Fire TV Cube, [Exploitee.rs] implemented fastboot to make it easier to flash their custom rooted firmware images to the hardware.

As with the Fire TV Stick before it, make sure you understand the risks involved when you switch off a device’s security features. They’re often there to protect the end user as much as the manufacturer.

Continue reading “Rooting The Amazon Fire TV Cube With An Arduino”

One Man’s Quest To Build His Own Speakers

Why build your own stereo speakers? Some people like to work on cars in their garage. Some people build fast computers. Others seek the perfect audio setup. The problem for a newcomer is the signal to noise ratio among audiophile experts. Forums are generally filled with a vocal group of extremists obsessing on that last tiny improvement in some spec.  It can be hard for a beginner to jump in and learn the ropes.

[Ynze] had this problem. He’d finished a custom amplifier and decided to build his own speakers. He found a lot of spirited debates about what was important for good speakers. He tried to wade through the discussions and determine which things had real practical value. The results and his speaker build are documented in a post that you’ll want to check out if you would like to design and build your own speakers.

Some of the topics ranged from solder type to capacitor construction and 700 Euro capacitors. [Ynze’s] goal was to build something that sounded good while keeping costs in line. He claims he spent about 250 Euro and wound up with speakers equivalent to 750 Euro store-bought speakers.

Continue reading “One Man’s Quest To Build His Own Speakers”

Trashed TV Gets RGB LED Backlight

It might not be obvious unless you’ve taken one apart, but most of the TVs and monitors listed as “LED” are simply LCD panels that use a bank of LEDs to illuminate them from behind. Similarly, what are generally referred to as “LCDs” are LCD panels that use fluorescent tubes for illumination. To get a true LED display with no separate backlight, you need OLED. Confused? Welcome to the world of consumer technology.

With those distinctions in mind, the hack that [Zenodilodon] recently performed on a broken “LED TV” is really rather brilliant. By removing the dead white LED backlights and replacing them with RGB LED strips, he not only got the TV working again, but also imbued it with color changing abilities. Perfect for displaying music visualizations, or kicking your next film night into high gear with a really trippy showing of Seven Samurai.

In the video after the break, [Zenodilodon] starts his RGB transplant by stripping the TV down to its principal parts. The original LEDs were toasted, so they might as well go straight in the bin alongside their driver electronics. But the LCD panel itself was working fine (tested by shining a laser pointer through it to see if there was an image), and the plastic sheets which diffuse the LED backlight were easily salvaged.

With the old LEDs removed, [Zenodilodon] laid out his new strips and soldered them up to the external controller. He was careful to use all white wires, as he was worried colored wires might reflect the white light and be noticeable on the display. After buttoning the TV back up, he went through a few demonstrations to show how the image looked with the white LEDs on, as well as some interesting effects that could be seen when the LEDs are cycling through colors.

The RGB strips don’t light up the display as well as the original backlight did, as there are some obvious dark spots and you can see some horizontal lines where the strips are. But [Zenodilodon] says the effect isn’t too bad in real-life, and considering it was a cheap TV the image quality was probably never that great to begin with.

On the flip side, if you find an LED TV or monitor in the trash with a cracked screen, it might be worth taking it home to salvage its super-bright white LEDs for your lighting projects.

Continue reading “Trashed TV Gets RGB LED Backlight”