As handy as having a smart doorbell is, with its ability to remotely see who’s at the front door from anywhere with an Internet connection, the off-the-shelf units are not typically known for keeping user privacy as a top priority. Even if their cloud storage systems were perfectly secure (which is not a wise assumption to make) they have been known to give governmental agencies and police free reign to view the videos whenever they like. Unfortunately if you take privacy seriously, you might need to implement your own smart doorbell yourself.
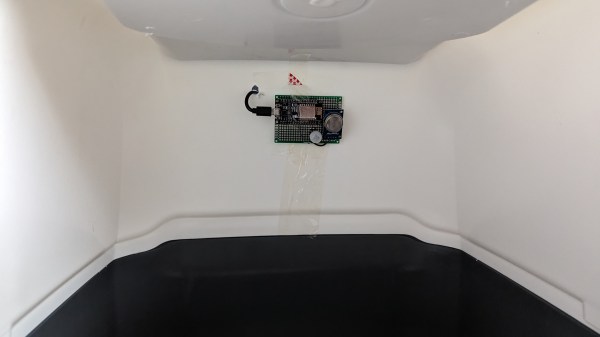
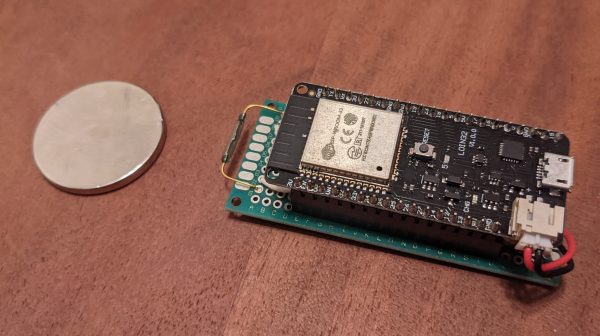
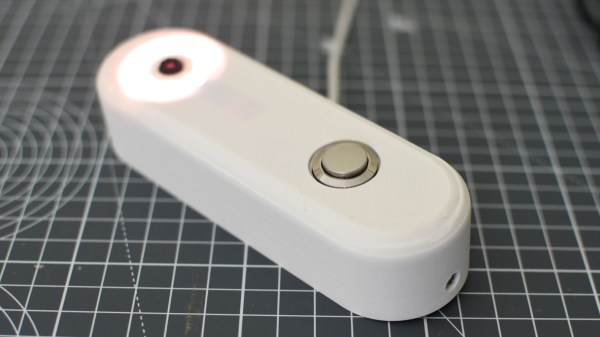
The project uses an ESP32-CAM board as the doorbell’s core, paired with a momentary push button and all housed inside a 3D-printed enclosure. [Tristam] provides a step-by-step guide, including printing the enclosure, configuring the ESP32-CAM to work with the popular open-source home automation system ESPHome, handling doorbell notifications automatically, and wiring the components. There are plenty of other optional components that can be added to this system as well, including things like LED lighting for better nighttime imaging.
[Tristam] isn’t much of a fan of having his home automation connected to the Internet, so the device eschews wireless connections and batteries in favor of a ten-meter USB cable connected to it from a remote machine. As far as privacy goes, this is probably the best of all worlds as long as your home network isn’t doing anything crazy like exposing ports to the broader Internet. It also doesn’t need to be set up to continuously stream video either; this implementation only takes a snapshot when the doorbell button is actually pressed. Of course, with a few upgrades to the ESP circuitry it is certainly possible to use these chips to capture video if you prefer.
Thanks to [JohnU] for the tip!