Don’t know about you, but we can’t start the day without coffee and a shower. If you were to drag us on some overnight trip into the wilderness, we could probably forego the shower for a day, but we will be a grumpy trail mate without some kind coffee, even instant.
Yes, if you were to get us on an overnight outdoor adventure, we would insist on bringing along a couple of these little disposable, self-destructing rocket stoves, if for no other reason than that we can have some coffee without having to forage for a bunch of firewood and build a whole regular-sized campfire. Don’t worry — we’ll share the water because there’s plenty of time built in. Per [smogdog], these Swedish torches will boil water in 20 minutes and burn for 60 — that’s enough time to make a coffee, a bowl of soup, and toast a single marshmallow before the fire consumes the scrap wood.
We love the use of bike chain as a burner to raise up the pot for fire ventilation. But our favorite bit has to be the dual-purpose packaging. It’s nice-looking, it’s informative, and it’s paper, so you can use it as a fire starter. Failing that, [smogdog] has a backup fire starter system — rubbing alcohol in a small spray bottle. Unwrap a protein bar and check out the demo video after the break.
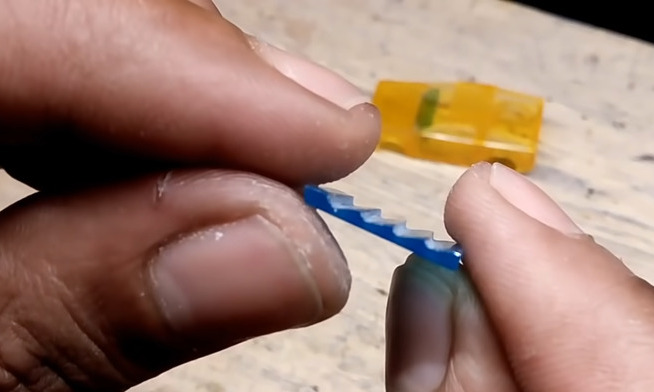
Tired of the same old, boring trail foods? How about flat-pack pasta that morphs into fun shapes when you boil it?
Continue reading “Disposable Rocket Stove Keeps You Fueled In The Wild”