dropController has the kind of documentation we wish would spontaneously generate itself whenever we build something. [Martyn Currey] built a robust rig for water droplet photography, and we don’t want to dismiss the hardware, but the most impressive part might be the website. It might not be very fancy, but it’s thorough and logically organized. You can find parts lists, assembly manuals, tutorials, sketches, and schematics. If only all the projects that came our way were so well detailed.
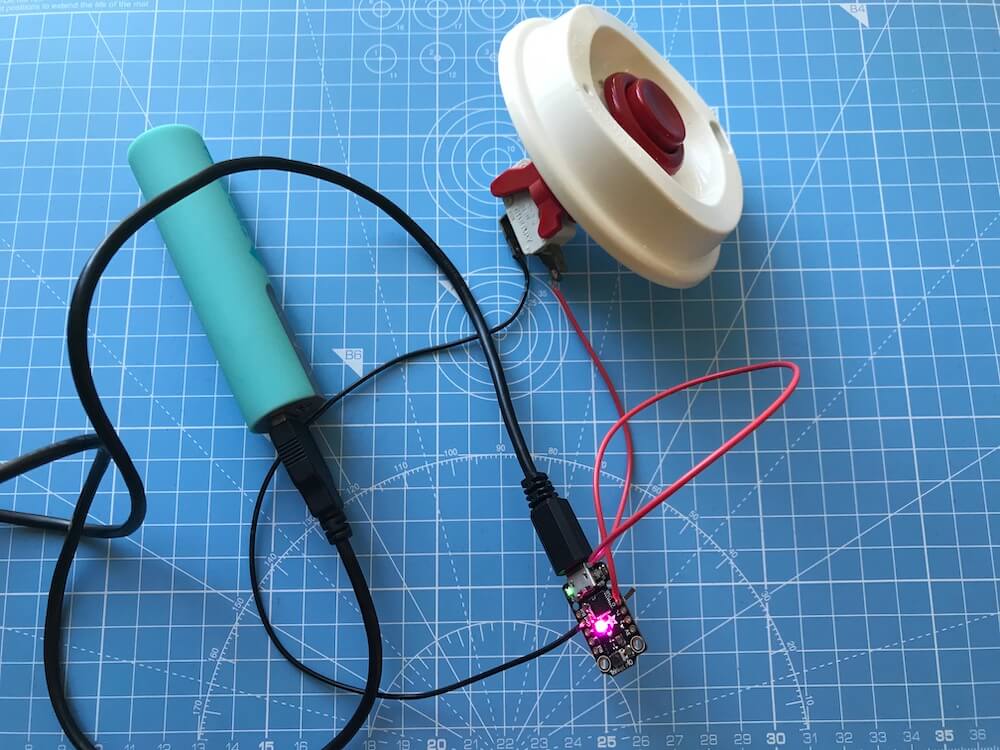
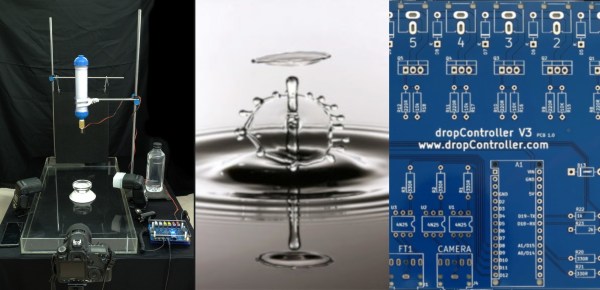
Water droplet photography is pretty cool, although freehanding it will make your patience fall faster than 9.81 m/s². The concept is that a solenoid valve will flicker open to release a drop of water, wait for a certain number of microseconds, and then trigger your DSLR via a wired remote cable. The tricky part comes from controlling as many as six valves and three flashes. We don’t have enough fingers and toes to press all those buttons.
The bill of materials contains many commonly available parts like an Arduino Nano, an LM2596 voltage regulator, some MOSFETS, an HC-06 Bluetooth module, plus standard audio connectors to hook everything up. Nothing should break the bank, but if money is not an issue, [Martyn] sells kits and complete units.
Waterdrop controllers are not the newest kids on the block, and strobe photography is a time-honored tradition.
Continue reading “DropController Sets The Bar For Documentation”