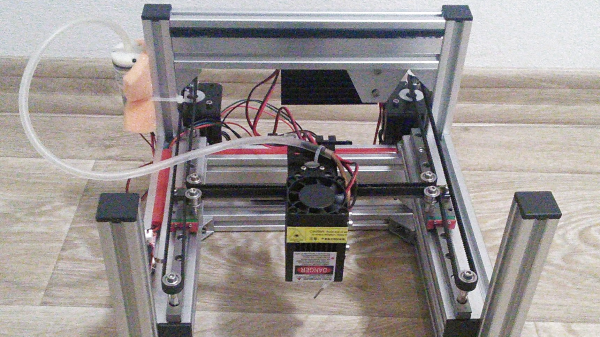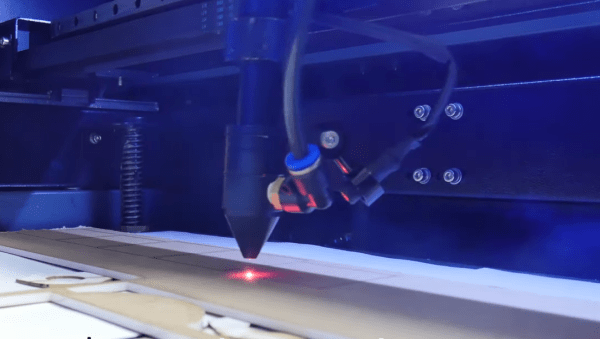
Good design starts with a good idea, and being able to flesh that idea out with a model. In the electronics world, we would build a model on a breadboard before soldering everything together. In much the same way that the industrial designer [Eric Strebel] makes models of his creations before creating the final version. In his latest video, he demonstrates the use of a CO2 laser for model making.
While this video could be considered a primer for using a laser cutter, watching some of the fine detail work that [Eric] employs is interesting in the way that watching any master craftsman is. He builds several cubes out of various materials, demonstrating the operation of the laser cutter and showing how best to assemble the “models”. [Eric] starts with acrylic before moving to wood, cardboard, and finally his preferred material: foam core. The final model has beveled edges and an interior cylinder, demonstrating many “tricks of the trade” of model building.
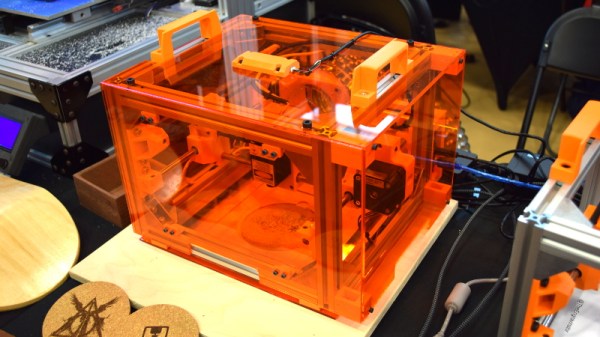
Of course, you may wish to build models of more complex objects than cubes. If you have never had the opportunity to use a laser cutter, you will quickly realize how much simpler the design process is with high-quality tools like this one. It doesn’t hurt to have [Eric]’s experience and mastery of industrial design to help out, either.
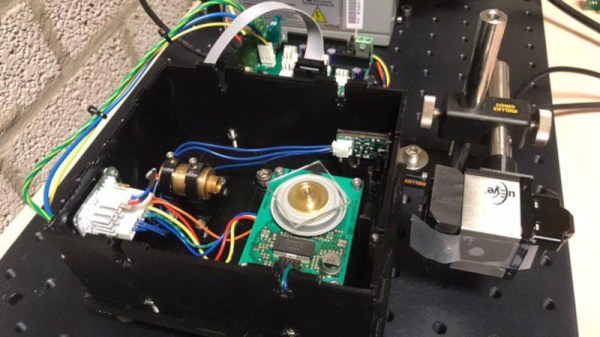
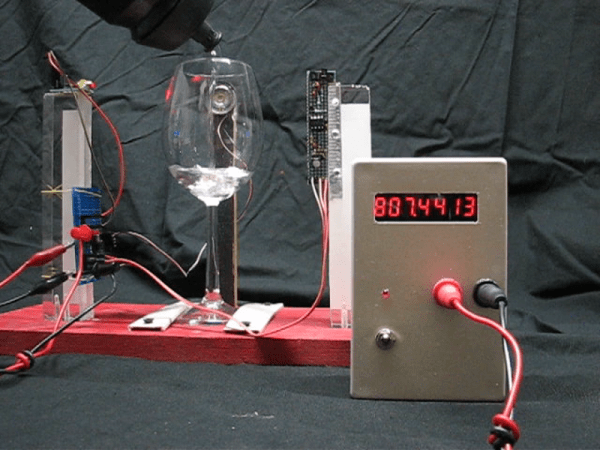
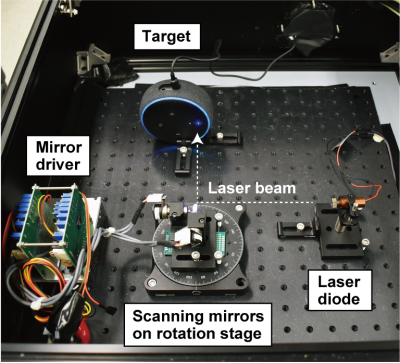 In one of the cooler hacks we’ve seen recently, a bunch of hacking academics at the University of Michigan researched the ability to flicker a laser at audible sound frequencies to see if they could remotely operate microphones simply by shining a light on them.
 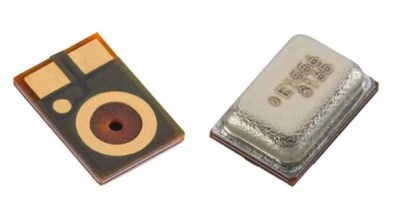 Knowles SPV0842LR5H. This attack is relatively easy to prevent; manufacturers would simply need to install screens to prevent light from hitting the microphones. For devices already installed in our homes, we recommend either putting a cardboard box over them or moving them away from windows where unscrupulous neighbors or KGB agents could gain access. This does make us wonder if MEMS mics are also vulnerable to radio waves.