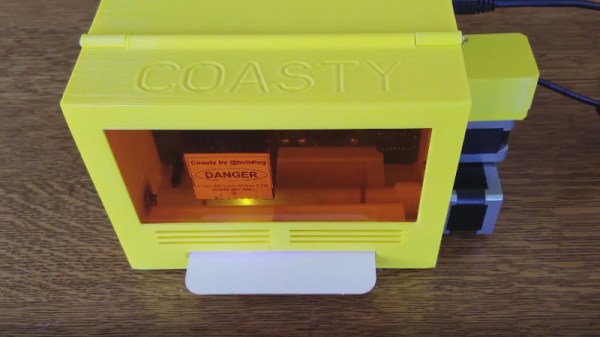
Whether or not you feel the need to laser cut custom drink coasters, you have to be impressed by the amount of thought that went into Coasty.
They say that justice is blind, and while we can’t promise you anything at your next court date, we can at least say with confidence that we’re not the kind of people who will turn down a good hack just because it’s held together with rubber bands and positive vibes. If it works it works, and it doesn’t matter what it looks like. Having said that, we’re blown away by how incredibly finished this particular project is.
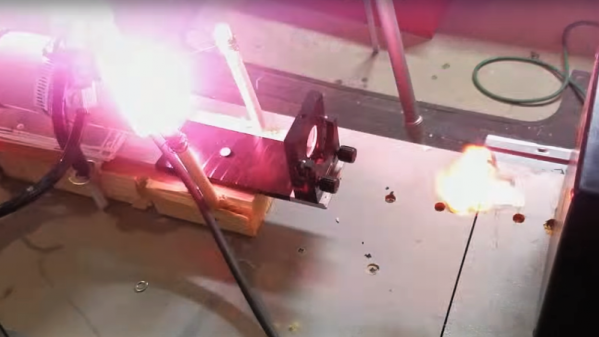
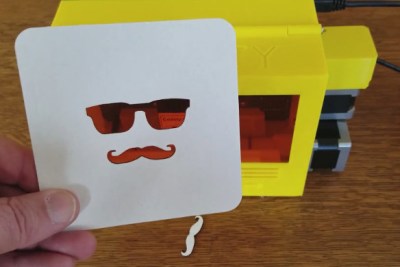
Coasty, designed and built by [Bart Dring] is one of those projects that elevate a hack into something that looks like it could be a commercial product. It takes in a common pulpboard coaster and laser cuts any design you want. It’s just the right size, with just the right components because this is Coasty’s purpose. It has a slot to feed in the coaster, and uses this as one of the axes during the laser cutting process, with the laser’s left to right movement as the other. This method makes for a smaller overall footprint and means you never need to open the protective enclosure for normal operation.

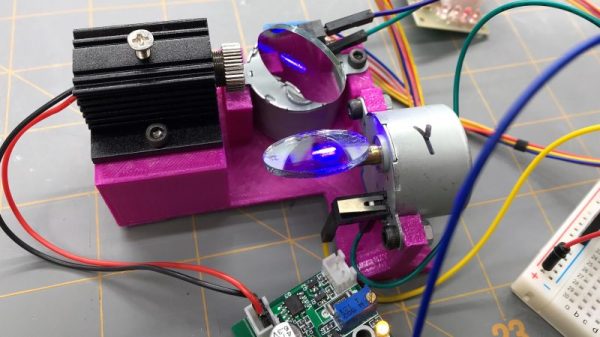
One of the most striking elements of Coasty is how much of the hardware is 3D printed. If it isn’t a motor, smooth rod, or other mechanical component, it’s printed. We’re used to seeing 3D printed parts as brackets or mounts, but rarely do you see an entire chassis printed like this. Not only does it take a serious amount of forethought and design, but the print time itself can be quite prohibitive.
But by designing and printing the majority of Coasty, it really gives it a professional look that would have been harder to achieve if it was a bundle of aluminum extrusions.
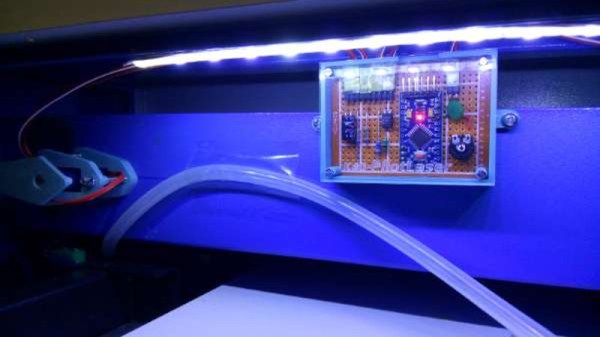
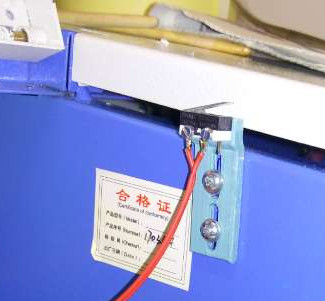
The back of Coasty features an exposed PCB “motherboard” with a dizzying array of plug-in boards. Hardware like the stepper drivers, Bluetooth radio, and laser power supply are separate modules for ease of maintenance and development. There’s a few neat hardware features integrated into the motherboard as well, like the IR sensor for detecting the edge of the coaster.
The printed filter is an especially nice touch. Containing a scrap of commercially available carbon cloth intended for home air filters, Coasty is able to cut down on the smoke that is invariably produced when blasting cardboard with a 3W 450nm laser.
It turns out that custom drink coasters are serious business for some hackers out there. This isn’t the first time somebody has gone all out to make their mark while simultaneously preventing marks.