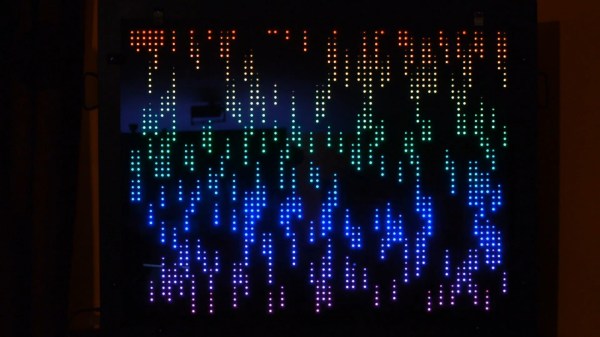
“Should you answer a rhetorical question?” But anyway, the answer is that you can never have enough LEDs. At least that’s what [Adam Haile] at maniacallabs seems to think. So far, he’s up to 3,072.
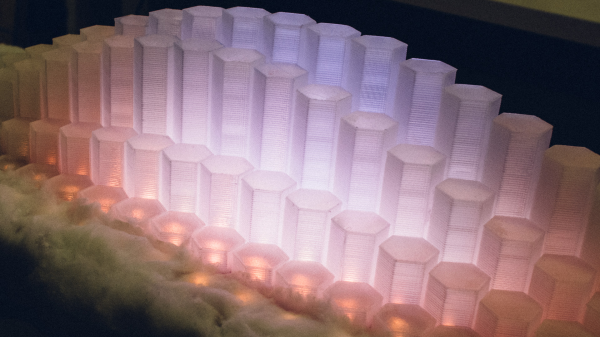
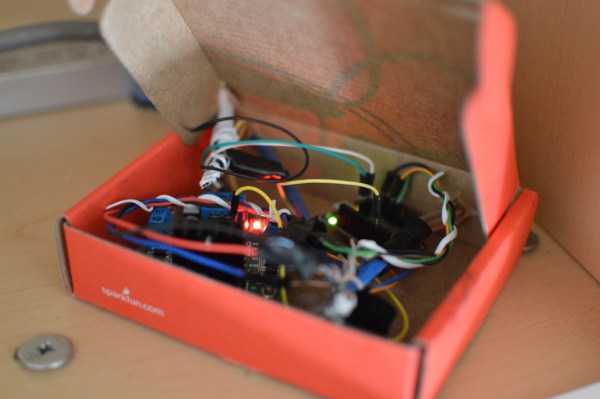
We’ve reported on a previous big-LED build of [Adam]’s before, called the “Colossus”. And while this current display is physically smaller, it’s got a lot more LEDs. And that means a lot more, well, everything else. Weighing in at roughly 500W when full-on, with 175-part 3D printed frame and diffuser elements and driven by three Teensy 3.2 microcontrollers driving shift registers, this display is capable of putting out 60 frames per second of blinding RGB LED goodness.
The designs, adapter boards, and animation code will be posted once they’ve “had a chance to clean things up a little”. Here’s hoping that’s soon! [Edit: Code and designs are here. Thanks Adam!]
If you’re in the greater Washington DC area, you can even swing by the NoVA Maker Faire in Reston to check it out in person. If you do, tell ’em Hackaday sent you.


 A
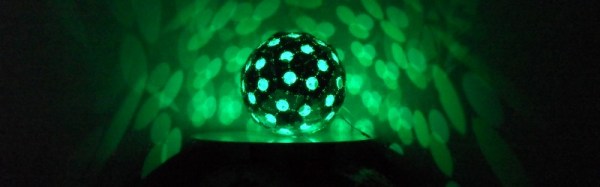
A 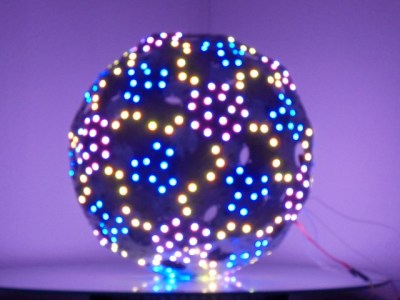 The results are simply stunning. If the mathematics and construction of a polyhedron were not enough to make this project worth a second look, then the