Most of the projects we feature on Hackaday are built for personal use; designed to meet the needs of the person creating them. If it works for somebody else, then all the better. But occasionally we may find ourselves designing hardware for a paying customer, and as this video from [Proto G] shows, that sometimes means taking the long way around.
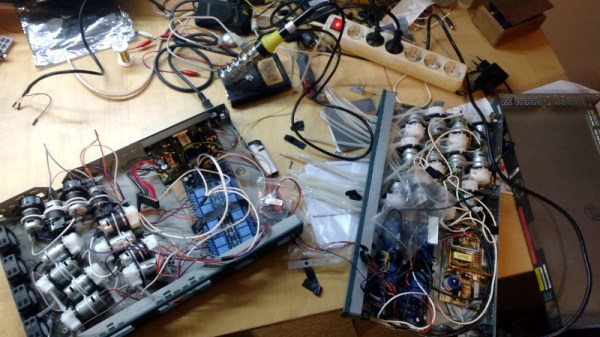
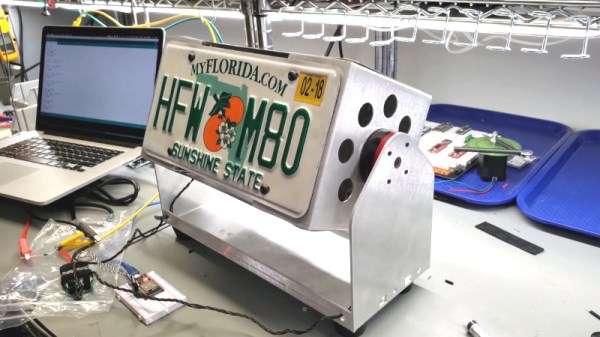
 The initial task he was given seemed simple enough: build a display that could spin four license plates around, and make it so the speed could be adjusted. So [Proto G] knocked a frame out of some sheet metal, and used an ESP32 to drive two RC-style electronic speed controllers (ESCs) connected to a couple of “pancake” brushless gimbal motors. Since there was no need to accurately position the license plates, it was just a matter of writing some code that would spin the motors in an aesthetically pleasing way.
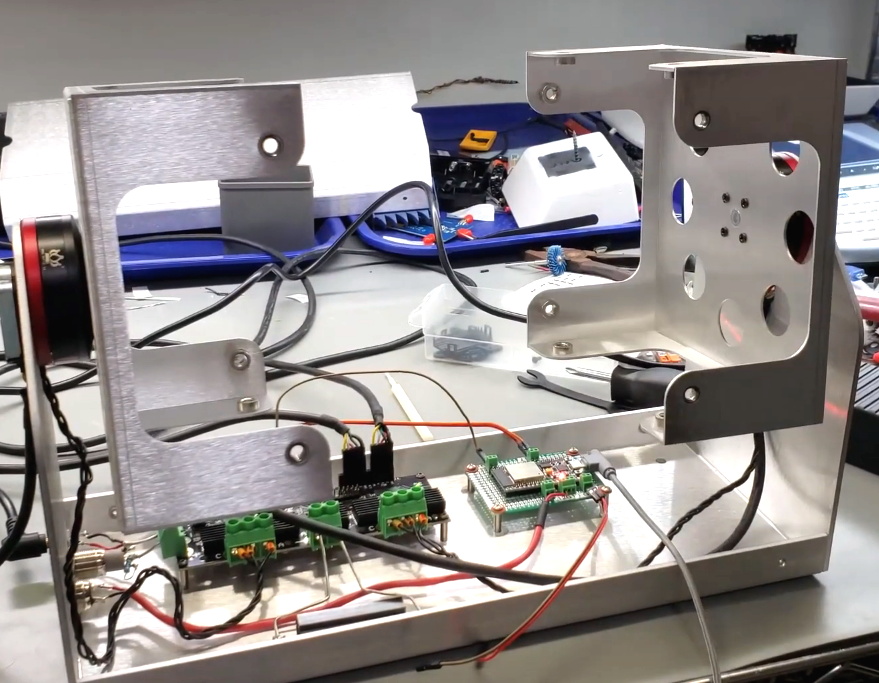
Unfortunately, the customer then altered the deal. Now they wanted a stand that could stop on each license plate and linger for a bit before moving to the next one. Unfortunately, that meant the ESCs weren’t up to the task. They got dumped in favor of an ODrive motor controller, and encoders were added to the shafts so the ESP32 could keep track of the display’s position. [Proto G] says he still had to work out some kinks, such as how to keep the two motors synchronized and reduce backlash when the spinner stopped on a particular plate, but in the end we think the results look fantastic. Now if only we had some license plates we needed rotisseried…
If [Proto G] knew he needed precise positioning control from the start, he would have approached the project differently and saved himself a lot of time. But such is life when you’re working on contract.
Continue reading “Spinning ESP32 Display Puts The Customer First”