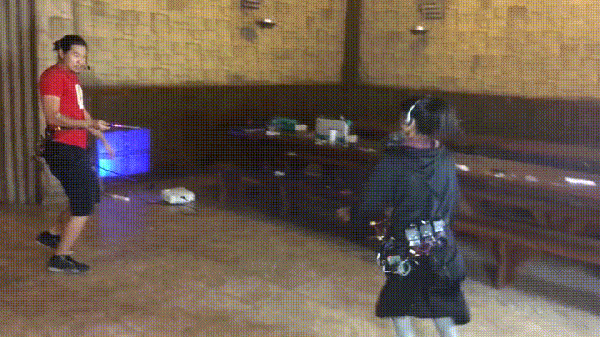
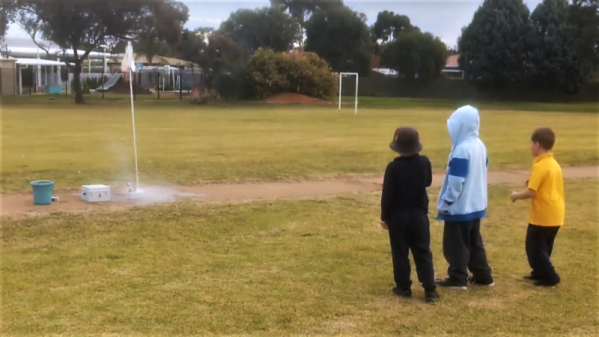
You’ve probably heard of Arthur C. Clarke’s third law, suggesting that any sufficiently advanced technology is indistinguishable from magic. Taking this literally and in the best possible way, [Allen Pan] of [Sufficiently Advanced] is using readily available technology to simulate magical wizarding duels in the fashion of Harry Potter.
Entitled the Wizard Analogue No-Magic Dueling Simulator — or W.A.N.D.S. for short — is a slightly more interactive version of laser tag. It’s especially engaging because your body is on the line. A Raspberry Pi using Google’s speech recognition service listens for the spell names and — remember, pronunciation is key — fires off the spell from an infrared LED tipped wand. Each duelist has five spells at their disposal, but their accuracy is up to you.
Once your opponent’s receiver registers a hit, an Arduino triggers transcutaneous electrical nerve stimulation (TENS) devices which sends pulses to various regions on the body to simulate the spell’s effect. What’s a few electrical shocks between wizards, eh?
As a defense from the constant barrage, the spell Protego — aimed at one’s own sensor — grants a few seconds immunity; however all spells have a built-in cool-down to prevent their abuse and an LED on the wand indicates when they’re ready to be used.
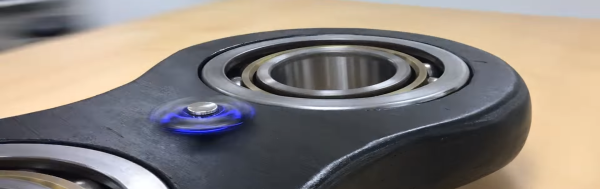
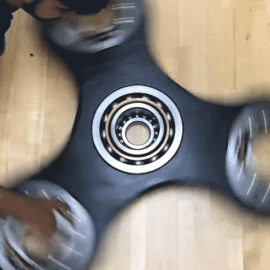 Clocking in at 150 pounds and 45 inches in diameter, this thing is undeniably huge. The structure is made out of what looks to be veneered plywood glued together to make a ~2.5in thick structure to put their bearings in. And, after washing their bearings with soapy water, the students get to work press fitting their 2.2in by 10.5in ball bearings into their painted wooden structure. Their video embedded below is an entertaining watch, it starts with a gag, but moves on the project afterwards.

 That may or may not be [pacificmeister]’s goal with his