With all due respect to the Utah Opera’s production of La bohème, we just couldn’t resist poking a little fun at master electrician [David Smith]’s quick lighting hack for the opera. And who knew an opera from 1896 would need a garbage can fire? Live and learn.
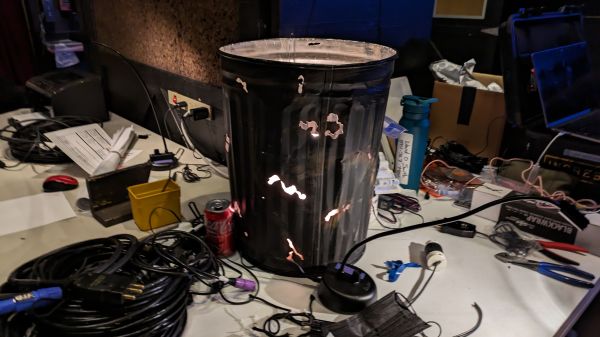
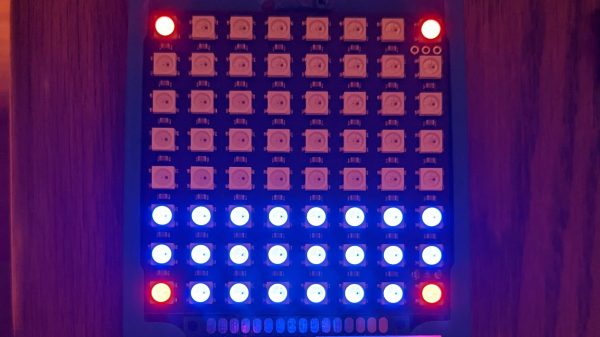
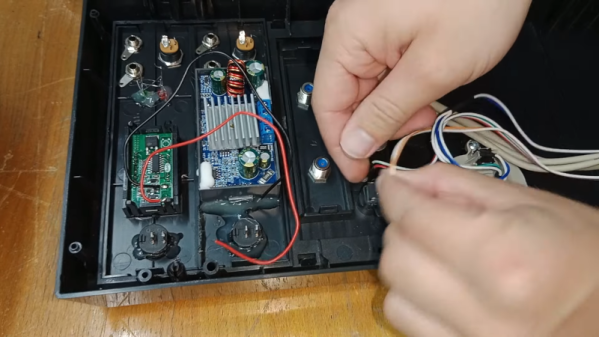
In what appears to be a case of “The show must go on,” [David] was called on to improve an existing fire effect for one scene in the opera, which was reportedly a bit “artificial and distracting.” This is a pretty common problem in live productions of all types; it’s easy to throw light at a problem, but it’s often hard to make it both convincing and unobtrusive. Luckily, he had both the time to come up with something, and a kit full of goodies to make it happen. A balled-up strip of Neopixels provided the light, with an Arduino running some simple code to randomize the intensity and color of the RGBs. [David] stuck with the warm white, red, and green colors, to keep the color temperature about right for a fire, and drove the LEDs with a couple of MOSFETs that he keeps in his kit to fix busted dimmer packs.
The overall effect worked well, but the holes knocked in the side of the greatly abused garbage can let too much light out, making the effect distracting on stage. The remedy was simple: a cylinder of printer paper surrounding the LED tape. The paper not only acted as a diffuser but held the tape in place inside the can. The electrical crew ran two circuits to the can — one to keep the Arduino running throughout the show, and one to power the LED tape. The former made sure the audience didn’t see the microcontroller boot sequence, and the latter gave the electrician a way to control the effect from the dimmer console. The brief video below shows it in action during a rehearsal.
Hats off to [David] and the whole crew for the stagecraft heroics and for getting this thrown together so quickly.
Continue reading “Stage Lighting Hack Keeps La Bohème From Becoming A Dumpster Fire” →