In the 1980s, there was a synthesizer that you could play like a harmonica. This device was called the Millioniser 2000. It utilized HIP (Harmonica In Principle) technology. The Millioniser 2000 was a breath controller wrapped in chrome-colored plastic embossed with its logo in an odd, pre-vaporwave aesthetic, and connected to a gray and green sheet metal enclosure loaded up with DIN jacks. The Millioniser 2000 is absolutely the pinnacle of late 70s, early 80s design philosophy. If it were painted brown, the Universe would implode.
Because of the rarity and downright weirdness of a harmonica synthesizer from the 80s, prices on the used market are through the roof. Musicians are a weird bunch. However, this does give someone the opportunity to recreate this bizarre instrument, and that’s exactly what [John Lassen] did for his entry for the Hackaday Prize.
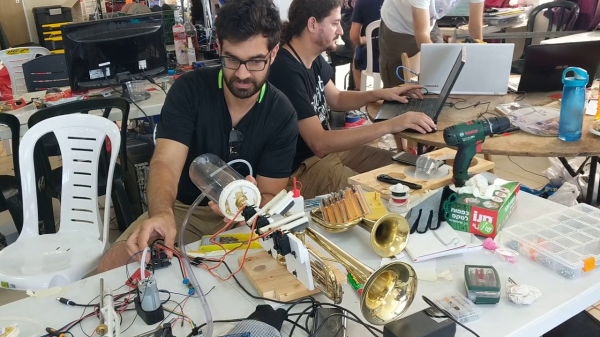
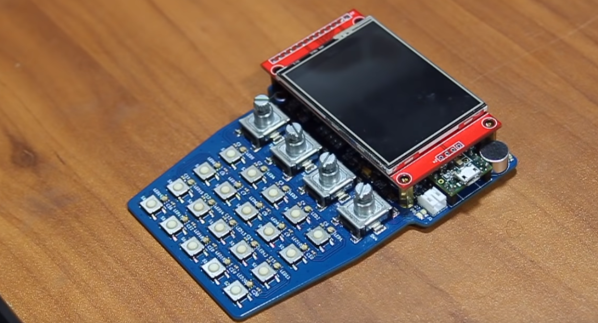
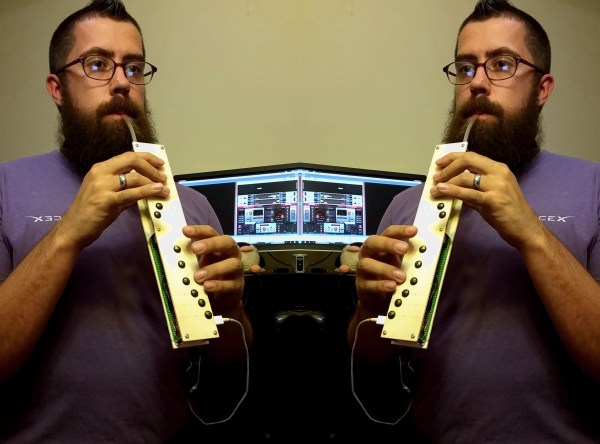
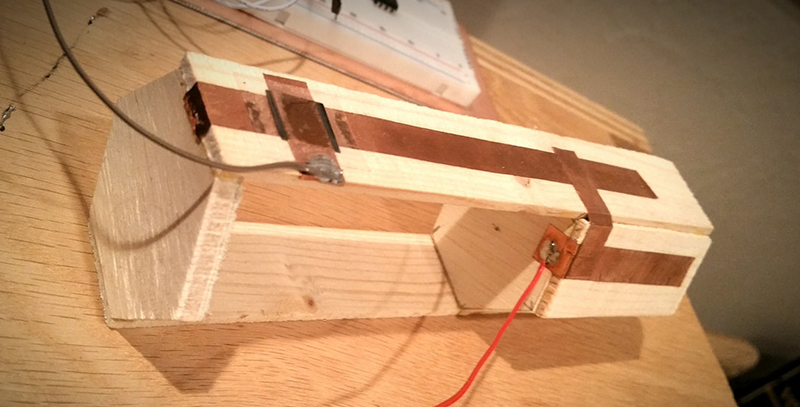
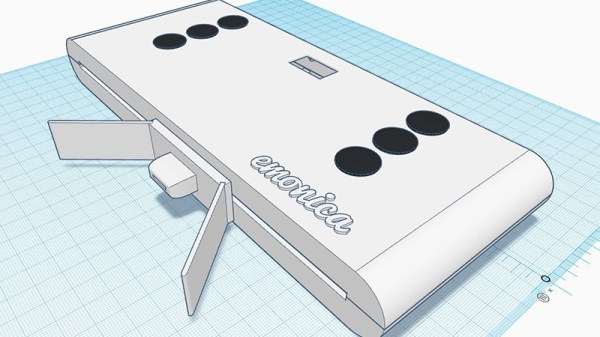
While this isn’t as complex as the Millioniser 2000, it does have the same basic user interface. There’s a pressure sensor that measures how much you’re blowing. There’s a slider to change which notes are played, and there are a few buttons to change parameters, like the MIDI channel, a midi controller, or a transpose function. The electronics, like so many of the entries to the Musical Instrument Challenge in the Hackaday Prize, are built around the Teensy and it’s incredible audio library.