Rich Decibel’s Kequencer

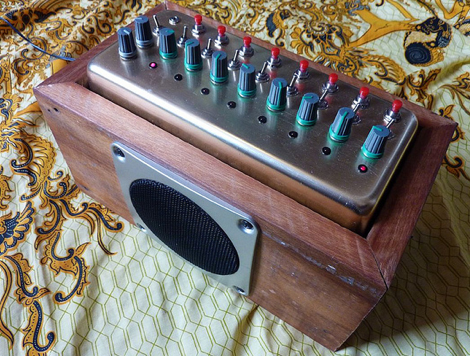
It’s totally excellent when a simple concept results in something inspiring and fun. [Rich Decibel]’s Kequencer is a good example, starting off as many projects do: “I had an idea the other day and I couldn’t decide if it was good or not so I just built it to find out.” Be still our hackable hearts!

[Rich] built this sleek little sequencer from scratch and while the design may not seem very novel to begin with–eight square wave oscillators with on/off switches and pitch knobs, played in sequence–but the beauty of it is in the nuances of interaction and the potential for further hacking. From watching the video you can see how the controls can be used in very interesting ways to create and mutate adorable chippy tone patterns. Check it out after the crossfade.

Continue reading “Rich Decibel’s Kequencer”

Make Your Own Solenoids, Then Play The Xylophone

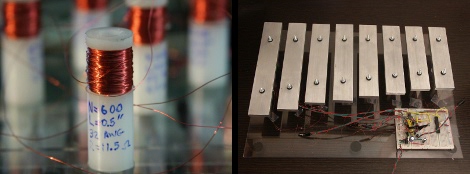
Learn to manufacture your own solenoids and then use them to play the xylophone by watching the tutorial video after the break. [Humberto Evans] and the team at Nerd Kits do a great job of not only manufacturing the coils, but the xylophone itself. The bars are machined from some aluminum stock and they take you down the rabbit hole with they why’s and how’s of engineering the keys.

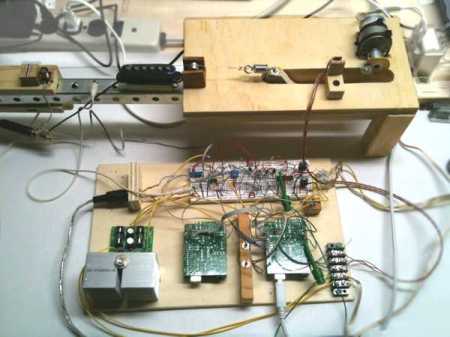
We’re unlikely to replicate this machining process but the solenoids are another story all together. Starting at about 3:30 you can learn about designing, building, and using these little marvels. They’re basically an electromagnetic cuff with a metal slug in the middle. The solenoid seen above uses a body milled from HDPE and wrapped with magnet wire. The slug in the center is steel, with a few rare-earth magnets at the top. When you run current through the coil it repulses the magnets on the slug, witch then strikes the xylophone key. Using a MOSFET and a protection diode, actuating them is as simple as sending a digital high from your microcontroller of choice.

We’ve seen solenoids used to play a vibrophone before, but those were commercial units. Making your own hardware is far more hardcore.

Continue reading “Make Your Own Solenoids, Then Play The Xylophone”

Playing Piano With Optical Sensors

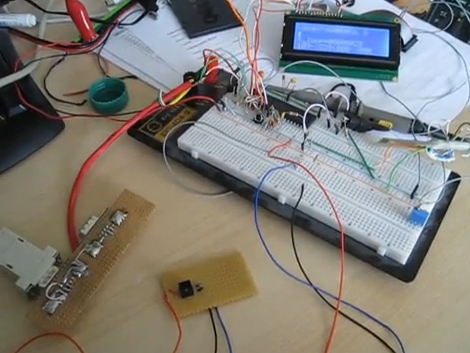
[Sebastian] is trying to improve the responsiveness of an electric keyboard. He was unsatisfied with the lack of adequate sensitivity to keystroke. The first step in his process was to measure how fast the quickest keystroke actually is. By setting up an LED and phototransistor and taking some measurements he found that sampling at 1 kHz would be more than adequate.

With initial testing complete he ordered some CNY70 transmissive/reflective light sensors that can be place below the keys. He measures the sensor with the ADC on an ATmega16 microcontroller. Running at 16 MHz he can sample each of the eight analog-to-digital converter channels at 1202 Hz. After doing a bunch of math he put together some lookup tables that are used to translate the ADC data into midi signals. We’ve embedded a video of one sensor controlling the midi program PianoTeq. [Sebastian] also sent us a schematic of one node in the sensor network (see it after the break).

When everything is said and done he plans to use eleven ATmega16 microcontrollers to address the 88 keys, with an additional microcontroller to act as the master using a two-wire interface for communications.

Update: [Sebastian] put up a webpage with a fairly verbose description. Reading it straight from the source really clears up a lot of questions.


Continue reading “Playing Piano With Optical Sensors”

Chiptune Instrument From NES

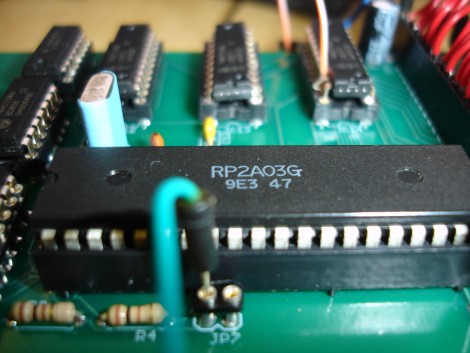
[Jarek Lupinski] wanted an instrument that would let him play chiptunes live, without a need for pre-programming a cartridge for playback during a concert. His preferred hardware is an original Nintendo Entertainment System because of its familiar nostalgic sound. After picking up a lot of 5 broken NES units he set out to build a midi-compliant device.

The five NES units he bought had nothing wrong with them other than the 70-pin cartridge connector. He fixed them all, then de-populated the board on one and tried to build out a circuit on a breadboard. After much trial and error, forum searching, and conversations with others who were familiar with the hardware he got the circuit working. He’s posted a schematic and had a board fabricated which takes the transplanted chips and transforms them into an instrument. Check out the test notes being played by an Arduino Mega after the break.

Continue reading “Chiptune Instrument From NES”

Disco Drumming With Piezo Sensitive Lighting

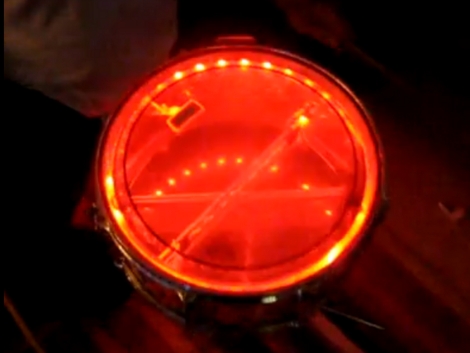
[Wilfred’s] brother outfitted a snare drum with LEDs for Dutch Carnival. They faded through different colors randomly and were a nice addition to the normal looking instrument, but [Wilfred] suggested that the LEDs change color with each drum stroke. He set out to design a controller circuit to provide the functionality and ended with a small package based around an ATtiny2313 microcontroller. A piezo buzzer is used to detect the vibrations inside the drum, each hit triggering a different color combination. The LEDs fade to off after each impact as if dying along with the sound, and when not struck for 30 seconds the system defaults to a red heartbeat pattern. See for yourself after the break.

We’d love to see this feature added to each drum in one of those robotic drumsets. Continue reading “Disco Drumming With Piezo Sensitive Lighting”

Single String Servo Electric Guitar

its a catchy tune!

Ah, we love musical hacks that actually play music.  [Mike Baxter] is back again with a new servo electric guitar. This one, called the physical string synthesizer, and has only one string.  He’s using two Arduinos to control the unit. One to change the midi file to a note within the string’s limits and the second to actually control the servo. It seems like that could be simplified a little bit, but we’re pretty sure his end goal was to build an instrument quickly, not learn to be a circuit ninja. Last time we saw Mike Baxter, he had built a servo electric guitar that used a keypad for control. You can see a video of the single string one after the break.

Continue reading “Single String Servo Electric Guitar”

Analog Stylophone

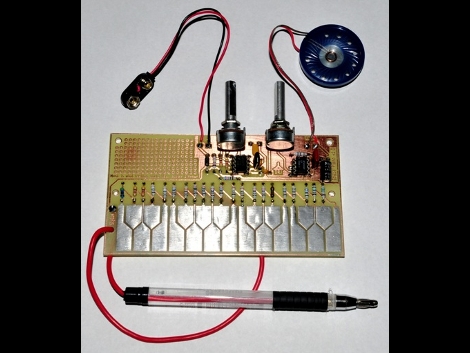
[Doug Jackson] just finished building an analog Stylophone. We’ve seen this instrument a few times before, most recently with an Arduino-based controller, but this one makes use of 555-timer, resistors, and potentiometers to generate the waveform for each note. If you’ve got the copper-clad and the means to etch the board everything else should be pretty easy to come by. We did note that since this is a single-sided board you’ll be soldering on the same side as the components, which can get a bit hairy but manageable. We just wish that [Doug] has posted a demonstration video so we could hear what this sounds like. But it can’t be too much different from that electronic vuvuzela that used a 555 timer as well.