Running Windows CE On The Nintendo 64

Although Windows CE doesn’t use the NT kernel, it’s similarly designed to run on a wide variety of system architectures. Since the Nintendo 64 uses a MIPS CPU it should basically just run either kernel. You might assume that the N64’s rather limited specs are a bit of a problem, but fortunately Windows CE is designed to run on a digital potato, and requires only a MB of RAM. Since that just so happens to be what the N64 has under the hood, [Throaty Mumbo] was optimistic about getting Windows CE running on the 1990s game console.
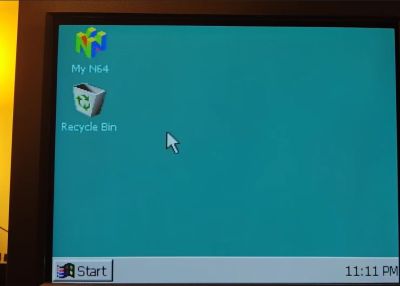
The idea for this project came when [Throaty] was tinkering with an IBM Workpad Z50 laptop that uses almost the same CPU as the N64 and also runs Windows CE. Although said laptop is probably a lot more practical of a platform to run Windows on, this didn’t mean that it wouldn’t be a fun challenge.

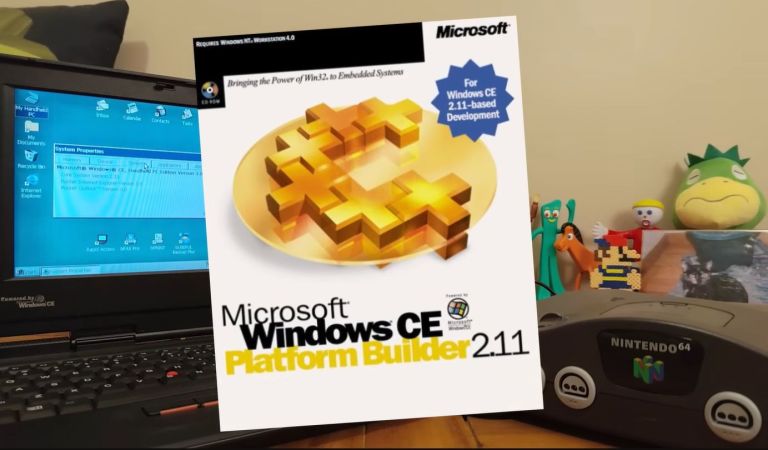
Since CE was intended to be customized by companies for their own embedded hardware this means that you can use an official SDK, such as Microsoft Windows CE 2.11 Platform Builder. Making Windows CE 2.11 run on an N64 thus involves creating a board-specific configuration and compile that against said SDK.

If you want to give it a shot yourself, the entire project is available on GitHub which is where you find most of the technical details as well. When using a flash cart such as the EverDrive, you can also put applications on the SD card and run them from within the Windows GUI. You’ll still be limited by the N64 hardware, but otherwise the experience is very smooth as the video below demonstrates.
Continue reading “Running Windows CE On The Nintendo 64”

Using A Nintendo Switch To Speed Up A 3D Printer

3D printers are almost never fast enough. [Cocoanix] had a Prusa MK3S with this very problem. He found it to be disappointingly tedious when completing even simple prints, and sought a way to make it faster. Thus, he grabbed a Nintendo Switch and got to work.

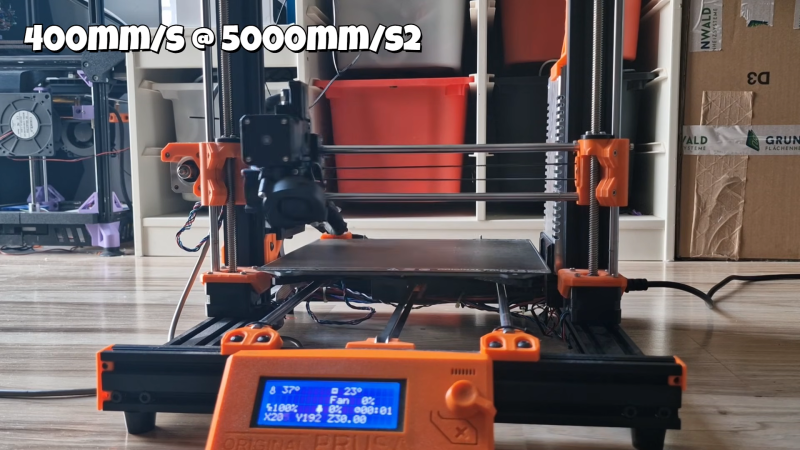
It might sound like an odd choice, and that’s because it is. There’s no special magic inside a Nintendo Switch that makes 3D printers faster – it’s just that the handheld console was a useful platform on which to run Klipper. As [Cocoanix] explains, Klipper is designed to run on faster general-purpose computers compared to the more limited microcontrollers used in some printers. It’s designed to off-load complex motion processing tasks to a faster CPU, while the printer’s onboard microcontrollers are freed up to simply handle the low-level tasks of driving the motors and so on. An older printer equipped with Klipper can often print faster, while implementing techniques like input shaping to further improve speed as well as print quality.

It’s worth noting that you don’t have to use a Nintendo Switch for this. It’s just a good hook for the YouTube video. Typically you’d use a Raspberry Pi or some other computer instead, but the fact it runs on a jailbroken console is amusing nonetheless. It’s also cool to see the results – in this video, [Cocoanix] got the Benchy printing time down from 90 minutes to just 8.

We’ve previously discussed the benefits of Klipper at length.

Continue reading “Using A Nintendo Switch To Speed Up A 3D Printer”

Reviving Nintendo’s Early Arcade Game, Wild Gunman

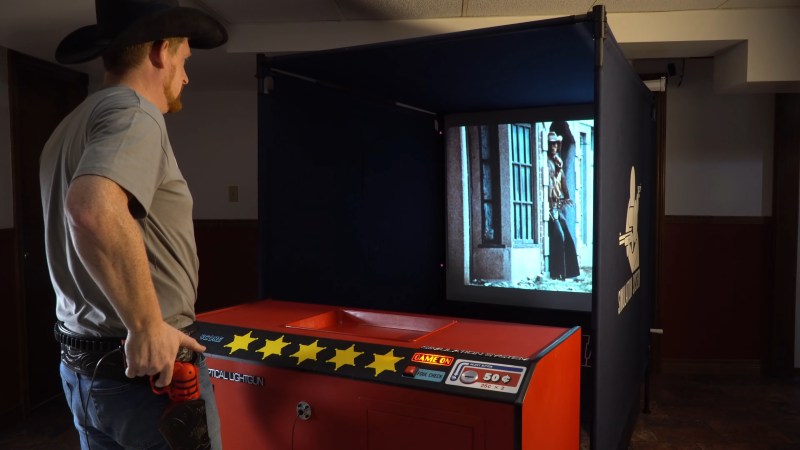
There’s retrogaming, and then there’s retro gaming. This next project falls into the second category, as [Callan] of 74XX Arcade Repair digs into the original Wild Gunman, first released by Nintendo way, way back in 1974 — on 16 mm film. Yes, it was a film-based arcade machine, but how else were you going to get realistic graphics just two years after PONG?

The game had two 16 mm projectors, with four different sets of film reels available, each depicting five gunmen. Unfortunately for [Callan], the film is all he has, so he’s not so much repairing as re-creating the historic game. Luckily, he had the manuals, so at least he knew how it was supposed to come together.

One projector did most of the work, showing the gunmen and a hidden timing signal for the game to know when the user could shoot; the other only activated if the user pulled the trigger at the correct time. Interestingly the ‘gun’ has an IR illuminator that bounced infrared light off the screen to a detector in the cabinet — much like later TV remotes. That makes for a rather large circular hitbox around the enemy gunslinger, which is perhaps not a bad thing for a game likely to be found in a bar.

Continue reading “Reviving Nintendo’s Early Arcade Game, Wild Gunman

GameCube Bot Records Your Play In A Weird Way

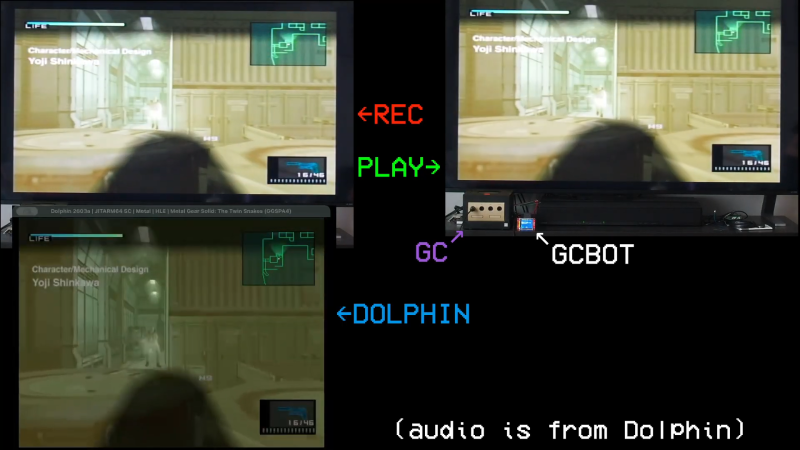
If you wanted to record yourself playing on a GameCube, you could use a VCR to capture the video output on tape. But there is a more interesting way to do it—which is precisely what [jiinurppa] built GameCube bot for. 

The concept is simple—GameCube bot is a small device that captures controller inputs and records them to an SD card. It can then play them back on command, allowing it to recreate gameplay as it happened the first time right on the console. A Raspberry Pi Pico is the brains of the operation, which is able to intercept signals from a standard GameCube controller. It’s paired with the aforementioned SD storage as well as an ST7735 display for showing status information. The device records in the DTM (Dolphin TAS Movie) format, which can be played back on the device when hooked up to a GameCube console, or in emulators like Dolphin itself.

[jiinurppa] notes that the device isn’t accurate enough to use for tool-assisted speed runs. Most notably, small errors in optical drive reads can lead to desyncs compared to the original machine state that make frame-accurate replays impossible. Still, it’s a neat build that can be useful for capturing game play and later analysis.

We’ve explored the world of Tool Assisted Speedruns before, though this device isn’t directly applicable to that world. Video after the break.

Continue reading “GameCube Bot Records Your Play In A Weird Way”

Fixing A GameCube’s Dodgy Optical Drive With Fresh Capacitors

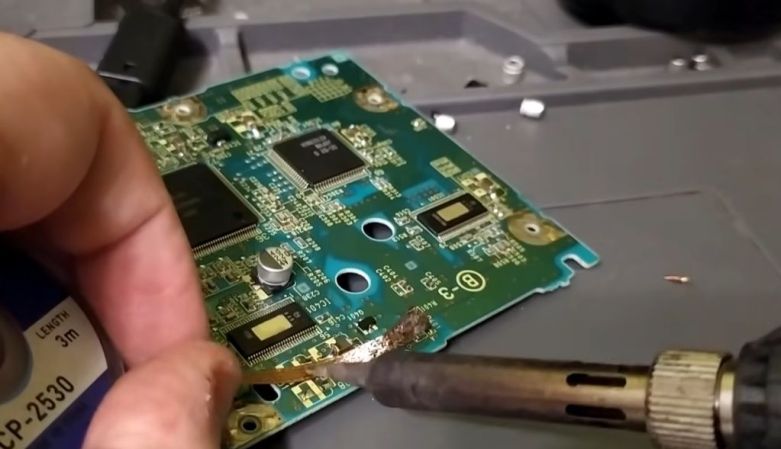
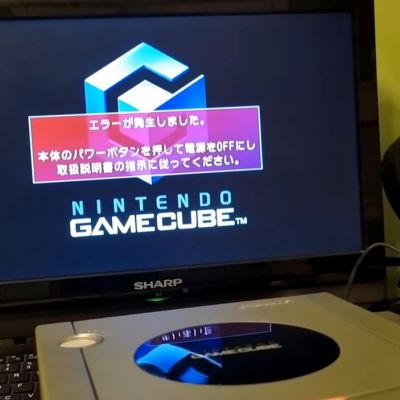
Generally when a game console with an optical drive stops reading discs the first thing that people do is crank on the potentiometer that controls the power to the laser diode to ramp up its output. While this can be a necessary solution to eke out a bit more life out of a clearly dying laser diode, this can actually massively shorten the lifespan of a good diode that’s just held back by bad capacitors. This is demonstrated by [Skawo] with a fix on a GameCube that stopped reading discs.
While it’s absolutely true that laser diodes have a limited lifespan, so do the capacitors and other components in the system. Thus, after tearing down this Japanese GameCube, [Skawo] accesses the optical PCB for some delicate plier-based capacitor surgery. One can absolutely question such violence, as well as the replacement mix of MLCC ceramics and a stray THT electrolytic capacitor, but the results after reassembly are obvious.

Without having to adjust the laser diode’s potentiometer, the game console now happily reads the game disc while the laser diode breathes a sigh of relief. Although all GameCube consoles will face the inevitable demise of their optical drives – barring a replacement optical pickup solution appearing – with this capacitor replacement solution it’s at least possible to stave off that undesirable time for a bit longer.

Continue reading “Fixing A GameCube’s Dodgy Optical Drive With Fresh Capacitors”

Rescuing A Pokémon Off A Pokéwalker After Losing The Game Cartridge

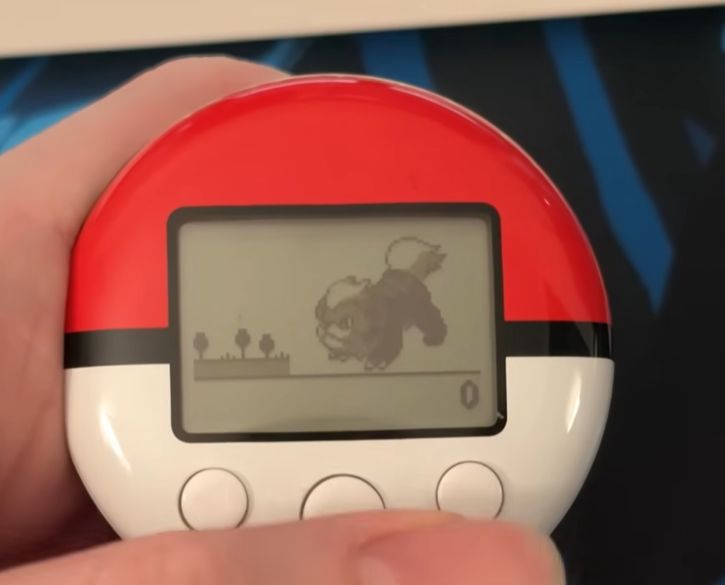
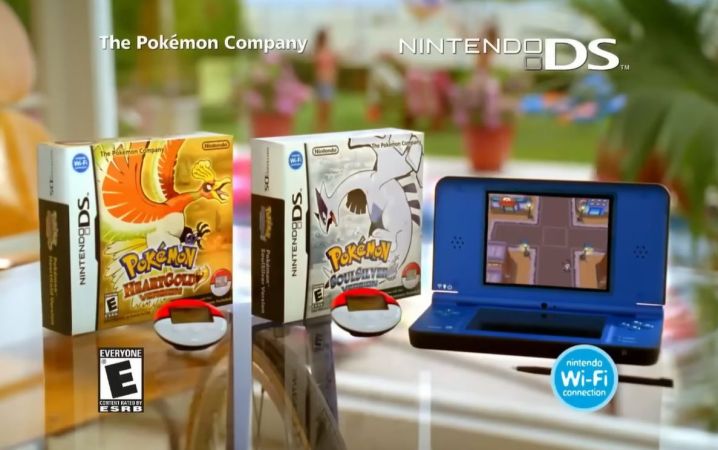
The Pokéwalker is a gadget that was sold alongside the Pokémon HeartGold and SoulSilver games for the Nintendo DS which players could use to take a Pokémon out on a walk in the real world. Not only would you earn points while walking, but you’d be able to find items, battle wild enemies, etc. The Pokémon inside the device is however linked to the game cartridge. This fact turned into tragedy when [Etchy] found his old Pokéwalker with a treasured Pokémon still on it, but was forced to erase the device as he had lost the cartridge over the years.

Although he had been told repeatedly by then that it was impossible to transfer such a digital pet to a new save file, this never felt right. Although it made some sense that a specific critter would be linked to a specific save file as a level of security, there’s also the question of whether all data of the Pokémon in question would be erased from said save file.

Cloning a Snickers. {Credit: Etchy, YouTube)

Fortunately, [Dmitry] has reverse-engineered the Pokéwalker already, including the infrared protocol that uses the IR transceiver in the cartridge itself. As it turns out, only some basic information is sent over to the device, while the Pokémon is simply hidden in the save file, including the data that isn’t sent to the device. Case closed, right?

It would be a sad ending for those who have lost Pokémon on these devices if it was that simple, fortunately. After some digging, [Etchy] found out that the device only checks for three pieces of information to ensure that it is being accessed from a valid game session: the version (HeartGold or SoulSilver), the region (NA, JP, etc.), and the training and secret IDs.

This thus means that if you try long enough, or use an RNG manipulation hack as demonstrated, you can get a new save file created that has the exact same IDs. As long as you make sure that your local critter’s details in terms of species and form are the same as on the device, there’s nothing really stopping the device from happily handing over the critter’s details.

Of course, the real thing that defines a single Pokémon is its ID (PID) that defines its properties, and this is only saved in the save file. The final answer is thus that there’s no way to rescue a trapped Pokémon, as it only really exists on the cartridge that may or may not still exist in some physical form.

Continue reading “Rescuing A Pokémon Off A Pokéwalker After Losing The Game Cartridge”

Nintendo’s Family BASIC Keyboard Gets USB Upgrade

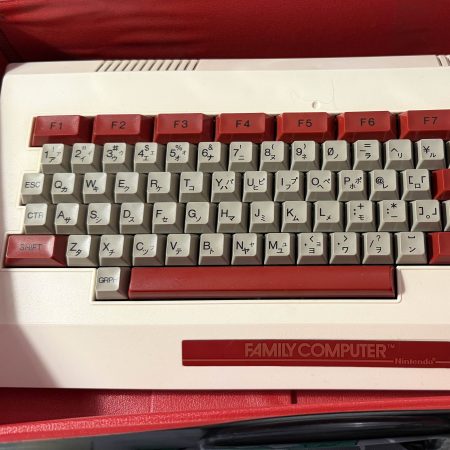
America knew it as the Nintendo Entertainment System, but in Japan, it was the Family Computer (Famicom). It was more than just a home console—it was intended to actually do a whole lot more. All you had to do was plug in the keyboard and chuck in the right Family BASIC cartridge, and you had a computer hooked up to your TV! [Lucas Leadbetter] came across an old Family BASIC keyboard recently, and set about making it more useful in our modern age with a simple USB upgrade.

[Lucas] started with research, and soon found plenty of schematics and details on the keyboard on the NESdev wiki page. Hunting further turned up a video from [Circuit Rewind], who demonstrated how to hook up the keyboard to a Raspberry Pi Pico, including how to interface with the onboard chips to scan the keys. These resources told [Lucas] enough to get going—and that it should be as simple as wiring some custom hardware up to the internal keyboard matrix connector to get it speaking to USB.

[Lucas] went a slightly different path to [Circuit Rewind], implementing the popular QMK firmware to suit the Family Basic keyboard on an Adafruit KB2040. The Adafruit part is basically an RP2040 microcontroller slapped onto a tiny PCB in a form factor that’s ideal for making custom keyboards. [Lucas] was able to reimplement the scanning logic that [Circuit Rewind] had reverse engineered previously, and had the keyboard up and running in short order with all the usability benefits of the QMK firmware. Files are on Github for those eager to recreate the work.

As far as usability goes, [Lucas] notes that the Family BASIC keyboard is more of a conversation piece than a daily driver, thanks to its rather poor feel. Duly noted. We’ve explored how software development is done in Family BASIC before, too. Video after the break.

Continue reading “Nintendo’s Family BASIC Keyboard Gets USB Upgrade”