New Part Day: The Bizen Transistor

If we had a dollar for every exciting new device that’s promised to change everything but we never hear of beyond the initial hoopla, we’d own our own private islands in the sun from the beaches of which we’d pick out Hackaday stories with diamond-encrusted keyboards. The electronic engineering press likes to talk about new developments, and research scientists like a bit of publicity to help them win their next grant.

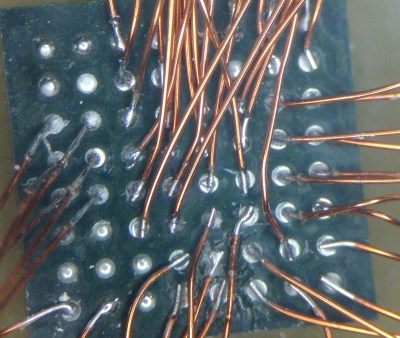
The Bizen transistor however sounds as though it might have some promise. It’s a novel device which resembles a bipolar transistor in which the junctions exhibit Zener diode-like properties, and in which the mechanism is through quantum tunneling rather than more conventional means. If this wasn’t enough, its construction is significantly simpler than conventional semiconductors, requiring many fewer support components to make a logic gate than traditional CMOS or TTL, and requires only eight mask steps to manufacture. This means that lead times are slashed, and that the cost of producing devices is much reduced.

The device’s originator has partnered with a semiconductor fab house to offer a service in which custom logic chips can be produced using the new devices in a series of standard building blocks. This is likely to be only of academic interest to the hacker at the moment, however the prospect of this cost reducing as the technology matures does show promise of reaching the means of some more well-funded hacker projects. It will be a while before we can order a chip with the same ease as a PCB, but this makes that prospect seem just a little bit closer.

Thanks [Ken Boak] for the tip.

Diode Basics By [W2AEW]

We didn’t think we needed a basic guide to diodes until we saw it was from [W2AEW], and then we knew we’d pick up some new things. Entitled “Diodes from Ideal to Real” the 18-minute video doesn’t disappoint with a mix of notes and time with a curve tracer to learn all about these devices.

As is typical for a [W2AEW] video this doesn’t just cover the simple operation of diode. It includes topics such as dynamic resistance, junction capacitance, and talks about a wide variety of diode types.

Continue reading “Diode Basics By [W2AEW]”

A Dancing Cowboy Nixie Tube

If there were four words you never expected to hear in sequence, they would probably be “Dancing cowboy Nixie tube”. But that’s just what [Glasslinger] has made, and it’s exactly what it sounds like – an encapsulated cowboy that dances.

We’ve placed the resulting video below the break, and in it we see a compelling tour through the construction of a Nixie, and the specialist tools required. Little touches such as the need to insulate with glass capillary tube whose wires which shouldn’t glow, the construction of the envelope and stem, and the painstaking layout of the various cowboy components on a sheet of mica are carefully explained.

The tube takes shape in front of us, a driver PCB is etched, and the whole arrangement is placed in a custom wooden box. This is old-school construction at its finest, with the only touch of modernity coming from an Arduino Uno that schedules the various segments. It’s not beyond imagination though to see in time gone by that a Honeywell mechanical sequencer might have been used for the same task.

We’ve brought you [Glasslinger]’s work before of course, but we’ve also seen some more conventional self-made Nixies.

Continue reading “A Dancing Cowboy Nixie Tube”

Proprietary Fan Blows, Gets PWM Upgrade

Proprietary components are the bane of anyone who dares to try and repair their own hardware. Nonstandard sizes, lack of labeling or documentation, and unavailable spare parts are all par for the course. [Jason] was unlucky enough to have an older Dell computer with a broken, and proprietary, cooling fan on it and had to make some interesting modifications to replace it.

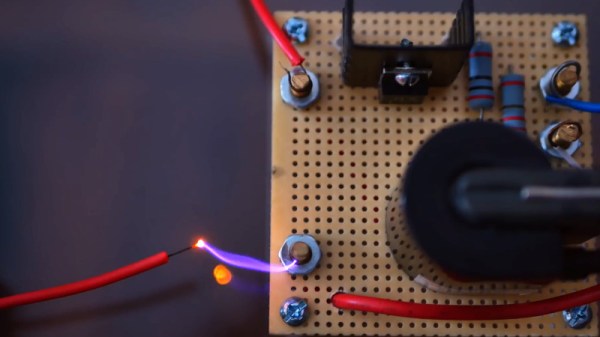
The original fan had three wires and was controlled thermostatically, meaning that a small thermistor would speed up the the fan as the temperature increased. Of course, the standard way of controlling CPU fans these days is with PWM, so he built a circuit which essentially converts the PWM signal from the motherboard into a phantom thermistor. It’s even more impressive that it was able to be done with little more than a MOSFET and a Zener diode.

Unfortunately, there was a catch. The circuit only works one way, meaning the fan speed doesn’t get reported to the motherboard and the operating system thinks the fan has failed. But [Jason] simply disabled the warning and washed his hands of that problem. If you don’t want to use a CPU fan at all, you can always just dunk your entire computer in mineral oil.

An Optocoupler Doorbell Notifier

Over the years we’ve seen several attempts at adding Internet connectivity to the lowly wired doorbell. Generally, these projects aim to piggyback on the existing wiring, bells, and buttons rather than replace them entirely. Which invariably means at some point the AC wiring is going to need to interface with a DC microcontroller. This is often where things get interesting, as it seems everyone has a different idea on how best to bridge these two systems.

That’s the point where [Ben Brooks] found himself not so long ago. While researching the best way to tap into the 20 VAC pumping through his doorbells, he found a forum post where somebody was experimenting with optocouplers. As is unfortunately so often the case, the forum thread never really had a conclusion, and it wasn’t clear if the original poster ever figured it out.

DIY optocouplers wrapped in electrical tape

[Ben] liked the idea though, so he thought he would give it a shot. But before investing in real optocouplers, he created his own DIY versions to use as a proof of concept. He put a standard LED and photoresistor together with a bit of black tape, and connected the LED to the doorbell line with a resistor. Running the LED on 60 Hz AC meant it was flickering rapidly, but for the purposes of detecting if there was voltage on the line, it worked perfectly.

Wanting something slightly more professional for the final product, [Ben] eventually evolved his proof of concept to include a pair of 4N35s, a custom PCB, and a 3D printed enclosure. Powered by a Particle Xenon, the device uses IFTTT to fire off smartphone notifications and blink the lights in the house whenever somebody pushes the bell.

If you’re still wondering why it’s so tricky to connect a microcontroller up to your door bell, a quick look at some of the similar projects we’ve covered should give you a pretty good idea of how annoying these systems can be to modernize.

USB Power Delivery For All The Things

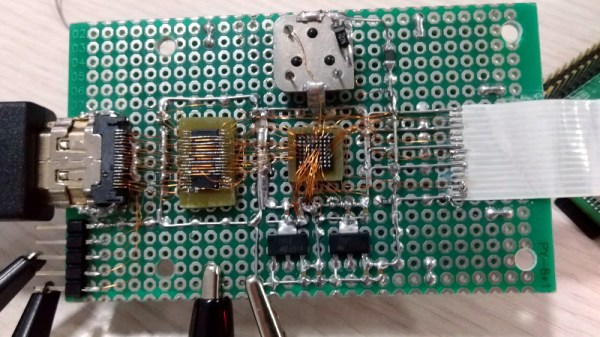
The promise of USB Power Delivery (USB-PD) is that we’ll eventually be able to power all our gadgets, at least the ones that draw less than 100 watts anyway, with just one adapter. Considering most of us are the proud owners of a box filled with assorted AC/DC adapters in all shapes and sizes, it’s certainly a very appealing prospect. But [Mansour Behabadi] hasn’t exactly been thrilled with the rate at which his sundry electronic devices have been jumping on the USB-PD bandwagon, so he decided to do something about it.

[Mansour] wanted a simple way to charge his laptop (and anything else he could think of) with USB-PD over USB-C, but none of the existing options on the market was quite what he wanted. He looked around and eventually discovered the STUSB4500, a a USB power delivery controller chip that can be configured over I2C.

With a bit of nonvolatile memory onboard, it can retain its settings so he didn’t have to include a microcontroller in his design: just program it once and it can be used stand-alone to negotiate the appropriate voltage and current requirements when its plugged in.

The board that [Mansour] came up with is a handy way of powering your projects via USB-C without having to reinvent the wheel. Using the PC configuration tool and an Arduino to talk to the STUSB4500 over I2C, the board can be configured to deliver from 5 to 20 VDC to whatever device you connect to it. The chip is even capable of storing three seperate Power Delivery Output (PDO) configurations at once, so you can give it multiple voltage and current ranges to try and negotiate for.

In the past we’ve seen a somewhat similar project that used USB-PD to charge lithium polymer batteries. It certainly isn’t happening overnight, but it looks like we’re finally starting to see some real movement towards making USB-C the standard.

DIY Clapper Lets You Pick Your Components

One thing that always means the end of the year is close is the reappearance of TV ads for “The Clapper.” After all, who needs home automation when you can clap on and clap off? While we’re partial to our usual home automation solutions, [Utsource123] shows us that building a clapper can be a fun and easy project using several similar circuits. One with a few transistors and another one with a 555 because, after all, what can’t a 555 do?

Of course, these circuits usually have a microphone. We were trying to think of how you could make a sound-sensitive element out of common parts. After all, you don’t care about the fidelity of the microphone pickup, just that it hears a loud noise. The circuits are about what you’d expect. The transistor version uses one to amplify the microphone and another to switch on the LED. You’d need a bit more to trigger a relay. The 555 uses an even simpler preamp transistor as a trigger.

While we aren’t bowled over with the idea of a clapper, we imagine these circuits aren’t far removed from the ones you buy in stores. For about $16 you also get enough switching to handle a simple AC load, though. Maybe Alexa and Google should allow making clapping a wake up word?

This is sure simpler than the last clapper clone we saw. Then there’s the deluxe DIY version.