A Better Use For The AGP Slot, Decades Later

For a while around a quarter century ago PC motherboards came with a special slot, a little shorter than the PCI slots which ruled the roost back then, and offset from them further into the case. This was the Accelerated Graphics Port, or AGP, a standard created to more quickly serve the 3D graphics cards which were then taking the world by storm. It was everywhere for a few years, then in the mid-2000s it was replaced by PCI Express and faded into obscurity. [Peter] has a Socket 7-based NAS with an AGP slot, and was left wondering whether the unused port could be put to a worthwhile purpose.

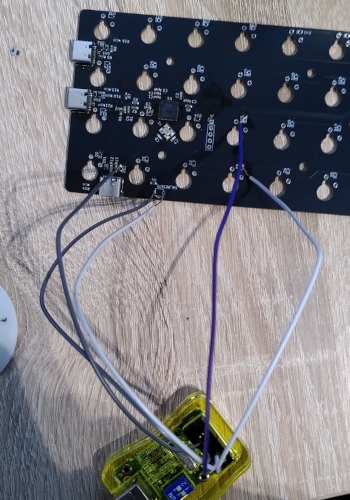
AGP is a superset of PCI clocked at 66 MHz, and usually benefiting from having its own exclusive bridge to the processor bus. Thus he reasoned that he could make an AGP to PCI adapter and it might work, as the right connections are all there. A hacked-together version was made by butchering two riser cards, and when a network card worked quite happily he knew he was on to something and made a PCB. There’s a caveat that it only works with 66-MHz capable PCI cards so not everything will work, but if you’re one of the very few people who must be in the market for one, he can do you a PCB.

We’d normally end with a link to a related project here, but we must instead congratulate [Peter]. As far as we can find, this is Hackaday’s first AGP hack, two decades later. Continue reading “A Better Use For The AGP Slot, Decades Later”

Designing A USB-C Upgrade PCB For The MX Ergo Mouse

As the world of electronic gadgetry made the switch from micro USB to USB-C as the charging port of choice, many of us kept both of the required cables handy. But it’s fair to say that these days a micro USB port has become a pretty rare sight, and the once ubiquitous cable can be a bit elusive in the event that you encounter an older device that requires it.

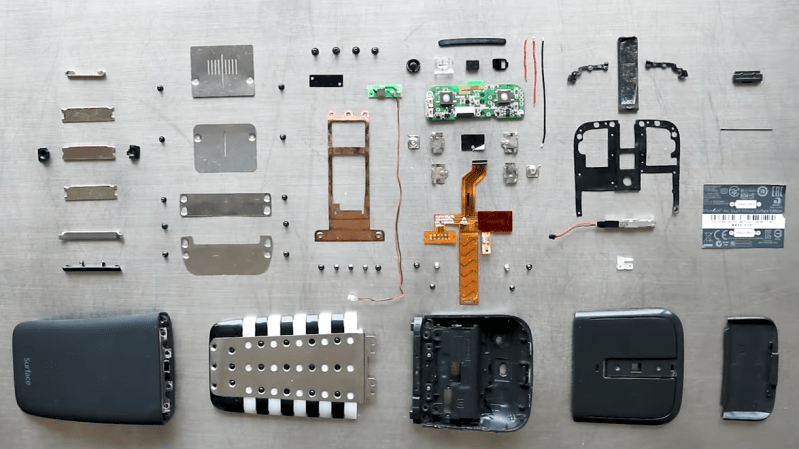
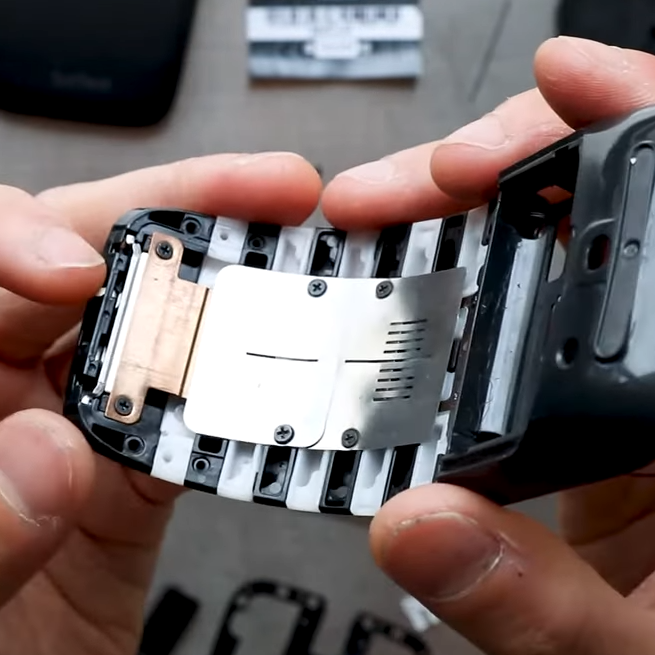
[Solderking] has a high-end Logitech cordless mouse with just this problem, and so he replaced its micro USB socket with a USB-C port. That makes the task sound deceptively simple, because in fact he had to reverse engineer one of the device’s PCBs in its entirety, making a new board with the same outline and components, but sporting the new connector.

Instead of attempting to replicate the complex shape with geometry he started with a scan of the board and had Fusion 360 trace its outline before 3D printing a version of it to check fit in the Logitech case. Then it was a case of tracing the circuit, designing the replacement, and hand transferring the parts from board to board.

The result is a USB-C chargeable mouse, and while all the design files don’t appear to be online, it’s possible to download the Gerbers from a PCBWay page. On top of that there’s a YouTube video of the process which we’ve placed below the break.

This isn’t the first time we’ve seen somebody spin up a new board to add USB-C to an older device — this drop-in replacement for Sony’s DualShock 4 comes to mind. If you’ve got enough free space inside your particular gadget, you might be able to pull of a USB-C conversion with nothing more exotic than a hacked up Adafruit breakout board.

Continue reading “Designing A USB-C Upgrade PCB For The MX Ergo Mouse”

A USB3SUN adapter, connected to a SPARCstation on one end and to a keyboard on another, with the OLED screen showing status icons

An Open SPARCstation USB Keyboard&Mouse Adapter

Got a SPARCstation? You might have had to deal with the proprietary DIN port used for keyboard and mouse input. However, you need not look for outdated hardware anymore – we’ve recently found an adapter project called [usb3sun], which lets you use a regular USB keyboard and mouse instead! Designed by [delan] from [the funny computer museum], the usb3sun adapter is featureful, open-source, and even comes with four blog posts describing its inner workings and development process!

Based on a Pi Pico board, this adapter has a ton of quality of life features – an OLED screen for status display, extra USB port and headers for debugging, a buzzer to emulate bell and click functions, power LEDs, and all the ports you would expect. The OLED screen is needed just because of how many features this adapter’s firmware has, and you’re bound to get more – the [usb3sun] firmware is being actively updated to this day. It’s as if this adapter aims to do all it possibly could help you with – for instance, one of the firmware updates has added idprom reprogramming features, which, as [delan] tells us, lets you boot your workstation with a dead NVRAM battery.

You can order the adapter PCBs yourself, you can breadboard it by following detailed instructions from [delan], or you can get a fully assembled and tested [usb3sun] adapter on Tindie! This adapter will seriously help you in your SPARCstation forays, and, if you don’t happen to own a SPARCstation, you can always emulate SunOS.

A “Full” Keyboard For $5*

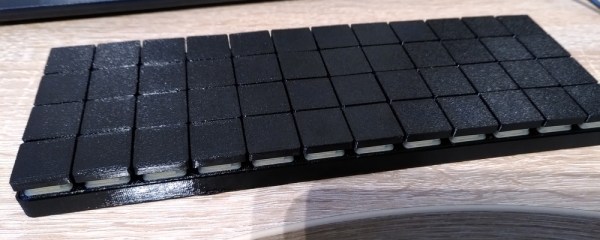
Sure, we’ve all seen PCB business cards at this point, but what about giving away a full-blown keyboard at meetups and such? That’s just how cost-effective the idawgz32 keyboard is. How on Earth can it cost so little? [sporewoh] used the CH552 microcontroller, which comes in around a dollar and only needs a couple of capacitors to get it up and running. The firmware is FAK.

As [sporewoh] writes in this blog post about the keyboard, they did some analysis and realized that most of the cost of their previous tiny board came from the switches. In addition to switching up the switches, [sporewoh] performed a few tricks to get the cost down, like making the key spacing 9 mm x 9 mm so that the overall board is less than 100 mm x 100 mm (which triggers a deal at a certain board house).

Unfortunately, the switches turned out not to be so good. They had greater travel and required more actuation force than the ones [sporewoh] was used to with previous board. The switches were also scratchy, which was solved with a little Krytox. But ultimately, they are pretty unreliable, so the next revision will use Panasonic EVQP0N02Bs.

If this seems familiar, you may be recalling this $3 macro pad which uses the same chip, or maybe the fact that we’ve covered the CH552 in detail.

*Thanks to the current CAD to USD exchange rate.

Illustrated Kristina with an IBM Model M keyboard floating between her hands.

Keebin’ With Kristina: The One With The 200% Typewriter

Image by [jefmer] via Hackaday.IO
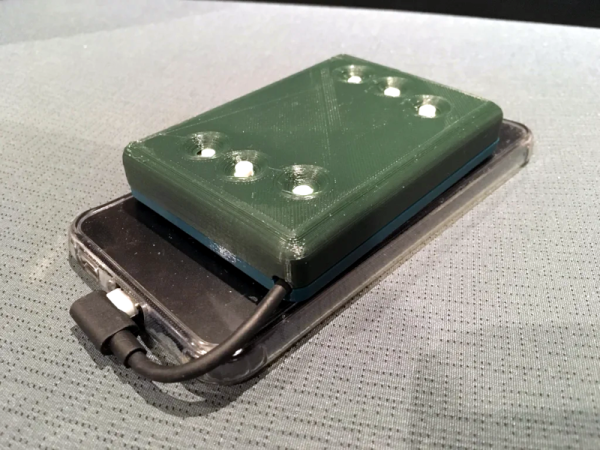
You know, the really sad truth about cyberdecks and cyberdeck-adjacent builds is that many of them just end up on the shelf, collecting dust while waiting for the dystopian future. Well, not this one. No, [jefmer] says their Portable Pi sees daily use, and even comes along on the go.

Since [jefmer] is “temperamentally unsuited to 3D printing”, the Pi 4B and its accessories are nestled in a rugged, splash-proof case under some acrylic sheets. One of those accessories, the keyboard, is a KPrepublic BM40 with Gateron Yellows. In order to get used to the number and symbols layer, [jefmer] laid down some great-looking labels above the keyboard.

Although the build started with an SD card for storage, [jefmer] has since upgraded to a 120 GB SSD. This required a beefy battery pack, but the difference is that it gets around four hours of power versus five hours when using an SD card.

Continue reading “Keebin’ With Kristina: The One With The 200% Typewriter”

Not A FrogPad But Close

While you might think one-handed keyboards are a niche item, if you have reduced function in one hand or you only have one hand, they are pretty important. [Kian] was getting ready for surgery that would put his left arm out of commission for a while, which spurred the construction of a one-handed keyboard inspired by FrogPad.

There was a time when creating a new keyboard would have been a significant task. These days, it is reasonably easy and [Kian] simply repurposed an existing kit for a split keyboard. Using just half the board was easy since it is made in two parts already.

There have been many attempts at building effective one-handed input devices over the years, and the circa 2002 FrogPad is one of the better devices. Like most one-handed keyboards, it uses layers. The top layer has the most common keystrokes to minimize the number of layer changes required to type common text.

Continue reading “Not A FrogPad But Close”

Printable Keyboard Dock Puts Steam Deck To Work

Whether or not you’re into playing video games, you have to admit, that the Steam Deck is a pretty interesting piece of hardware. We’ve seen hackers jump through all sorts of uncomfortable hoops to get Linux running on their mobile devices in the past. The fact that you can pick up a fairly powerful x86 handheld computer right now for a reasonable amount of money is certainly exciting. The Linux steam deck gets even more enticing when you consider the software support it enjoys thanks to its large and vibrant user community. No wonder we’ve started to see them dotting the workbenches during Hackaday Supercon.

If there’s a downside, it’s that the Steam Deck was very clearly designed to be a handheld gaming system, not a portable computer. Sure you can plug in an external monitor and keyboard, but things can quickly become ungainly. This is why a printable dock from [a8ksh4] caught our eye.

It’s officially designed to let you mate the Steam Deck with the Corne keyboard, a split ergonomic design that’s graced these pages a few times in the past. [A8ksh4] has included links for all the hardware you’ll need outside the printed parts, from the hinges and keyboard PCBs, all the way to the keycaps and stainless steel screws. If you’re looking for a turnkey experience, this is it.

Continue reading “Printable Keyboard Dock Puts Steam Deck To Work”