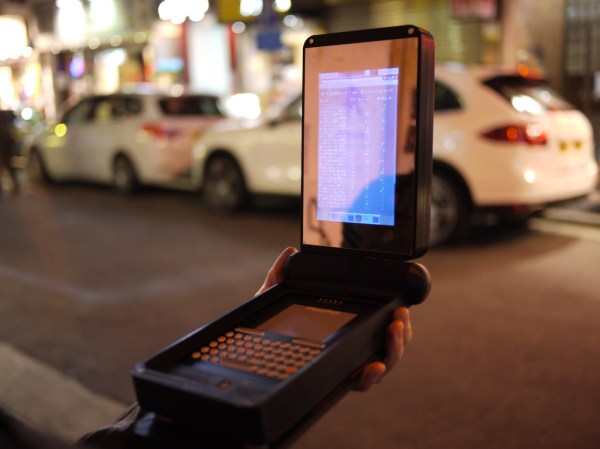
We’re not so much fans of James Bond as we are of Q, the hacker who supplies him with such wonderful things. There is a challenger to Q’s crown, [Naomi Wu] — code name [SexyCyborg] — built an epic gadget called the Pi Palette which hides a Linux laptop inside of a cosmetics case.
You can see the covert mode of the Pi Palette below. It resembles a clamshell cosmetics case with the makeup and applicator in the base and a mirror on the underside of the flip-up lid. The mirror hides an LCD screen in the portrait orientation, as well as a Raspberry Pi 3 running Kali Linux.
The base of the case includes a portable battery beneath the wireless keyboard/touchpad — both of which are revealed when the cosmetics tray is removed. An inductive charger is connected to the battery and [Naomi] built a base station which the Pi Palette sits in for wireless charging.
She envisions this as a covert penetration testing. For that, the Pi Palette needs the ability to put the WiFi dongle into promiscuous mode. She wired in a dual dip-switch package and really went the extra mile to design it into the case. The fit and finish of that switch is just one tiny detail the illustrates the care taken with the entire project. With such a beautiful final project it’s no wonder she took to the streets to show it off. Check that out, as well as the build process, in the video after the break.


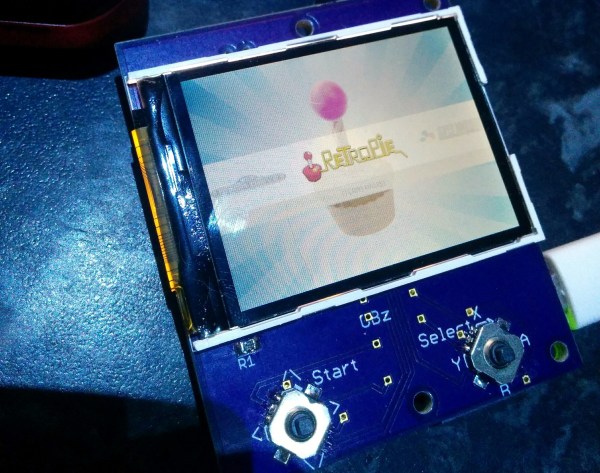
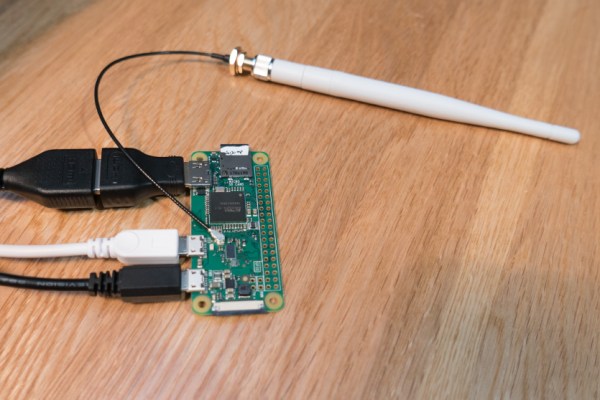
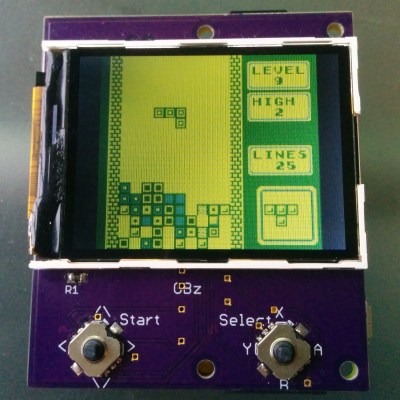 This build is based on the Pi Zero and a 2.2″ (0.56 dm) ili9341 TFT display. This display has a resolution of 240×320 pixels, which is close enough to the resolution of the systems the Pi Zero can emulate. The Pi Zero and display are attached to a beautiful purple breakout board (
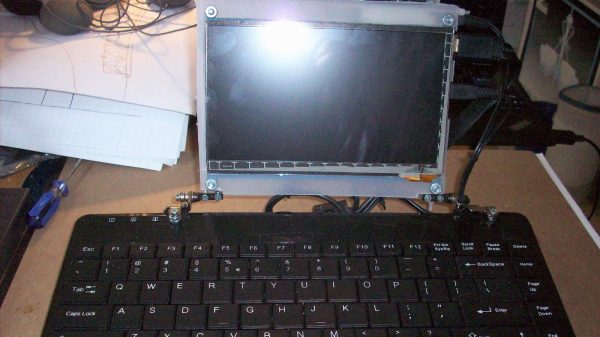
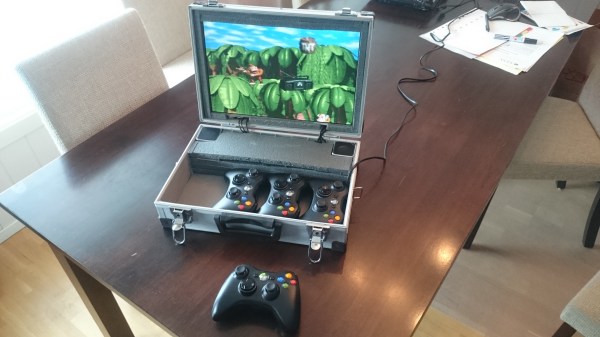
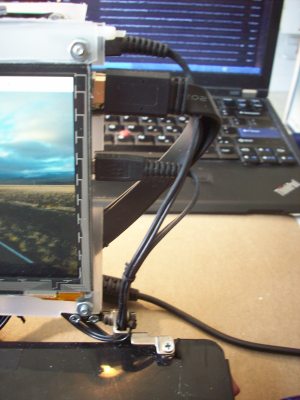 All joking aside, this is a great example of doing what you can with what you’ve got. [starhawk] is limited on funds, and a regular laptop is beyond his means. But being light in the wallet is no reason to go without when you can scrounge parts from friends and family. The base of the laptop is a mini USB keyboard, with the top formed mainly by a 7″ HDMI panel. The back of the display is adorned with a Raspberry Pi 3, a USB hub, a little sound dongle, and the aforementioned Jolly Wrencher. The whole thing is powered by a cast-off power supply brick — no exploding batteries to worry about!