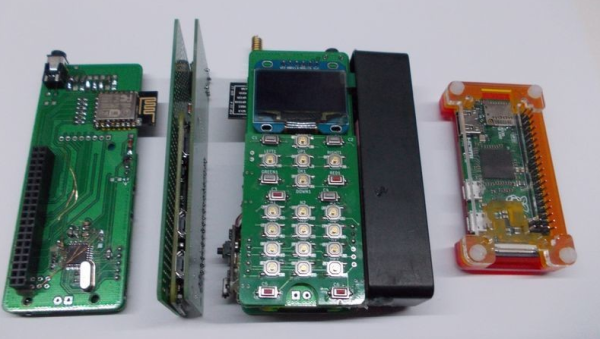
There are many uses for an old 10 Mbps Ethernet hub besides using it as a speed-bump in your network. (No fun in that!) [thinkerzone] decided to gut an old EN104 Bay Networks ‘Netgear Hub’ to re-purpose the solid steel case as a Raspberry Pi Zero PC housing. The project, which [thinkerzone] called Pikelet, aims to be an ‘IoT server’ with the feel of a PC. Note: a PC, not a Gameboy. In his hackaday.io project, he describes the minimum set of features for the Pikelet.
- Power button – PCs need a power button
- Power and Status LEDS – Blue for power, RGB for the programmable status LED
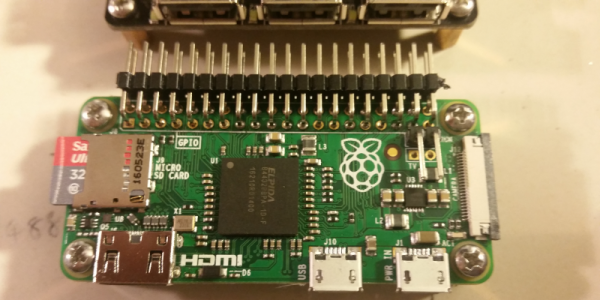
- USB ports – using a Zero4U hub to expand the Pi Zero usb ports
- Ethernet – using a ENC28J60 module was the original idea, but it burned while making the project
- HDMI access – the case should ensure the HDMI port is accessible
- Minimum storage – a 32 Gb SD card was found to be “enough to be useful”
- UART – via a FT232 module
- WiFi – a WiFi dongle with an external antenna, since the metal case would degrade the signal if it was inside, so a WiFi hat was not an option
On the software side, it runs the latest version of Raspbian with some additional configuration for the UART port and status LED pins.
In the project logs we can follow along as [thinkerzone] battles through the implementation of the project and, well, Murphy’s Law. One of the things that a descriptive log is useful for is that it serves as a reminder that an apparently simple project can have a lot of setbacks. Sometimes an easy-to-describe project is quite a challenge to implement. And it can be annoying when explaining the challenges to other (non hackers/makers) persons and they go: “That’s just connecting some wires…”
Is the feeling familiar? It’s nice to see someone else going through it too.


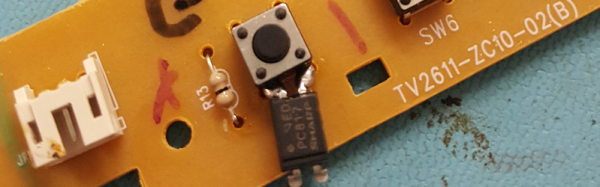
 His victim TV didn’t have the ability to be switched on and off by the Raspberry Pi using HDMI/CEC, so he came up with an alternative. He got a couple of opto-isolators and soldered one to the on/off button on the TV’s control board. The Pi didn’t know whether it was switching the TV on or off, it just knew it was switching it. To solve this, [Troy Denton] connected another opto-isolator to the TV’s LED, this one the other way around. When the TV is turned on, the Pi now detects it.


