The Raspberry Pi Zero – and the not-perpetually-out-of-stock Raspberry Pi A+ – only have one USB port, but behind that port is a lot of functionality. This is an OTG USB port, and just like the USB port on your smartphone, this little plug can become any kind of USB device. Transforming the Pi into a USB gadget allows it to be a serial connection, MIDI device, audio source or sink, or a USB mass storage device.
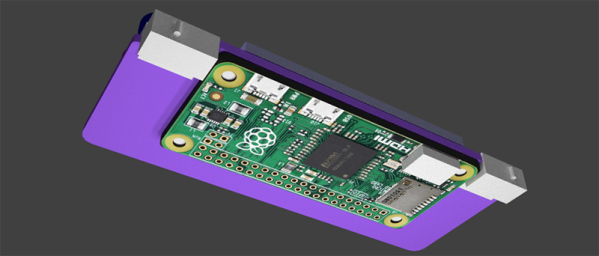
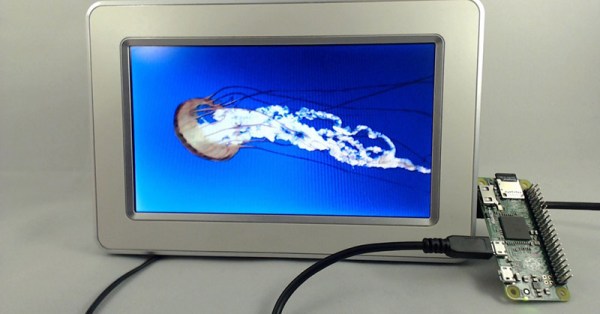
[Francesco] was especially interested in the USB mass storage capability of the Raspberry Pi Zero and built a small project to show off its capabilities. He turned a Pi Zero into the controller for a digital picture frame, constantly displaying all the image files on a small screen.
The build started with [Andrew Mulholland]’s guide for Pi Zero OTG modes, with just a few modifications. When the Pi is plugged into a PC, it automatically becomes a 100 Megabyte USB storage device. You don’t need that much space on a digital picture frame, anyway.
While setting up a digital picture frame is easy enough, there’s still a tremendous amount of untapped potential in using the Pi Zero as a USB gadget. With enough buttons, switches, and sensors, the Pi can become a wearable MIDI device, or with the Pi camera module, an IP webcam. Neat stuff, and we can’t wait to see what the community comes up with next.