When looking the modify a passenger vehicle, the Controller Area Network (CAN) bus is a pretty easy target. In modern vehicles it has access to most of the on-board systems — everything from the climate control to the instrument cluster and often even the throttle, braking, and steering systems. With as versatile as the CAN bus is, though, it’s not the right tool for every job. There’s also the Media Oriented Systems Transport (MOST) bus which is increasingly found in automotive systems to handle multimedia such as streaming music to the stereo. To access that system you’ll need to approach it slightly differently as [Rhys] demonstrates.
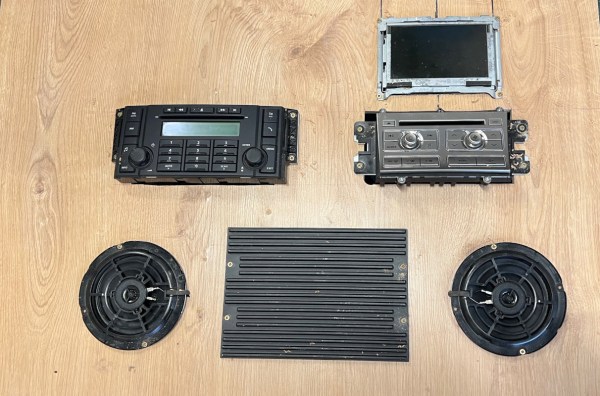
[Rhys] has been working on replacing the dated head unit in his Jaguar, and began by investigating the CAN bus. He got almost everything working with replacement hardware except the stereo, which is where the MOST bus comes into play. It provides a much higher bandwidth than the CAN bus can accommodate but with almost no documentation it was difficult to interact with at first. With the help of a Raspberry Pi and a lot of testing he is able to get the stereo working again with a much more modern-looking touchscreen for control. It is also able to do things like change CDs in the car’s CD player, gather song information from the CD to display on the panel, and can perform other functions of the infotainment center.
For more detailed information on the MOST bus, [Rhys] also maintains a website where he puts his discoveries and other information he finds about this system. Unfortunately car stereo systems in modern vehicles can get pretty complicated these days, but adapting car stereos in older vehicles to modern technology carries some interesting challenges as well.