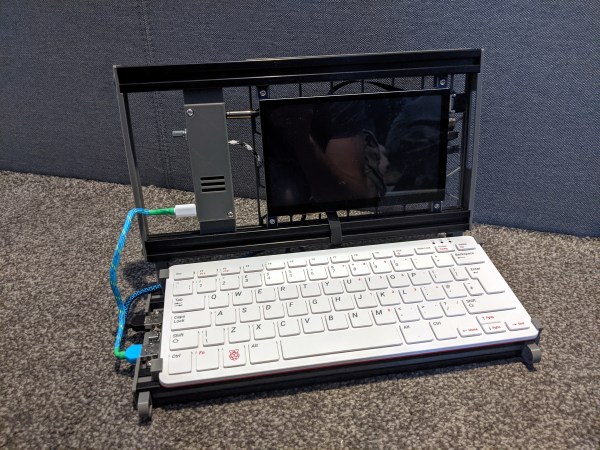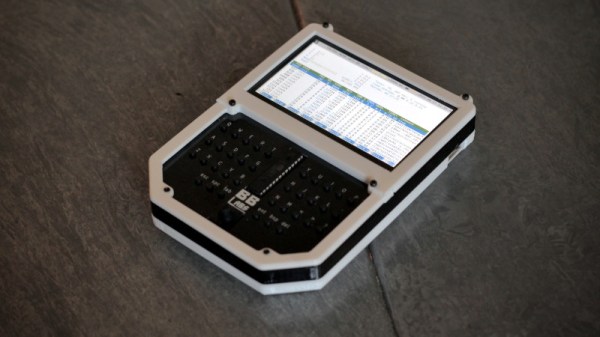
Amid the many wonderful form factors being explored by the makers of cyberdecks, there’s one that’s emerged which harks back to an earlier generation of portable computers: the handheld pad with a keyboard. These units are typically around the size of a hardback book, with the upper half being a screen and the lower a keyboard. The latest to come our way is from [Richard Sutherland], and it’s a very tidy pad computer indeed.
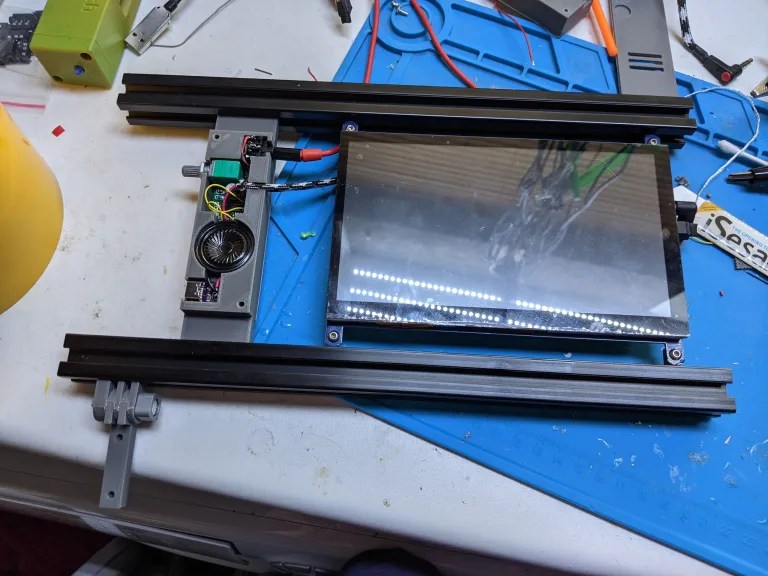
Inside the well-designed layered 3D printed case is the frequently-chosen Raspberry Pi 4, along with a PiSugar power supply board and 5,000 mAH battery and a 4.3″ touchscreen display. The keyboard has seen a lot of care and attention, featuring high-quality tactile switches that follow the Miryoku keyboard layout. He says it’s a thumb-typing keyboard, but anyone looking for more can either adapt the design to their liking or simply plug in an external board when faster typing is needed.
We like the pad computer trend as it offers useful computing power in a far more convenient format than a laptop, and we think this is a particularly nice one. It would be nice to see where people take this design, and who knows, we might give one a try for writing some Hackaday articles. If you’d like to see more pad computer goodness, we recently showed you one built in the shell of a classic Amstrad.