When it comes to keeping in touch with the grandparents, a lack of familiarity with modern technology can get in the way. [palmerabollo] wanted to share photos with his grandmother, but found that it was difficult as she didn’t have a smartphone or an Internet connection to receive photos. Thus, a custom build for grandma was in order! (translated)
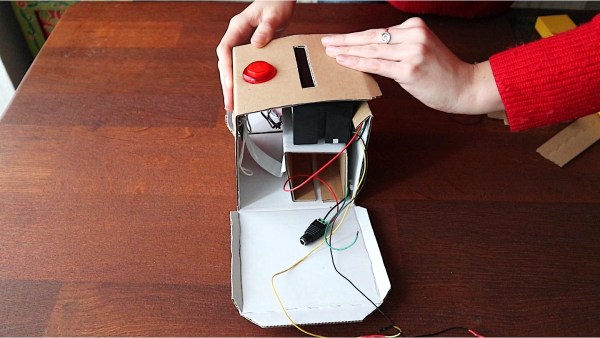
To minimise maintenance requirements, the build relies on a thermal receipt printer. Each roll of thermal paper is good for printing off about 150 images before needing a change, so it’s a low-cost, fuss-free solution with no need for ink changeovers.
A Raspberry Pi Zero 2W runs the show, paired with a HAT that provides cellular internet connectivity. Photos are sent over Telegram with some custom Python code that [palmerabollo] put together. The system uses the Python “thermalprinter” library, with the Floyd-Steinberg dithering algorithm baked in allowing nice quality even on the simple thermal printer.
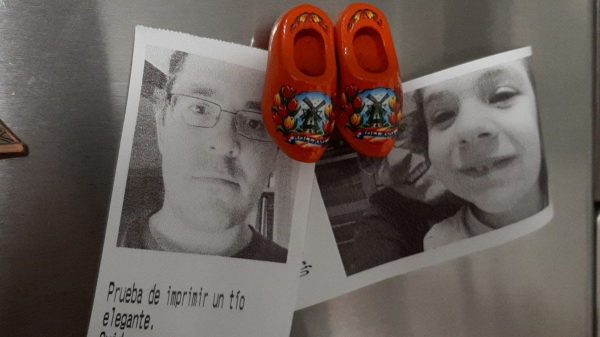
It’s a fun build, and lets [palmerabollo] send his grandmother fun photos and messages without requiring any effort on her part. It’s super cute to see the photos stuck up on the refrigerator, too.
There’s plenty of fun to be had with thermal printers, so don’t be afraid to get stuck in yourself! Video after the break. Continue reading “Sending Pics To Grandma, No Smartphone Needed”