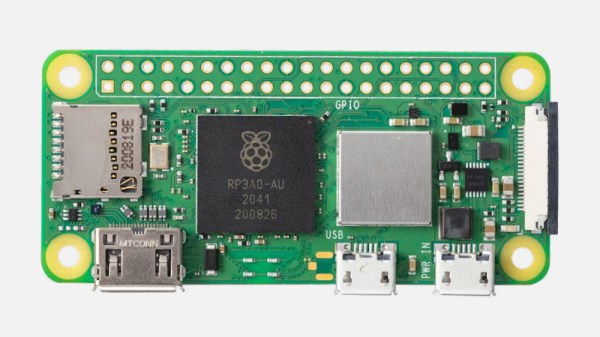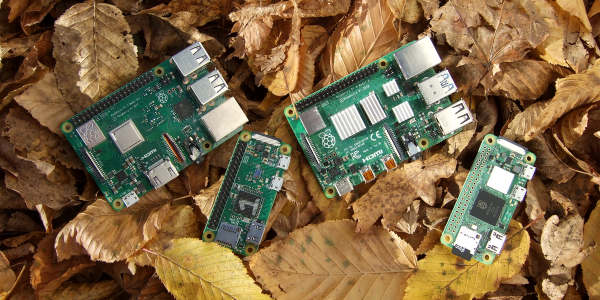
Last week we saw the announcement of the new Raspberry Pi Zero 2 W, which is basically an improved quad-core version of the Pi Zero — more comparable in speed to the Pi 3B+, but in the smaller Zero form factor. One remarkable aspect of the board is the Raspberry-designed RP3A0 system-in-package, which includes the four CPUs and 512 MB of RAM all on the same chip. While 512 MB of memory is not extravagant by today’s standards, it’s workable. But this custom chip has a secret: it lets the board run on reasonably low power.
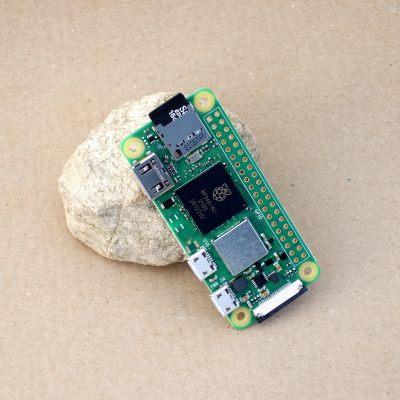 When you’re using a Pi Zero, odds are that you’re making a small project, and maybe even one that’s going to run on batteries. The old Pi Zero was great for these self-contained, probably headless, embedded projects: sipping the milliamps slowly. But the cost was significantly slower computation than its bigger brothers. That’s the gap that the Pi Zero 2 W is trying to fill. Can it pull this trick off? Can it run faster, without burning up the batteries? Raspberry Pi sent Hackaday a review unit that I’ve been running through the paces all weekend. We’ll see some benchmarks, measure the power consumption, and find out how the new board does.
The answer turns out to be a qualified “yes”. If you look at mixed CPU-and-memory tasks, the extra efficiency of the RP3A0 lets the Pi Zero 2 W run faster per watt than any of the other Raspberry boards we tested. Most of the time, it runs almost like a Raspberry Pi 3B+, but uses significantly less power.
Along the way, we found some interesting patterns in Raspberry Pi power usage. Indeed, the clickbait title for this article could be “We Soldered a Resistor Inline with Raspberry Pis, and You Won’t Believe What Happened Next”, only that wouldn’t really be clickbait. How many milliamps do you think a Raspberry Pi 4B draws, when it’s shut down? You’re not going to believe it.