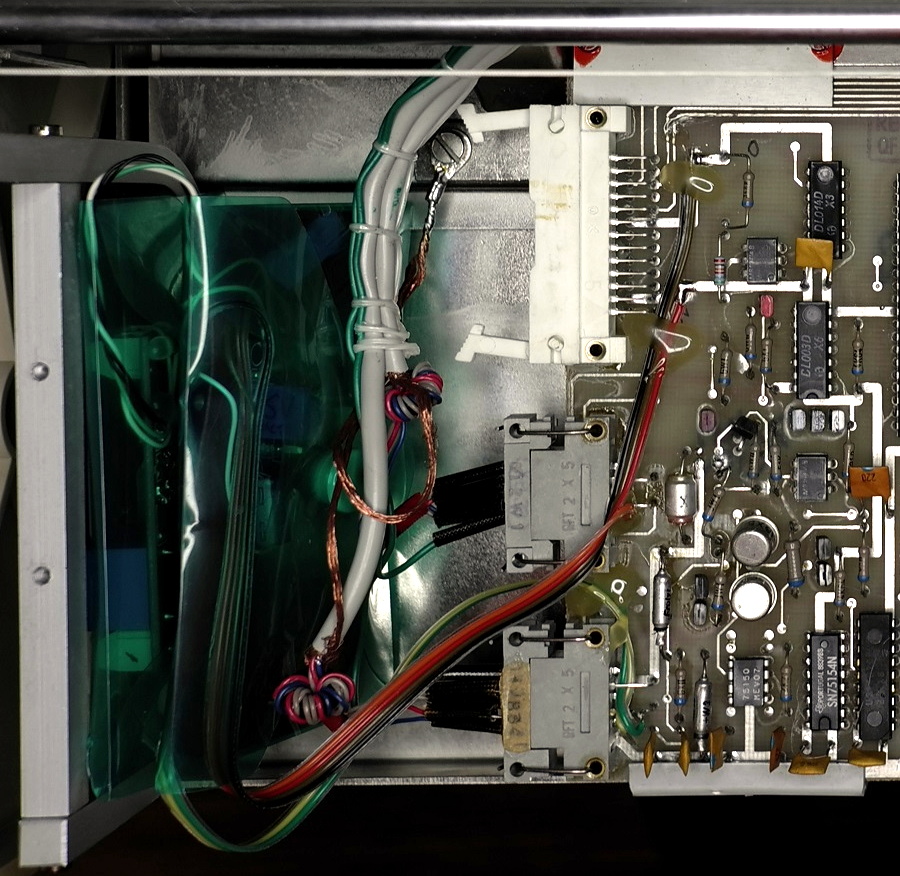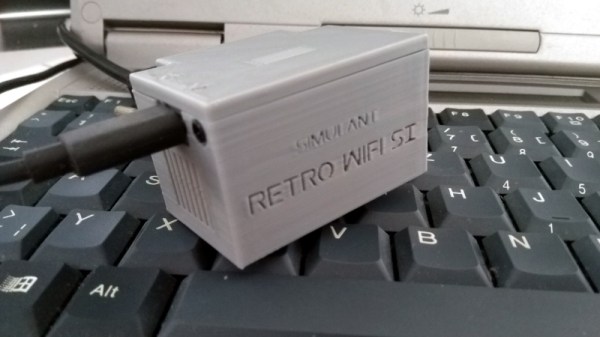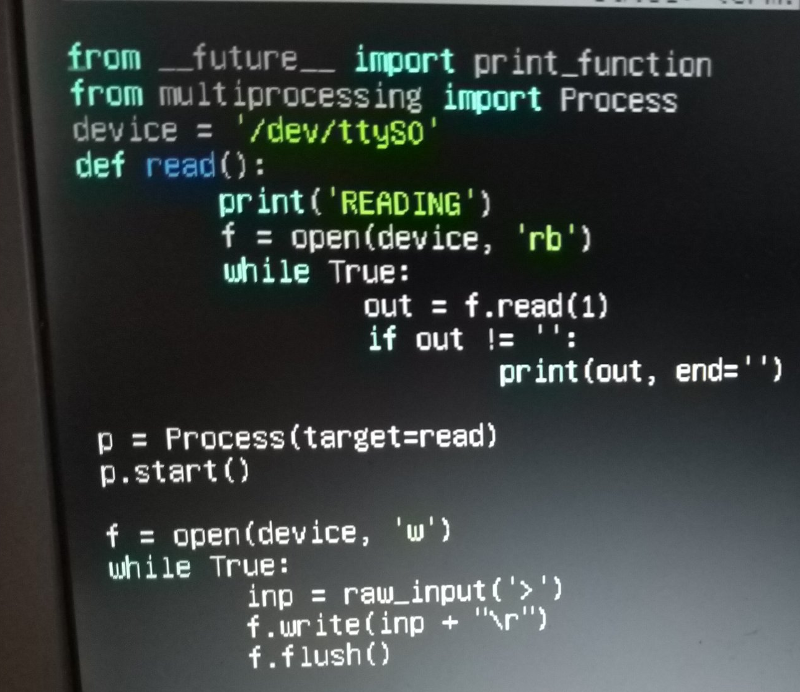
Our more youthful readers are fairly likely to have owned some incarnation of a VTech educational computer. From the mid-1980s and right up to the present day, VTech has been producing vaguely laptop shaped gadgets aimed at teaching everything from basic reading skills all the way up to world history. Hallmarks of these devices include a miserable monochrome LCD, and unpleasant membrane keyboard, and as [HotKey] found, occasionally a proper Z80 processor.
It started, as such things often do, with eBay. [HotKey] found that the second hand market is flooded with these decades-old educational gadgets, often selling for just a few bucks. As it turns out, children of the smartphone and tablet era don’t seem terribly interested in a “laptop” from 1991. At any rate, he ordered about a dozen different models and started tearing into them to see what made them tick.
He found that the VTech machines of around 20+ years old were using the Z80 processor, and what’s more, they shared a fairly standardized external cartridge interface for adding additional software or saving data. Upon attempting to dump some data from the cartridge port, [HotKey] discovered that it was actually connected to the computer’s main bus. He realized that with a custom designed cartridge, it should be able to take over the system and have it run his own code.
After more than a year of tinkering and talking to other hackers in the Z80 scene, [HotKey] has made some impressive headway. He’s not only created a custom cartridge that lets him load new code and connect to external devices, but he’s also added support for a few VTech machines to z88dk so that others can start writing their own C code for these machines. So far he’s created some very promising proof of concept programs such as a MIDI controller and serial terminal, but ultimately he hopes to create a DOS or CP/M like operating system that will elevate these vintage machines from simple toys to legitimate multi-purpose computers.
The last Amiga personal computer rolled off the assembly line in 1996, well over 20 years ago. Of course, they had their real heyday in the late 80s, so obviously if you have any around now they’ll be in need of a little bit of attention. [Drygol] recently received what looks like a pallet of old Amiga parts and set about building this special one: The Vampiric Amiga A500.
The foundation of this project was a plain A500 with quite a bit of damage. Corrosion and rust abounded inside the case, as well as at least one animal. To start the refurbishment, the first step was to remove the rust from the case and shields by an electrochemical method. From there, he turned his attention to the motherboard and removed all of the chips and started cleaning. Some of the connectors had to be desoldered and bathed in phosphoric acid to remove rust and corrosion, and once everything was put back together it looks almost brand new.
Of course, some other repairs had to be made to the keyboard and [Drygol] put a unique paint job on the exterior of this build (and gave it a name to match), but it’s a perfect working Amiga with original hardware, ready to go for any retrocomputing enthusiast. He’s no stranger around here, either; he did another extreme restoration of an Atari 800 XL about a year ago.
For many people, a retrocomputer is a classic machine from the past lovingly brought back to working order. But for some, the idea of a retrocomputer is wider than that, encompassing modern hardware that delivers to feel like a device from the past.
The Monotron from [Jonathan Pallant] is one such computer. It’s definitely a retrocomputer such as you might have found in the 1980s, but it’s running on a much more modern Tiva-C TI Launchpad dev board sporting an ARM Cortex M4.
The platform has been created entirely in Rust, and emulates what would have been a rather desirable machine in the early 1980s. With an 800×600 pixel 8-colour VGA display interface, 32k of RAM, and mono 8-bit audio, it already has a few simple demos and games running upon it. [Jonathan Pallant] has given more than one talk on its design and capabilities, we’ve placed one of them as a video below the break. There is even a PCB available which adds all the ports as well as a micro SD card slot for program storage.
We like the Monotron, and we look forward to seeing it develop. It’s an exciting time for retrocomputig with projects such as the RC2014 Z80 machine and the Gigatron TTL RISC processor, but is there space for an emulated one such as this? We hope so.
At the end of August I made the trip to Hebden Bridge to give a talk at OSHCamp 2019, a weekend of interesting stuff in the Yorkshire Dales. Instead of a badge, this event gives each attendee an electronic kit provided by a sponsor, and this year’s one was particularly interesting. The RC2014 Micro is the latest iteration of the RC2014 Z80-based retrocomputer, and it’s a single-board computer that strips the RC2014 down to a bare minimum. Time to spend an evening in the hackerspace assembling it, to take a look!
It’s An SBC, But Not As You Know It!
The kit contents
The kit arrives in a very compact heat-sealed anti-static packet, and upon opening was revealed to contain the PCB, a piece of foam carrying the integrated circuits, a few passives, and a very simple getting started and assembly guide. The simplicity of the design becomes obvious from the chip count, there’s the Z80 itself, a 6850 UART, 27C512 ROM, 62256 RAM, 74HCT04 for clock generation, and a 74HCT32 for address decoding. The quick-start is adequate, but there is also a set of more comprehensive online instructions (PDF) available.
I added chip sockets and jumpers to my kit.
Assembly of a through-hole kit is hardly challenging, though this one is about as densely-packed as it’s possible to make a through-hole kit with DIP integrated circuits. As with most through-hole projects, the order you pick is everything: resistors first, then capacitors, reset button and crystal, followed by integrated circuits.
I’m always a bit shy about soldering ICs directly to a circuit board so I supplemented my kit with sockets and jumpers. The jumpers are used to select an FTDI power source and ROM addresses for Grant Searle’s ROM BASIC distribution or Steve Cousins’ SCM 1.0 machine code monitor, and the kit instructions recommended hard-wiring them with cut-off resistor wires. There was no row of pins for the expansion bus because this kit was supplied without the backplane that’s a feature of the larger RC2014 kits, but it did have a set of right-angle pins for an FTDI serial cable.
Your Arduino Doesn’t Have A Development Environment On Board!
Having assembled my RC2014 Mini and given it a visual inspection it was time to power it up and see whether it worked. Installing the jumper for FTDI power, I attached my serial cable and plugged it into a USB port.
A really nice touch is that the Micro has the colours for the serial cable wires on the reverse side of the PCB, taking away the worry of getting it the wrong way round. A quick screen /dev/ttyUSB0 115200 to get a serial terminal from a bash prompt, hit the reset button, and I was rewarded with a BASIC interpreter. My RC2014 Micro worked first time, and I could straight away give it BASIC commands such as PRINT "Hello World!" and be rewarded with the expected output.
The SCM ROM monitor.
So I’ve built a little Z80 single board computer, and with considerably less work than that required for the fully modular version of the RC2014. Its creator Spencer tells me that the Micro was originally designed as a bargain-basement RC2014 as a multibuy for workshops and similar activities, being very similar to his RC2014 mini board but without provision for a Pi Zero terminal and a few other components. It lacks the extra hardware required for a more comprehensive operating system such as CP/M, so I’m left with about as minimal an 8-bit computer as it’s possible to build using parts available in 2019. My question then is this: What can I do with it?
So. What Can I Do With An 8-bit SBC?
My first computer was a Sinclair ZX81, how could it possibly compare this small kit that was a giveaway at a conference? Although the Sinclair included a black-and-white TV display interface, tape backup interface, and keyboard, the core computing power was not too far different in its abilities from this RC2014 Micro — after all, it’s the same processor chip. It was the platform that introduced a much younger me to computing, and straight away I devoured Sinclair BASIC and then went on to write machine code on it. It became a general-purpose calculation and computing scratchpad for repetitive homework due to the ease of BASIC programming, and with my Maplin 8255 I/O port card I was able to use it in the way a modern tech-aware kid might use an Arduino.
The RC2014 Micro is well placed to fill all of thoseĀ functions as a BASIC and machine code learning platform on which to get down to the hardware in a way you simply can’t on most modern computers, and though the Arduino represents a far more sensible choice for hardware interfacing there is also an RC2014 backplane and I/O board available for the Micro’s expansion bus should you wish to have a go. Will I use it for these things? It’s certainly much more convenient than its full-sized sibling, so it’s quite likely I’ll be getting my hands dirty with a little bit of Z80 code. It’s astounding how much you can forget in 35 years!
The RC2014 Micro can be bought from Spencer’s Tindie store, with substantial bulk discounts for those workshop customers. If you want the full retrocomputer experience it’s a good choice as it provides about as simple a way into Z80 hardware and software as possible. The cost of simplicity comes in having no non-volatile storage and in lacking the hardware to run CP/M, but it has to be borne in mind that it’s the bottom of the RC2014 range. For comparison you can read our review of the original RC2014, over which we’d say the chief advantage of the Micro is its relative ease of construction.
A smartphone in 2019 is an essential piece of everyday equipment. Many of you are probably reading this page on one, and it will pack a very significant quantity of computing power into your hand. Pocket computing has a long history stretching back decades before the mass adoption of smartphones though, and Paleotronic has an interesting retrospective of that earlier history.
The piece starts with the Radio Shack PC-1, a rebadged Sharp with a calculator-style keyboard and a one-line alphanumeric LCD display, then continues through the legendary TRS-80 Model 100 to the era of the palmtop. It’s a difficult subject to cover in its entirety as there are so many milestones on the pocket computing path, but it’s an interesting read nevertheless as it successfully evokes the era when a 300 Baud connection via an acoustic coupler was a big deal. We might for example have mentioned the Atari Portfolio if only for its use by a young John Connor to scam an ATM inĀ Terminator 2, and as any grizzled old sysadmin will tell you, there was a time when owning a Nokia Communicator might just save your bacon.
Of the classic pocket computing devices mentioned, only one has received significant coverage here. The TRS-80 model 100 still has a huge following, and among quite a few hacks featuring it we’ve seen one brought into the smartphone age by getting the ability to make a cellular connection.
TRS-80 Model 100 image: Jeff Keyzer from Austin, TX, USA [CC BY-SA 2.0]
If you look at enough of another developer’s code, you will eventually say, “What were you thinking, you gosh-darn lunatic?” Now, this exchange can precede the moment where you quit a company and check into a padded room, or it can be akin to calling someone a mad genius and offering them a beer. In the case of [Steven Sidley]’s 1982 game Entombed, [John Aycock] and [Tara Copplestone] found a mysterious table for generating pseudo-random mazes and wrote a whitepaper on how it all works (PDF). The table only generates solvable mazes, but if any bits are changed, the puzzles become inescapable.
The software archaeologists are currently in a labyrinth of their own, in which the exit is an explanation of the table, but the path is overgrown with decade-old vines. The programmer did not make the table himself, and its creator’s name is buried somewhere in the maze. Game cart storage was desperately limited so mazes had to be generated on-the-fly rather than crafted and stored. Entombed‘s ad-hoc method worked by assessing the previous row and generating the next based on particular criteria, with some PRNG in places to keep it fresh. To save more space, the screen was mirrored down the center which doubles the workload of the table. Someday this mysterious table’s origins may be explained but for now, it is a work of art in its own right.
Aside from a table pulled directly from the aether, this maze game leaned on pseudo-random numbers but there is room for improvement in that regard too.
If you owned a classic Commodore home computer you might not have known it at the time, but it would have contained a versatile integrated circuit called the MOS6526. This so-called CIA chip, for Complex Interface Adaptor, contained parallel and serial ports, timers, and a time-of-day counter. Like so many similar pieces of classic silicon it’s long out of production, so [Daniel Molina] decided to replicate a modern version of it on a PCB using 74HGT CMOS logic.
The result will be a stack of boards board that appear to be about the size of a 3.5″ floppy disk covered in surface-mount 74 chips, and connected to the CIA socket of the Commodore by a ribbon cable. The base board is the only one completed so far and contains the data direction registers and parallel ports, but the succeding boards will each carry one of the chip’s other functions.
It seems rather odd to use so much silicon to recreate a single chip, but the point is not of course to provide a practical CIA replacement. Instead it’s instructive, it shows us how these interfaces work as well as just how much circuitry is crammed into the chip. It’s no surprise that it’s inspired by the C74 Project, a TTL 6502 processor that we featured last year.