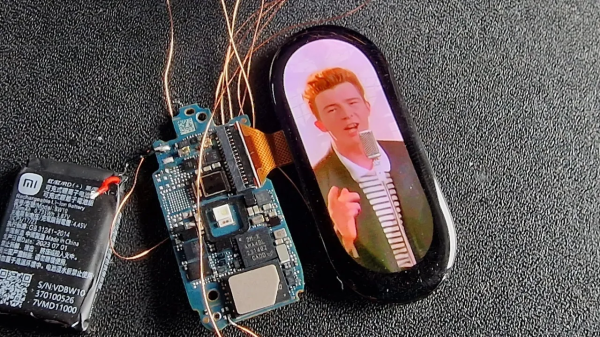
Over the past years, fitness trackers have gone from fairly unobtrusive bands that relied mostly on smartphone apps for interaction to essentially being fashion statements and smart watches, with large screens and impressive specs. The Xiaomi Mi Band 8 is no exception, with a zippy MCU and a 1.62″ AMOLED screen that just asks for some serious rick-rolling. This was a challenge which [Aaron Christophel] was all too happy to accept, resulting in some reverse-engineering and flashing of custom firmware onto one of these marvels of modern wearable technology.
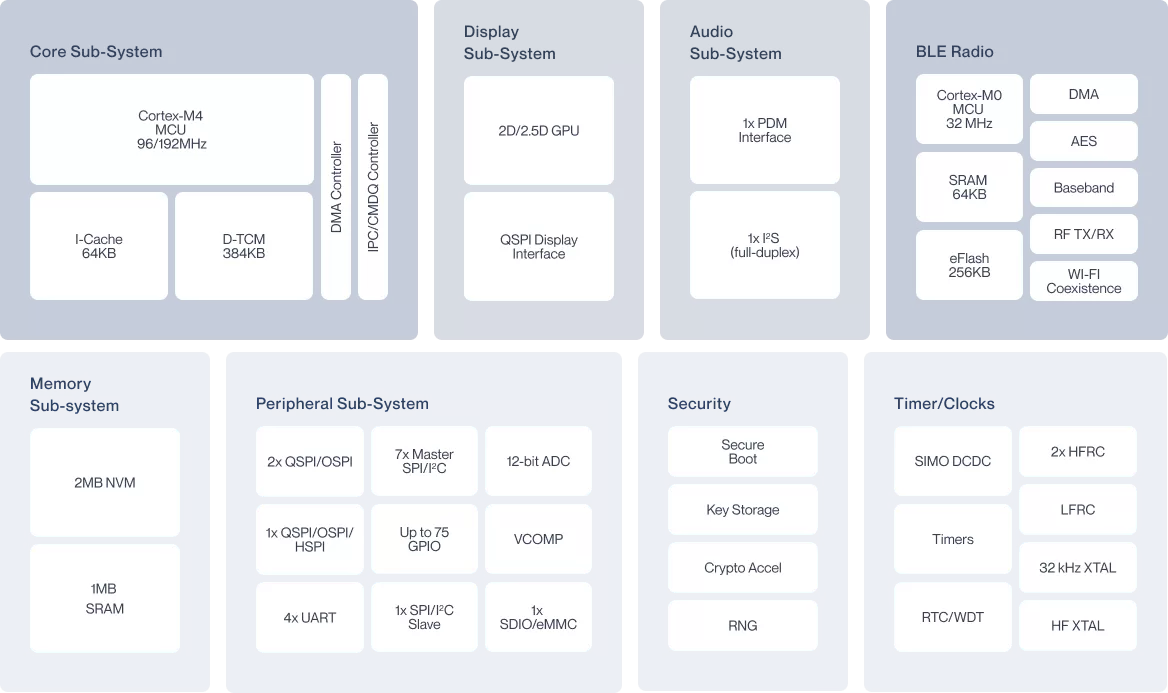
The Mi Band 8 is built around an Ambiq Apollo4 Blue Lite MCU which features a Cortex-M4 core for applications, along with a Bluetooth LE radio and a lot of SRAM and Flash. This naturally implies an SWD interface for programming, which was mostly a matter of reverse-engineering the PCB to find the locations for these signals and realizing that the original firmware disables the SWD interface on boot. Unfortunately the Ambiq SDK requires you to create an account, but you can get the basics from [Aaron]’s GitHub project. It appears that for BLE you do need the full SDK, and OTA updates feature a signing check, so physical access is required.
So far the display, touchscreen and light sensor are working, with the remaining peripherals just a matter of time. With a list price of around $64 for one of these fitness bands with a 192 x 490 touch-enabled AMOLED display and a variety of health-related sensors, they’d seem to be a fun toy to hack, especially when found on sale or used.
Continue reading “Hacking The Xiaomi Mi Band 8 With Custom Firmware”