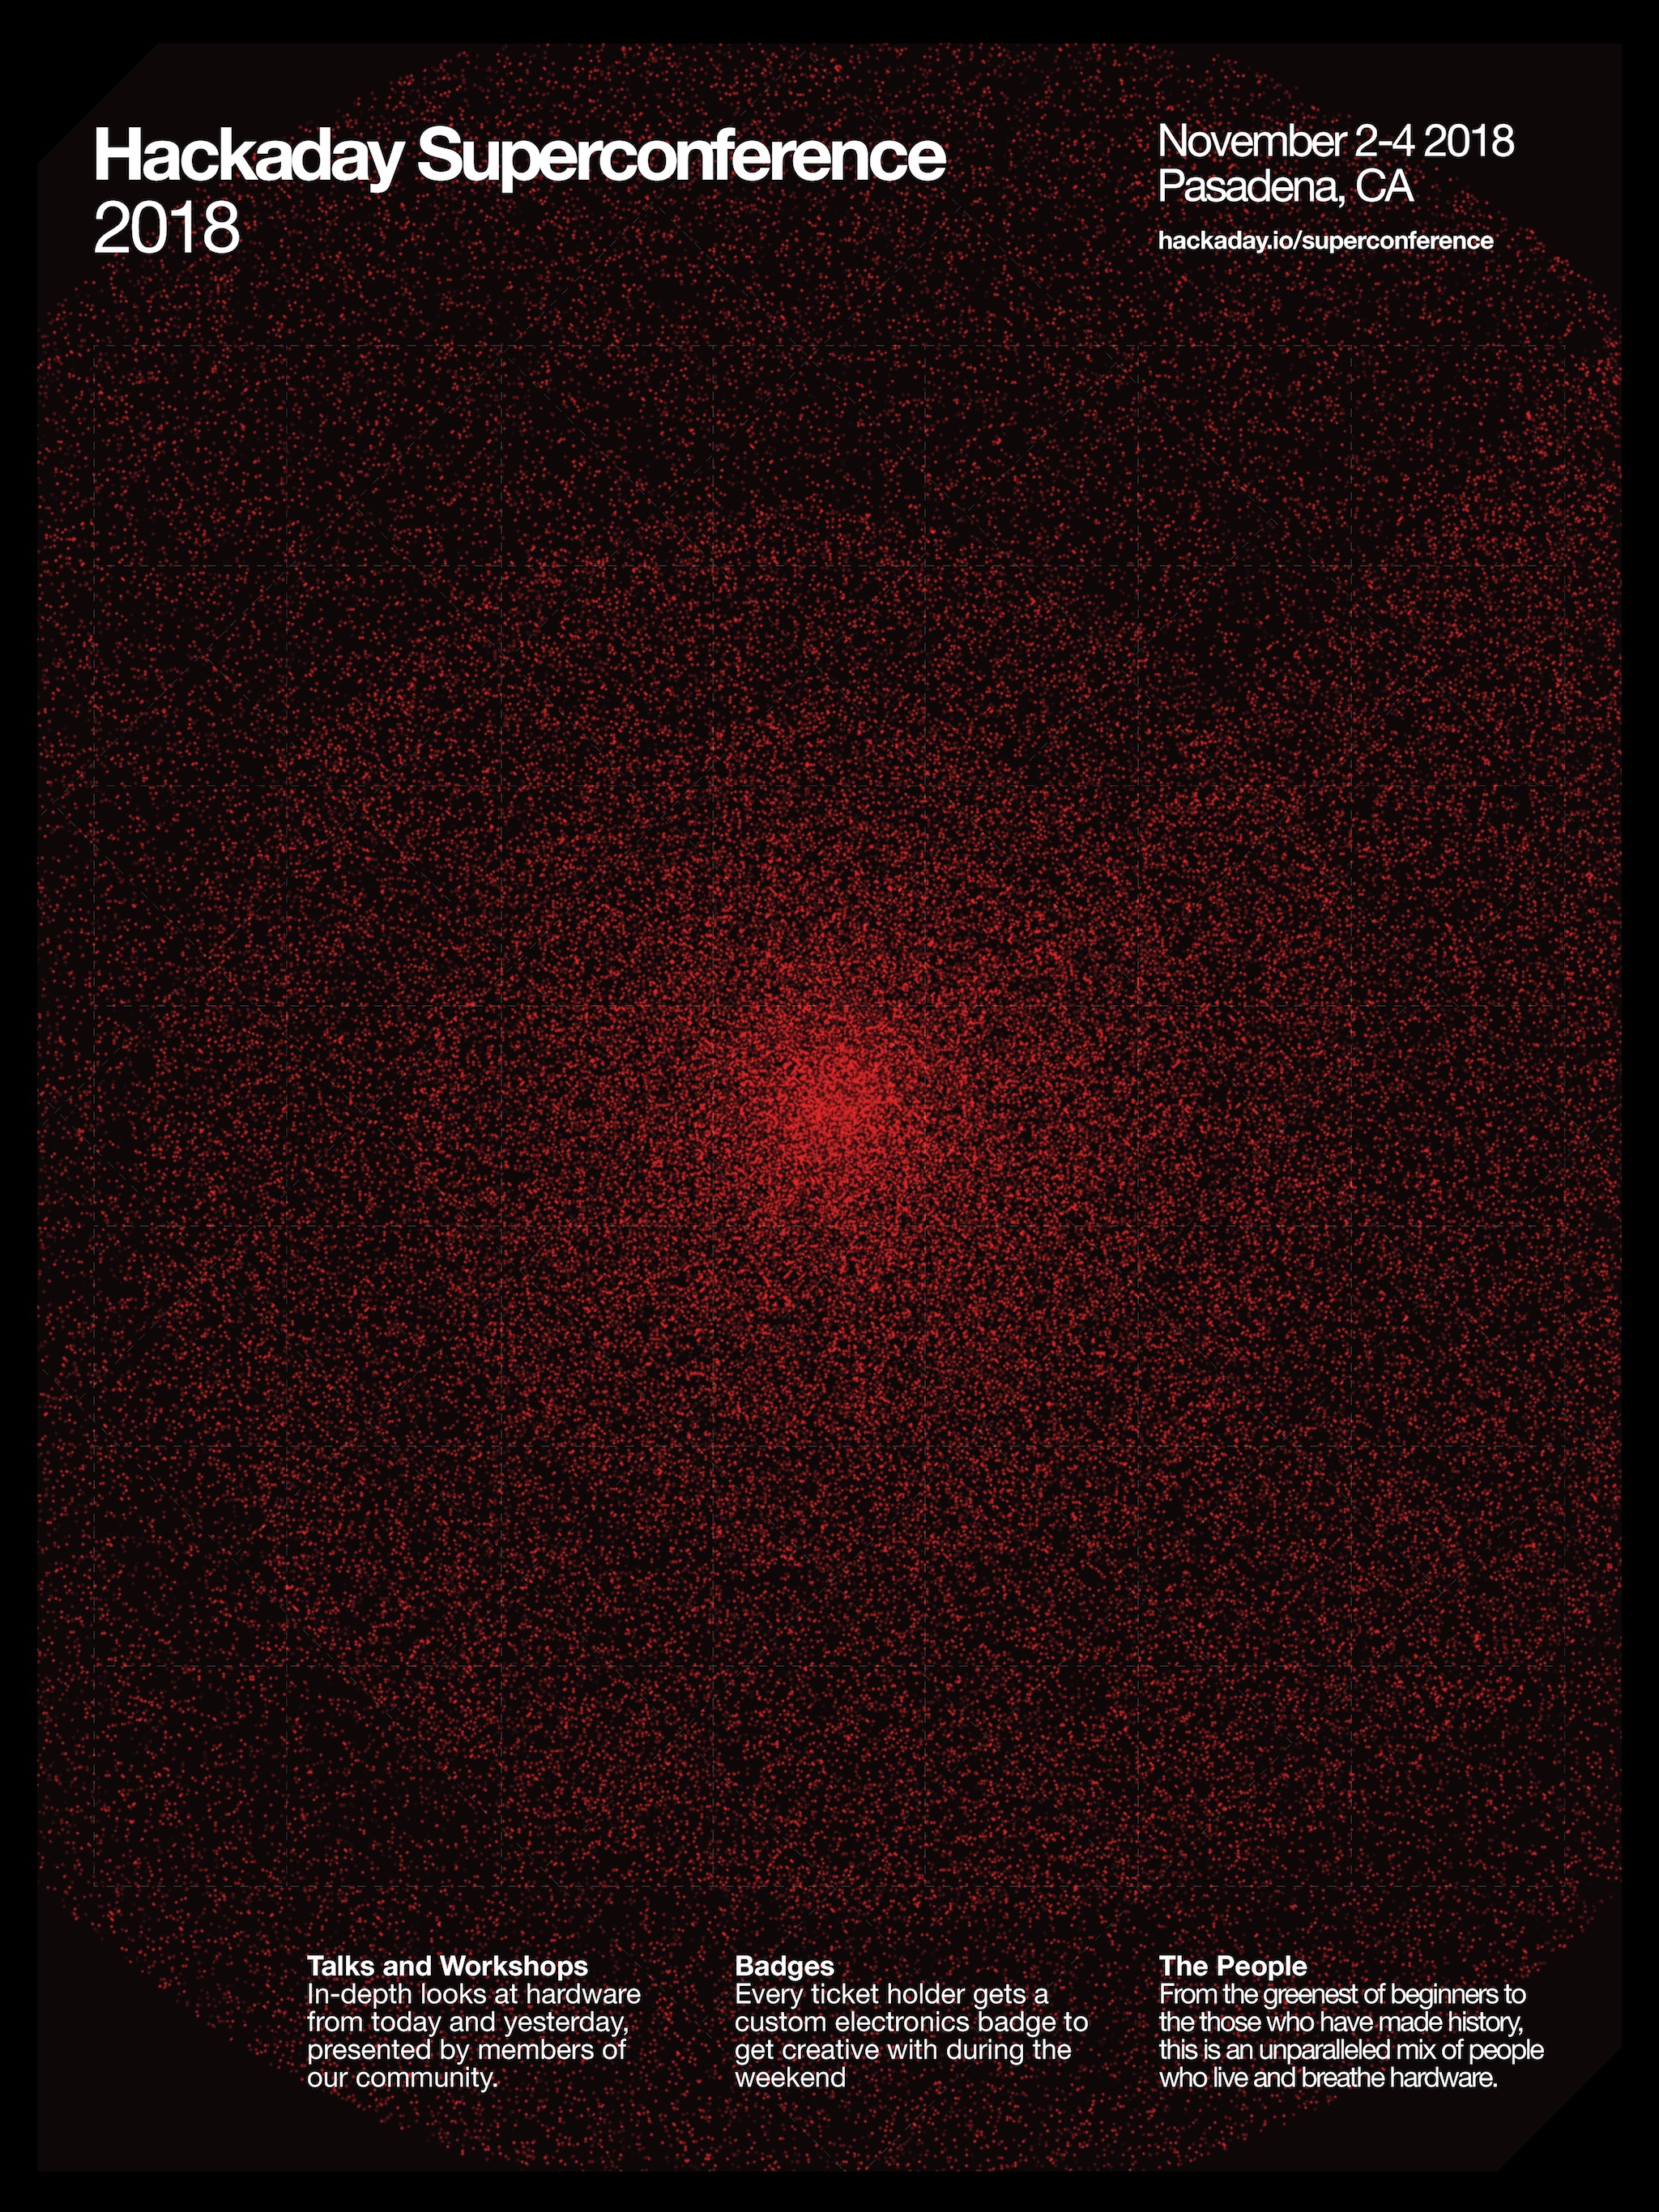
Get your tickets now for the 2018 Hackaday Superconference. Join us November 2nd-4th in Pasadena, California!
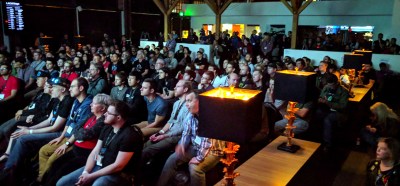
This is the ultimate hardware conference. Hackers, designers, and engineers from all over the world converge — from the greenest beginners to those who have made history with their designs. This is the Hackaday community, these are your people, and you need to be here. Supercon is your chance to experience all things involved in hardware creation — the weekend is filled with unparalleled talks and workshops — but the experience of Supercon transcends the organized event. We call it a conference but it’s truly a hacker village with a who’s-who of hackerdom in attendance.
Call for Proposals
We want you to present a talk (or a workshop) at this year’s Supercon! Please submit your proposal using this form.
The number one question we get about CFP is “I’m excited about X, should I submit a proposal?” The answer is yes. Don’t self-eliminate — if you have an idea for a talk we want to hear from you. Supercon is a flat conference, your proposal will be judged on the idea and how you plan to present it, not on how many other amazing speaking slots you’ve secured.
To help get your mind moving about topics, we suggest that you consider this list of themes your talk might fit into: Engineering Heroics, Prototyping, Research, Product Development, Full-Stack Fabrication, and of course Wildcard.
Tickets! Get Your Tickets Here!
Are you a true believer? We’ve just opened up the Call for Proposal today, so we can’t tell you who’s speaking or what workshops will take place. However, we suspect there are many of you ready to take the plunge right now. Those first 96 true believers get an incredibly low ticket price of $128.
Even at full price, the admission fee is an incredible value (see for yourself). Each ticket comes with admission for all three days, a custom hardware badge to hack on, admission to the Friday kick-off party and Saturday Hackaday Prize party, food and beverage throughout the conference, and much more.
This is the fourth year we’ve hosted the Hackaday Superconference. You can check out all of the talk videos from last year, there’s a slew of articles on the event, and of course an incredible hardware hacking scene throughout. In large part, the packed and jovial community atmosphere is why we’ve added Friday as a full day of workshops and badge hacking!
Get your ticket and book your travel. We look forward to hanging out with a huge chunk of the Hackaday community at Supercon!
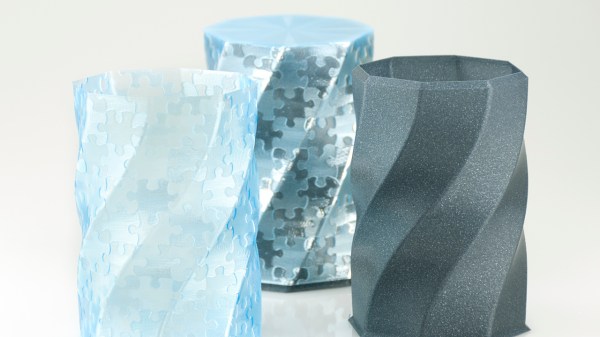
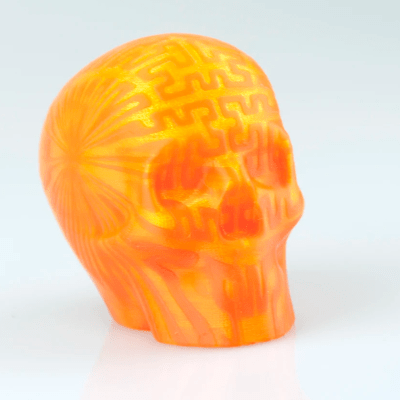 At its core, the technique is straightforward: skin an image onto a 3D print by varying the print speed in specific locations and, thereby, varying just how much plastic oozes out of the nozzle. While the concept seems simple, the result is stunning.