Unless you’re particularly fond of having multiple types of batteries and chargers, you’d do well to make sure all your portable power tools are made by the same company. But what do you do if there’s a tool you really need, but your brand of choice doesn’t offer their own version of it? Rather than having to buy into a whole new tool ecosystem, you might be able to design your own battery adapter.
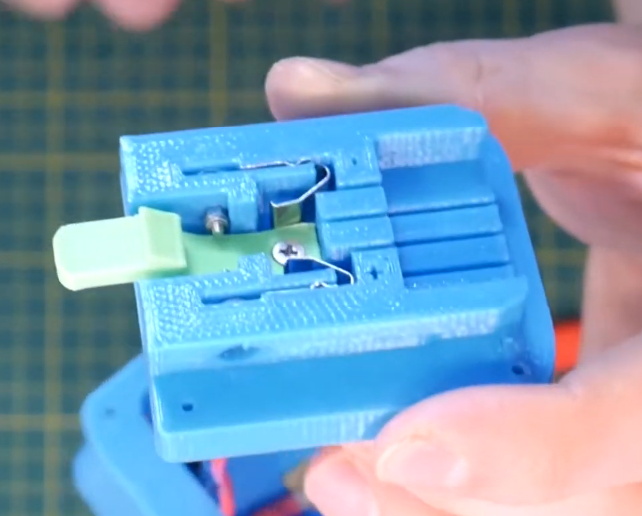
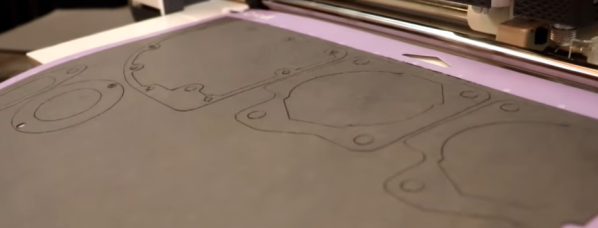
As [Chris Chimienti] explains in the video after the break, the first thing you’ve got to do (beyond making sure the voltages match) is take some careful measurements of the connectors on your batteries and tools. His goal was to adapt a Milwaukee M12 battery to Makita CXT tool, so if you happen to have that same combination of hardware you can just use his STLs. Otherwise, you’ll be spending some quality time with a pair of calipers and a notepad.
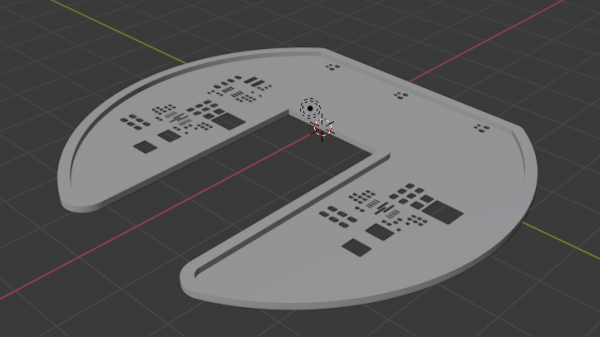
Once the interfaces have been designed and printed, they are wired together and mounted to opposite ends of the center support column. In theory you’d be done at this point, but as [Chris] points out, there’s a bit more to it than just wiring up the positive and negative terminals. Many tools use thermistors in the batteries for thermal protection purposes, and when the tool doesn’t get a reading from the sensor, it will likely refuse to work.
His solution to the problem is to “hotwire” the thermistor lead on the battery connector with a standard resistor of the appropriate value. This will get the tool spinning, but obviously there’s no more thermal protection. For most homeowner DIY projects this probably won’t cause a problem, but if you’re a pro who’s really pushing their tools to the limit, this project might not be for you.
Of course, this isn’t the first time we’ve seen somebody adapt batteries from different brands to work on their tools. It’s a common enough problem once you start building up a workshop, although you could always avoid it by building all your own tools.
Continue reading “Designing Printed Adapters For Power Tool Batteries”