USB-C has its special Power Delivery standard, and is capable of delivering plenty of juice to attached hardware. This has led many to modify their TS-100 soldering irons to accept the connector. [Jana Marie] is the latest, though she’s taken rather a different tack than you might expect.
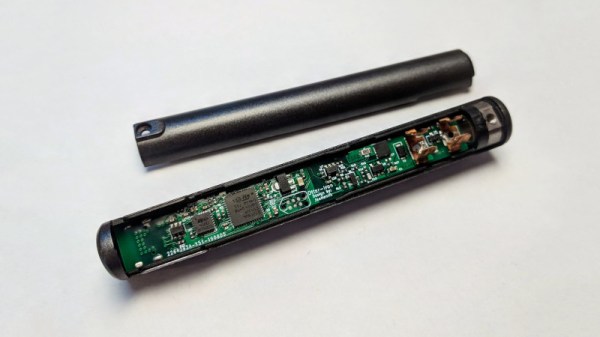
[Jana] didn’t want to modify the original hardware or hack in an adapter. Instead, she struck out on her own, developing an entire replacement PCB for the TS-100 iron. The firmware is rough and ready, and minimal work has been done on the GUI and temperature regulation. However, reports are that functionality is good, and [Jana]’s demonstration shows it handling a proper desoldering task with ease.
Files are on Github for those that wish to spin their own. The PCB is designed to snap neatly inside the original case for a nice fit and finish. Power is plentiful too, as the hardware supports USB Power Delivery 2.0, which is capable of running at up to 100 W. On the other hand, the stock TS-80 iron, which natively supports USB-C, only works with Quick Charge 3.0, and thus is limited to a comparatively meager 36 W.
We’ve seen plenty of TS-100 hacks over 2019. Some have removed the standard barrel jack and replaced it with a USB-PD board. Meanwhile, others have created adapters that plug in to the back of the iron. However, [Jana] is dictating her own terms by recreating the entire PCB. Sometimes it pays to go your own way!
[Thanks to elad for the tip!]