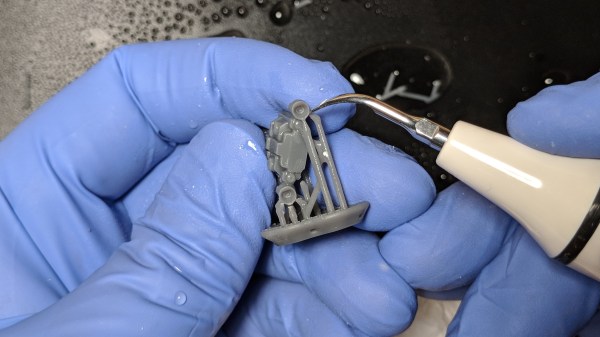
If you have ever used a scalpel to cut something tougher than an eraser, you can appreciate a hot knife or better yet, an ultrasonic cutter. Saws work too, but they have their own issues. [This Old Tony] uses a hobby store tool to cut some plastic and wood, then demos a commercial ultrasonic cutter to show how a blade can sail through with less brute force. The previous requires some muscle, finesse, and eventually a splash of Bactine antiseptic. The video can also be seen after the break.
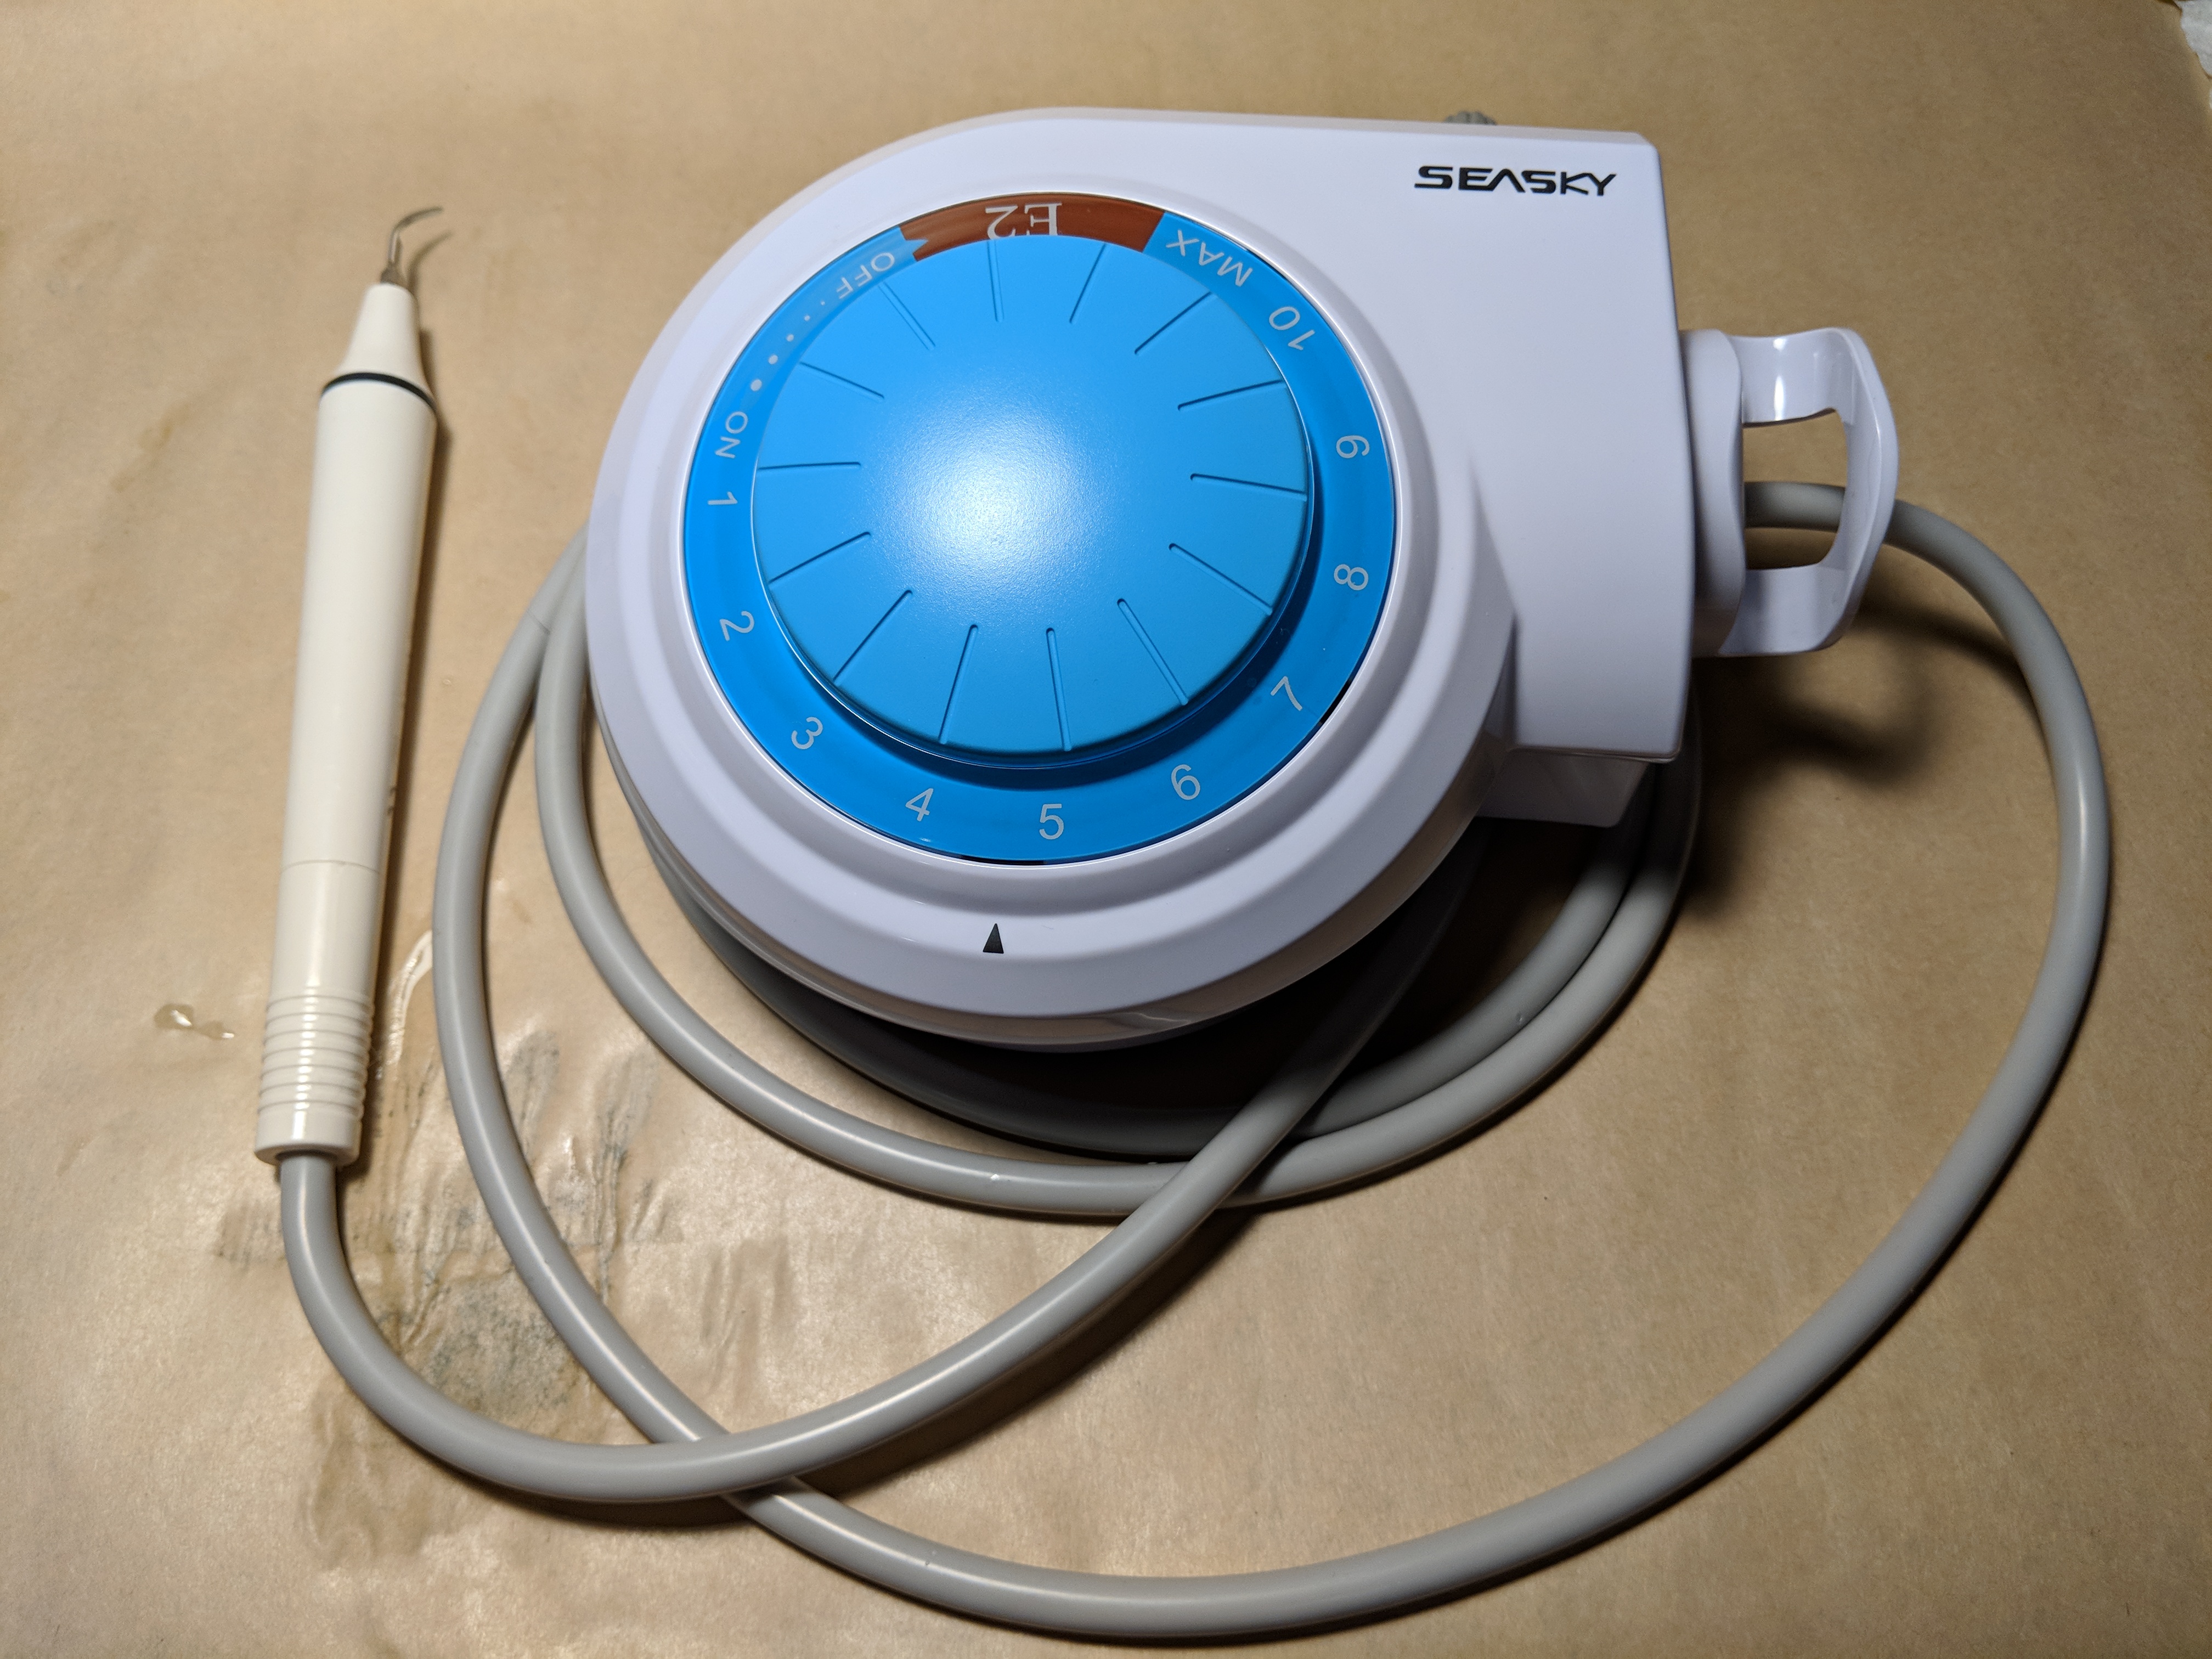
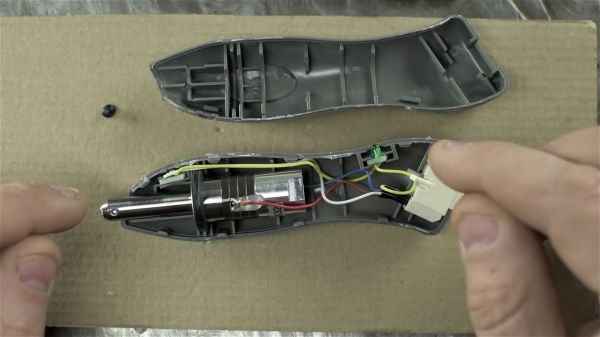
This is more than a tool review, [Tony] takes it apart with a screwdriver and offers his snarky comments. On the plus side is that it cuts polystyrene well where a regular knife won’t do more than scratch or shatter it. Meanwhile in the negative category we don’t hear a definitive price, but they seem to cost half as much as his mini-lathe. If you need an estimated return on investment, consider the price of two-thousand X-acto blades, but you may also wish to factor in the reduced hand calluses. While you are shopping, maybe also think about a set of earplugs; when the video gets to 17:30 he tries to cut a ceramic fitting and manages to make a child-deafening screech instead. We warned you.
This is a fitting follow-up to his unsuccessful attempt to turn an ultrasonic cleaner into an ultrasonic cutter, but we have seen success converting a tooth scaler into a cutter.