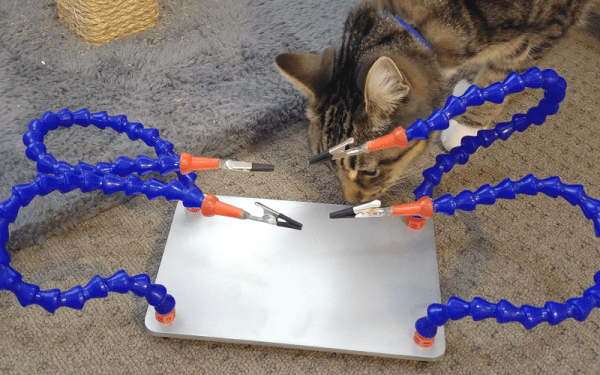
We think of helping hands as those little alligator clips on a metal stand. They are cheap and fall over, so we tend to buy them and don’t use them. However, if you are willing to put $35 or $40 into it, you can get the newer kind that have–well–tentacles–on a heavy base. [Archie_slap] didn’t want that kind of investment, so he made his own for about $10. We think that’s Australian dollars, so that’s even less in the United States.
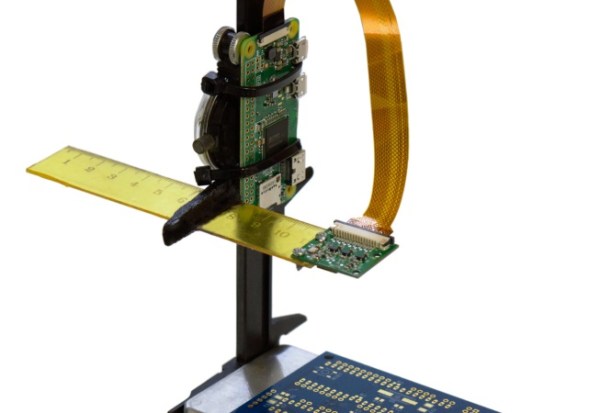
What’s better is he documented every step in meticulous detail and with great pictures. You probably won’t directly duplicate his project because you will probably pick up a slightly different base, but that’s not hard to figure out. The arms are actually coolant hose, [Archie_slap] picked up almost everything but the base plate on eBay.
It’s obvious [Archie] is a frugal guy, based on his drill press. It gets the job done, though. The build is attractive and looks like a much more expensive commercial product. Some of us around the Hackaday lab are old enough to wish there was a magnifying glass attached, but maybe that’s version two.
We’ve looked at a lot of different helpers recently. We couldn’t help but think about a somewhat similar Gorillapod holder we covered last year.