A Classroom-Ready Potentiometer From Pencil And 3D Prints

If you need a potentiometer for a project, chances are pretty good that you’re not going to pick up a pencil and draw one. Then again, if you’re teaching someone how a variable resistor works, that old #2 might be just the thing.

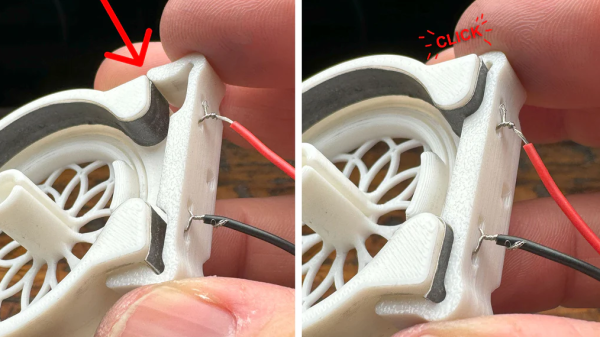
When [HackMakeMod] realized that the graphite in pencil lead is essentially the same thing as the carbon composition material inside most common pots, the idea for a DIY teaching potentiometer was born. The trick was to build something to securely hold the strip while making contact with the ends, as well as providing a way to wipe a third contact across its length. The magic of 3D printing provided the parts for the pot, with a body that holds a thin strip of pencil-smeared paper securely around its inner diameter. A shaft carries the wiper, which is just a small length of stripped hookup wire making contact with the paper strip. A clip holds everything firmly in place. The video below shows the build process and the results of testing, which were actually pretty good.

Of course, the construction used here isn’t meant for anything but demonstration purposes, but in that role, it performs really well. It’s good that [HackMakeMod] left the body open to inspection, so students can see how the position of the wiper correlates to resistance. It also makes it easy to slip new resistance materials in and out, perhaps using different lead grades to get different values.

Hats off to a clever build that should be sure to help STEM teachers engage their students. Next up on the lesson plan: a homebrew variable capacitor.

Continue reading “A Classroom-Ready Potentiometer From Pencil And 3D Prints”

Pimp My Pot Redux, Now Cheaper And Even Better

If there’s one thing we like around here more than seeing an improved version of a project we’ve already covered, it’s when the improvements make the original project cheaper. In the case of this LED ring light for pots and encoders, not only is it cheaper than its predecessors, it’s better looking and easier to integrate into your projects.

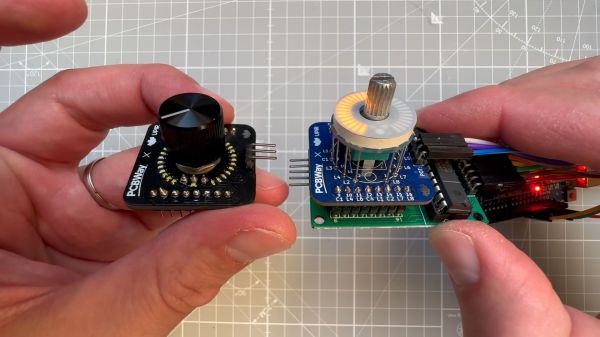
Right from its start, [upir]’s “Pimp My Pot” project has been all about bringing some zazzle to rotary controls. Knobs with a pointer and a scale on the panel are okay — especially when they go to eleven — but more lights mean more fun. The fun comes at a price, though; the previous version of “PMP” used an off-the-shelf LED ring light with a unit cost of about $10. Not the end of the world, perhaps, but prohibitive, and besides, where’s the fun in just buying a component specifically made for rotary control indication?

The new version shown in the video below is pin-compatible with the driver board [upir] used for the previous version, which is based on the MAX7219 display driver. Modifying the previous board to accommodate 32 white 0402 LEDs over a 270° arc was no mean feat. [upir] covers both creating the schematic and the PCB layout in some detail, providing his usual trove of tool-chain tips for minimizing the amount of manual work needed.

Wisely, [upir] chose to get his boards assembled by the vendor; getting all those LEDs to line up perfectly is a job best left to the robots. While the board is designed for use with pots that mount on either side, we much prefer mounting the pot’s shaft through the board, as it keeps the LEDs closer to the knob. The final price per board works out to about $6.30 in quantities of ten and falls to a trivial $1.70 each for lots of 1,000. Pretty sweet savings on a pretty sweet-looking build.

This is a cool use of a ring of LEDs, but if you prefer the finger kind, you can make that, too. You can do it the easy way or the hard way.

Continue reading “Pimp My Pot Redux, Now Cheaper And Even Better”

Make Your Own Pot And Encoder Knobs, Without Reinventing Them

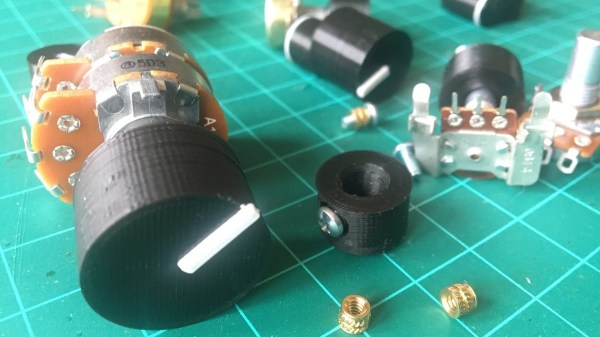
Rotary potentiometers, switches, and encoders all share a basic design: adjustment is done via a shaft onto which a knob is attached, and knobs are sold separately. That doesn’t mean one knob fits all; there are actually a few different standards. But just because knobs are inexpensive and easily obtained doesn’t mean it’s not worth making your own.

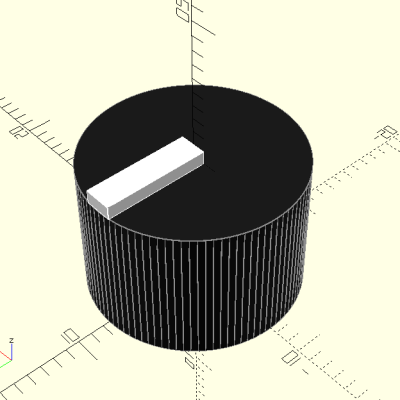
A simple and effective indicator can be easily printed in a contrasting color.

Why bother 3D printing your own knobs instead of buying them? For one thing, making them means one can rest assured that every knob matches aesthetically. The ability to add custom or nonstandard markings are another bonus. Finally, there’s no need to re-invent the wheel, because [Tommy]’s guide to making your own knobs has it all figured out, with the OpenSCAD script to match.

By default, [Tommy]’s script will generate a knob with three shims (for interfacing to a splined shaft) when pot_knob(); is called. The number of shims can be adjusted by modifying potKnobDefaultShimCount. To give the knob a flat side (to interface with D-shafts), change flatted = false to flatted = true. And for adding a screw insert suitable for a set screw? Change tightenerDiameter = 0 from zero to the diameter desired.

The script is quite comprehensive and has sensible defaults, but it does require a bit of knowledge about OpenSCAD itself to use effectively. We have covered the basics of OpenSCAD in the past, and if you’re ready for a resource that will help you truly master it, here’s where to look.

Gesture Control Without Fancy Sensors, Just Pots And Weights

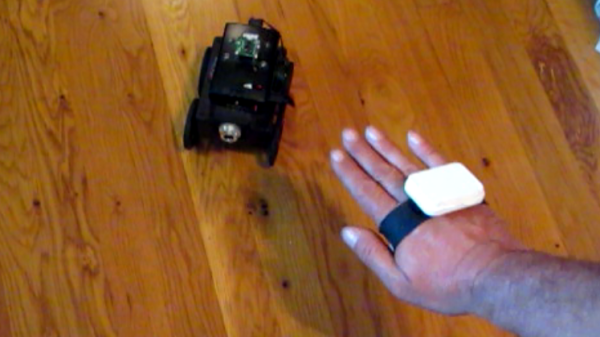
[Dennis] aims to make robotic control a more intuitive affair by ditching joysticks and buttons, and using wireless gesture controls in their place. What’s curious is that there isn’t an accelerometer or gyro anywhere to be seen in his Palm Power! project.

The gesture sensing consists not of a fancy IMU, but of two potentiometers (one for each axis) with offset weights attached to the shafts. When the hand tilts, the weights turn the shafts of the pots, and the resulting readings are turned into motion commands and sent over Bluetooth. The design certainly has a what-you-see-is-what-you-get aspect to it, and as a whole it works much like an inverted, weighted joystick hanging from one’s palm.

It’s an economical way to play with the idea of motion sensing, and when it comes to prototyping, being able to test a concept while keeping costs to a minimum is a good skill to have.

DIY Mocha Cooker

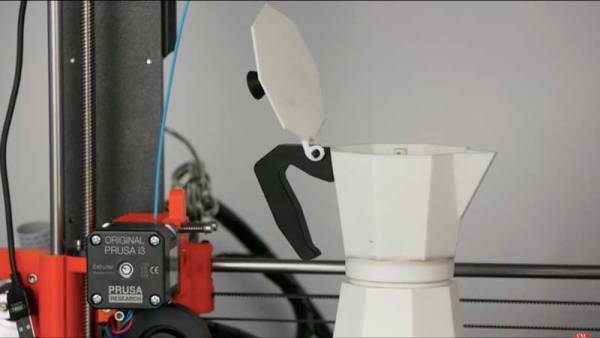
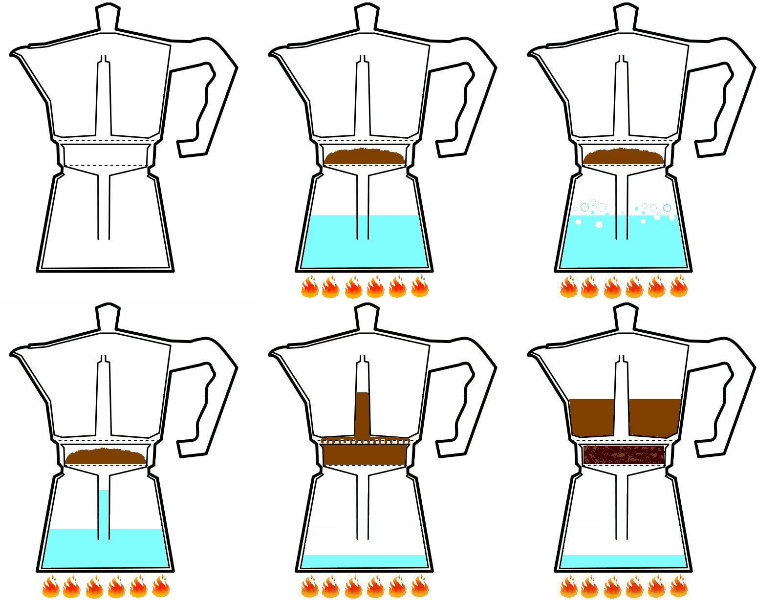
Food-grade 3D printing filament is on the rise and it is nice to have a custom coffee mug in the office to instill a little envy in the locals. [Stefan] took it upon himself to create a Mocha Machine that he would 3D print and test the boundaries of his filament.

[Stefan] used Fusion 360 to replicate the famous Bialetti Moka Express pot in it true octagonal shape. Since the pot brews coffee under pressure, he tested tolerances in Fusion 360 to make sure all the thicknesses were right. While the design was being printed, a steel washer was added to facilitate induction heating since you can’t really put a plastic pot over a flame. The print uses Formfutura Volcano PLA which is annealed for an hour at 110 degrees Celsius.

Below is a video of the whole process and though the material may not be food grade, the project is definitely a step in the right direction. Since the printed parts can withstand temperatures of up to 160 degrees Celsius, projects that involve boiling water or experiments with crystallization can benefit from a custom design.

We really hope to see more projects that use this technique, however, for those looking at their coffee machine right now, take a look at more coffee machine hacks as well as alarm clock hacks to get the coffee brewing in the morning.

Thanks for the tip [Nils Hitze] Continue reading “DIY Mocha Cooker”

Making An Espresso Pot In The Machine Shop

[This Old Tony] was cleaning up his metal shop after his yearly flirtation with woodworking when he found himself hankering for a nice coffee. He was, however, completely without a coffee making apparatus. We imagine there was a hasty round of consulting with his inanimate friends [Optimus Prime] and [Stefan Gotteswinter Brush] before he decided the only logical option was to make his own.

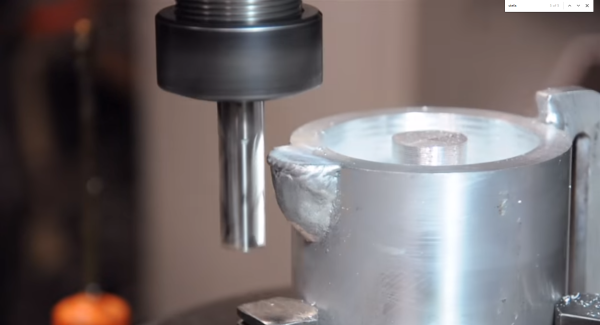
So, he brought out two chunks of aluminum from somewhere in his shop, modeled up his plan in SolidWorks, and got to work.  It was designed to be a moka style espresso pot sized around both the size of stock he had, and three purchased parts: the gasket, funnel, and filter. The base and top were cut on a combination of lathe and mill. He had some good tips on working with deep thin walled parts. He also used his CNC to cut out some parts, like the lid and handle. The spout was interesting, as it was made by building up a glob of metal using a welder and then shaped afterward.

As usual the video is of [This Old Tony]’s exceptional quality. After quite a lot of work he rinsed out most of the metal chips and WD40, packed it with coffee, and put it on the stove. Success! It wasn’t long before the black stuff was bubbling into the top chamber ready for consumption.

Digitally Controlled Pot Taper

Those twisty knobs connected to potentiometers aren’t necessarily a strict linear progression from one resistance to another. Potentiometers have a taper. Yes, sometimes it’s a linear taper that’s a straight line from one resistance to another, but you can find log (audio) taper pots, and anti-log taper pots. It’s been this way for a hundred years, and now we have a pot with a digitally controllable taper thanks to a guitar pedal that fits in your shoe.

For the last few years, [John] has been hard at work creating the SoulPedal, a shoe insert that’s the wireless, wearable alternative to expression pedals, wah pedals, and every other guitar effects pedal that uses an ankle. [John] got the idea by replacing the light-sensitive resistor in a wah pedal with a force sensitive resistor in his shoe. It worked, but there were wires. Now the SoulPedal is based on a TI SoC +Radio with all the niceties you would expect.

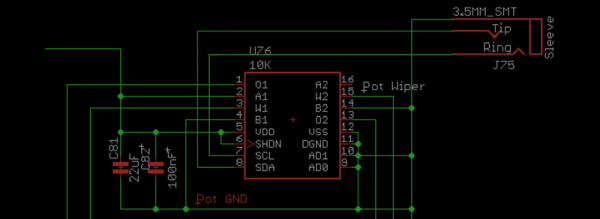
When designing the ‘base station pedal’, [John] realized he had a digital pot with two channels, and the entire device only uses one of these channels. Instead of letting that little bit of silicon go to waste, [John] wired these two digital pots in parallel, allowing the user to customize the taper of a digital pot. If you’re asking yourself, ‘why’, the answer is, ‘because he could.’

It’s an interesting application for sure, and while this digitally controllable pot can replicate the linear, log, and anti-log tapers, the really interesting thing will be to see what non-standard tapers sound and feel like.