Extrusion is a process for forming materials by forcing them through an opening, which can allow for complex shapes. Aluminum extrusion beams are what most of us are probably thinking of, but plenty of other things are made from extruded material like pipe, heat sinks, and even macaroni. Extrusion can also be used for modelling clay to create uniform sections of rounded clay as a starter material for producing other pottery, and [Justins Makery] has built a custom extruder to do just that.
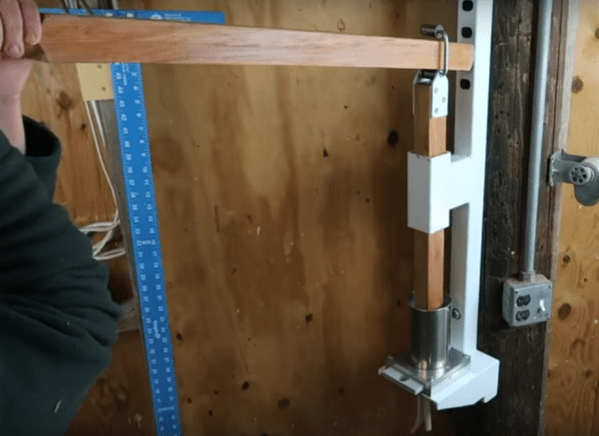
The build starts with welding together a metal frame to hold the press, and uses a wooden wagon handle to drive the extruder. The handle can be moved up or down the frame to increase the range of motion thanks to a custom bearing and slots cut into the frame’s post. The piston mechanism itself is built out of aluminum plate with a cylinder loosely fitted to it to allow for easy cleaning, and the top of the piston uses a loose-fitting plastic cap cut out of an old cutting board.
With everything in pace, the extruder can make cylinders of clay of any desired thickness thanks to swappable dies. While it doesn’t produce the end result of the workshop directly, it definitely helps to provide the potter with clay of uniform dimensions used for building other pieces of pottery, much like how aluminum extrusions are used to build all kinds of other things as well.