We get all kinds of tips about “the world’s something-est” widget, which normally end up attracting the debunkers in droves. So normally, we shy away from making superlative claims about a project, no matter how they bill themselves. But we’re comfortable that this is the world’s smallest Tesla, at least if we have to stretch the definition of Tesla a bit.
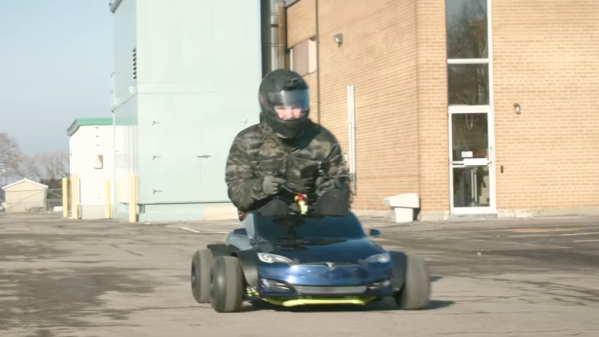
This clown-car version of the Tesla Model S that [Austin] built is based around a Radio Flyer replica of the electric sedan. The $600 battery-powered original doesn’t deliver exactly the same neck-snapping acceleration of its full-size cousin, so he stripped off the nicely detailed plastic body and put that onto a heavily modified go-cart chassis. The tiny wheelbase left little in the way of legroom, but with the seat mounted far enough back into the wheelie-inducing zone, it was possible for [Austin] to squeeze in. He chose to pay homage to Tesla’s battery pack design and built 16 modules with fourteen 18650 cells in each, a still-substantial battery for such a small vehicle. Hydraulic brakes were also added, a wise decision since the 4800 Watt BLDC is a little snappier than the stock motor, to say the least. The video below shows the build, as well as a dangerous test ride where the speed read 72 at one point; we’re not sure if that’s MPH or km/h, but either way, it’s terrifying. The drifts were pretty sick too.
It seems [Austin] has the need for speed, and for drifting. We’ve seen his water-cooled electric drift trike before, as well as his ridiculously overpowered crazy cart.
Continue reading “Fun-Size Tesla Might Be The World’s Smallest”