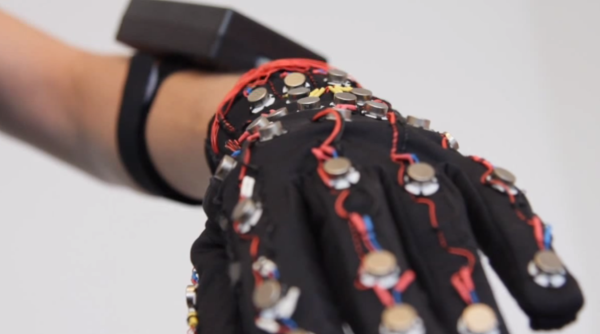
[David Nghiem] has been working with circuitry designed to read signals from muscles for many years. After some bad luck with a start-up company, he didn’t give up and kept researching his idea. He has decided to share his innovations with the hacker community in the form of a wearable suit that reads muscle signals.
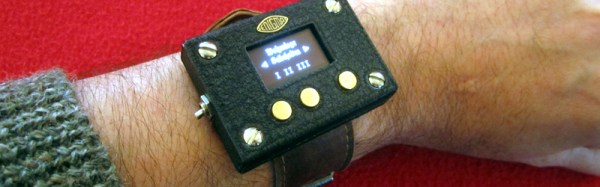
It turns out that when you flex a muscle, it gives off a signal called a Surface ElectroMyographic signal, or SEMG for short. [David] is using an Arduino, digital potentiometer and a bunch of op amps to read the SEMG signals. LEDs are used to display the signal levels.
The history behind [David’s] project dates back to the late twentieth century, which he eloquently points out – “Holy crap that was a long time ago”. He worked with the MIT Aero Astro Lab and the Boston University Neuromuscular Research Center where he worked on a robotic arm for astronauts. The idea being to apply an opposing force to the arm to help prevent muscle deterioration.
Be sure to check out [David’s] extensive and well documented work, along with the several videos showing his projects at various stages of completion. If this gives you the electromyography bug, check out this guide on detecting the signals and an application of the concept for robotic prosthesis.