Rewinding A Car Alternator For 240 Volt

Two phases installed on the stator. (Credit: FarmCraft101, YouTube)

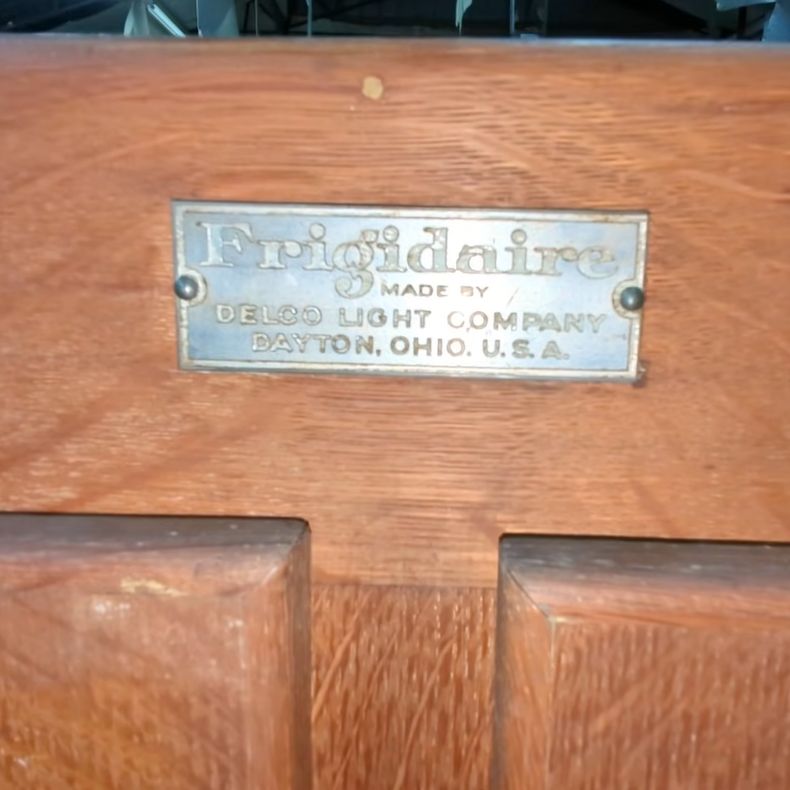
As part of his quest to find the best affordable generator for his DIY hydroelectric power system, [FarmCraft101] is trying out a range of off-the-shelf and DIY solutions, with in his most recent video trying his hands at the very relaxing activity of rewiring the stator of an alternator.

Normally car alternators output 12VDC after internal rectification, but due to the hundreds of meters from the turbine to the shed, he’d like a higher voltage to curb transmission losses. The easiest way to get a higher voltage out of a car alternator is to change up the wiring on the stator, which is definitely one of those highly educational tasks.

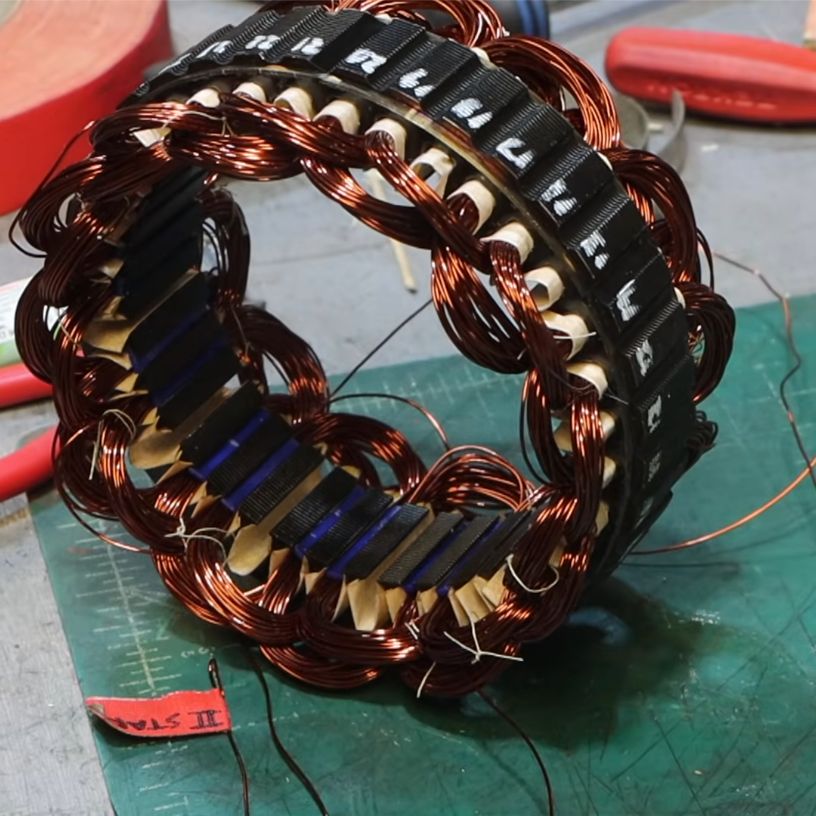
Disassembling an alternator is easy enough, but removing the copper windings from the stator is quite an ordeal, as they were not designed to ever move even a fraction of a millimeter after assembly.

With that arduous task finished, the rewinding was done using 22 AWG copper enamel wire, compared to the original 16 AWG wire, and increasing the loops per coil from 8 to 30. This rewinding isn’t too complicated if you know what you’re doing, with each coil on each of the three windings placed in an alternating fashion, matching the alternating South/North poles on the rotor.

Continue reading “Rewinding A Car Alternator For 240 Volt”

Restoring A 1924 Frigidaire B-9 Refrigerator Back To Working Condition

Before the refrigerator became a normal part of any kitchen, those with enough money to throw around could get an icebox, which used melting ice to cool food and drinks in a second compartment. As refrigerators became available for sale in the 1920s, this created somewhat awkward transition models, like the 1924 Frigidaire B-9 that [David Allen] recently got offered for a restoration. This was part of the restoration of a 1926 house, which foresaw putting this venerable unit back into operation.

As [David] explains, this refrigerator was still in use until about 1970 when it broke down, and repairs proved tricky. Clearly, the fault wasn’t that severe as [David] got it working again after a number of small repairs and a lot of maintenance. The running unit with its basic elements can be seen purring away in the completion video, with the journey to get there covered in a video series starting with the first episode.

What’s fascinating is that during this aforementioned transition period, the vapor compression electric cooling system was an optional extra, meaning that the basic layout is still that of an icebox. Correspondingly, instead of ice in the ice compartment, you find the low-side float evaporator, with the basement section containing the condensing unit, motor, and compressor. The temperature sensor is also a miracle of simplicity, using bellows that respond to the temperature and thus volume of the evaporator coolant, which trigger a switch that turns on the compressor.

Despite a hundred years having passed since this refrigerator was constructed, at its core it works exactly the same as the unit we have in our kitchens today, albeit with higher efficiency, more electronics, and with the sulfur dioxide refrigerant replaced with something less toxic to us humans.

Continue reading “Restoring A 1924 Frigidaire B-9 Refrigerator Back To Working Condition”

The clock demo on display

Drive 1024×600 Pixels Via I2C With An ATtiny85

If you need to drive a big screen for a project, it’s fair to say your first thought isn’t going to be to use the ATtiny85. With just 512 bytes of RAM and 8 kilobytes of flash memory, the 8-bit micro seems a little cramped to drive, say, a 10″ screen. Yet that’s exactly what [ToSStudio] is doing with TinyTFT_LT7683: 1024 x 600 pixels of TFT goodness, over I2C no less.

With the right TFT controller, this little micro-controller can do magic.

The name kind of gives away the secret: it won’t work on just any TFT display. It’s using properties of the LT7683 display driver, though if you don’t have one of those, the RA8875 is also compatible. Those drivers can take more than just a pixel stream– a good thing, since you’d be hard pressed to get that many pixels streaming from an ATtiny. These are character/graphic display drivers, which means you can get them to draw both characters and graphics on the screen if you speak the lingo.

It’s still not blazing fast; the documentation suggests “static or moderately dynamic UIs” as the suggested use case, and a clock is of the pre-programmed examples. From that, we can surmise that you can get 1 FPS or better with this code. You’re limited both by the simple micro-controller and the bandwidth of the I2C bus, but within those limits this seems like a very powerful technique.

This isn’t the first ATtiny graphics library to blow our minds, but if you really want an impressive graphics demo from the little micro that could, you really need to race the beam.

Thanks to [Thomas Scherer] for the tip!

Electronic Wizard in his lab wearing his wizards hat

How To Use The AT24C32 EEPROM For 4KB External Memory For Microcontrollers

Over on YouTube [Electronic Wizard] explains how to use the AT24C32 EEPROM for external memory for microcontrollers.

He begins by explaining that you don’t want to try modifying your microcontroller flash memory for storing settings, you want to use a separate EEPROM for that. Sometimes your microcontroller will have EEPROM memory attached, but you might still find yourself needing to attach more. The AT24C32 EEPROM is a 4KB non-volatile memory chip. It’s available in various 8-pin packages and two voltage levels, either 2.7 to 5.5 volts or 1.8 to 5.5 volts, and it’s programmed using the I2C protocol.

Continue reading “How To Use The AT24C32 EEPROM For 4KB External Memory For Microcontrollers”

Hackaday Links Column Banner

Hackaday Links: August 24, 2025

“Emergency Law Enforcement Officer Hologram program activated. Please state the nature of your criminal or civil emergency.” Taking a cue from Star Trek: Voyager, the Seoul Metropolitan Police Agency is testing a holographic police officer, with surprisingly — dare we say, suspiciously? — positive results. The virtual officer makes an appearance every two minutes in the evening hours in a public park, presumably one with a history of criminal activity. The projection is accompanied by a stern warning that the area is being monitored with cameras, and that should anything untoward transpire, meat-based officers, presumably wearing something other than the dapper but impractical full-dress uniform the hologram sports, will be dispatched to deal with the issue.

Continue reading “Hackaday Links: August 24, 2025”

Raspberry Pi Pico LED display sitting in window sill

An Ode To The Aesthetic Of Light In 1024 Pixels

Sometimes, brilliant perspectives need a bit of an introduction first, and this is clearly one. This video essay by [Cleggy] delivers what it promises: an ode to the aesthetic of light. But he goes further, materializing his way of viewing things into a beautiful physical build — and the full explanation of how to do it at home.

What’s outstanding here is not just the visual result, but the path to it. We’ve covered tons of different LED matrices, and while they’re all functional, their eventual purpose is left up to the builder, like coasters or earknobs. [Cleggy] provides both. He captured a vision in the streets and then built an LED matrix from scratch.

The matrix consists of 1024 hand-soldered diodes. They’re driven by a Raspberry Pi Pico and a symphony of square waves. It’s not exactly a WS2812 plug-and-play job. It’s engineered from the silicon up, with D-latches and demultiplexers orchestrating a mesmerizing grayscale visual.

Pulse-width modulation (PWM) is the secret ingredient of this hack. [Cleggy] dims each white pixel separately, by varying the duty cycle of its light signal. The grayscale video data, compressed into CSV files, is parsed line-by-line by the Pico, translating intensity values into shimmering time slices.

It transforms the way you see and perceive things. All that, with a 1000 LED monochrome display. Light shows are all highly personal, and each one is a little different. Some of them are really kid stuff.

Continue reading “An Ode To The Aesthetic Of Light In 1024 Pixels”

Two For The Price Of One: BornHack 2024 And 2025 Badges

BornHack is a week-long summer hacker camp in a forest on the Danish island of Fyn, that consistently delivers a very pleasant experience for those prepared to make the journey. This year’s version was the tenth iteration of the camp and it finished a week ago, and having returned exhausted and dried my camping gear after a Biblical rainstorm on the last day, it’s time to take a look at the badges. In case you are surprised by the plural, indeed, this event had not one badge but two. Last year’s badge suffered some logistical issues and arrived too late for the camp, so as a special treat it was there alongside the 2025 badge for holders of BornHack 2024 tickets. So without further ado, it’s time to open the pack for Hackaday and see what fun awaits us. Continue reading “Two For The Price Of One: BornHack 2024 And 2025 Badges”