[Chris Borge] has spent the last few years creating some interesting 3D printed tools and recently has updated their 3D printable lathe design to make a few improvements. The idea was to 3D print the outer casing of the lathe in two parts, adding structural parts where needed to bolt on motors and tool holders, and then fill the whole thing with concrete for strength and rigidity.
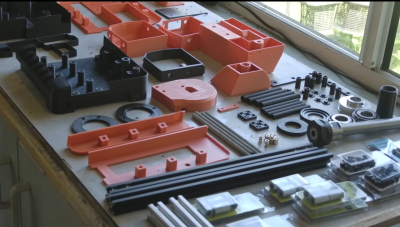
The printed base is initially held together with two lengths of studding, and a pile of bolts are passed through from below, mating with t-nuts on the top. 2020 extrusion is used for the motor mount. The headstock is held on with four thread rods inserted into coupling nuts in the base. The headstock unit is assembled separately, but similarly; 3D printed outer shell and long lengths of studding and bolts to hold it together. Decent-sized tapered roller bearings make an appearance, as some areas of a machine tool really cannot be skrimped. [Chris] explains that the headstock is separate because this part is most likely to fail, so it is removable, allowing it to be replaced.