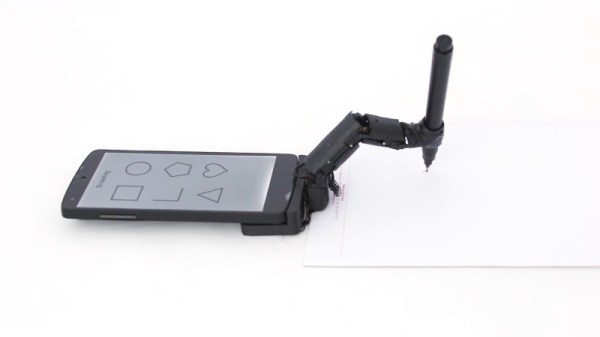
The modern smartphone has a variety of ways to interact with its user – the screen, the speakers, and of course, the vibration motor. But what if your phone could interact physically? It might be unnerving, but it could also be useful – and MobiLimb explores exactly this possibility.
Yes, that’s right – it’s a finger for your mobile phone. MobiLimb has five degrees of freedom, and is built using servomotors which allow both accurate movement as well as positional feedback into the device. Additionally, a touch-sensitive potentiometer is fitted, allowing the robofinger to respond to touch inputs.
The brains behind the show are provided by an Arduino Leonardo Pro Micro, and as is usual on such projects, the mechanical assembly is 3D printed – an excellent choice for producing small, complex parts. Just imagine the difficulty of trying to produce robotic fingers with classic machine tools!
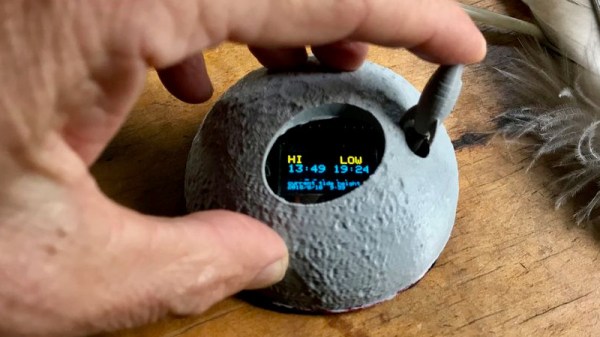
The project video shows many different possibilities for using the MobiLimb – from use as a basic notification device, to allowing the smartphone to crawl along a table. We frankly can’t wait until there’s a fully-functional scorpion chassis to drop an iPhone into – the sky really is the limit here.
Interested in other unique ways to interact with your smartphone? Check out these nifty 3D printed physical buttons.