
Construction kit toys are cited by many adults as sparking great creativity and engineering talent in their youth. LEGO, Meccano, K’NEX, Lincoln Logs—these are all great commercial options. But what about printing your very own construction kit at home? Meet Stemfie.
 Fundamentally, Stemfie isn’t that different from any other construction kit you might have seen before. It has various beams and flat plates that are full of holes so they can be assembled together in various ways. It also uses bolts, spacers, and small plastic nuts that can be tightened using a special hand tool. Think of a mixture between LEGO Technic and Meccano and that will get you in the ballpark. It includes neat motion components too, including gears, wheels, and even a large flat spring!
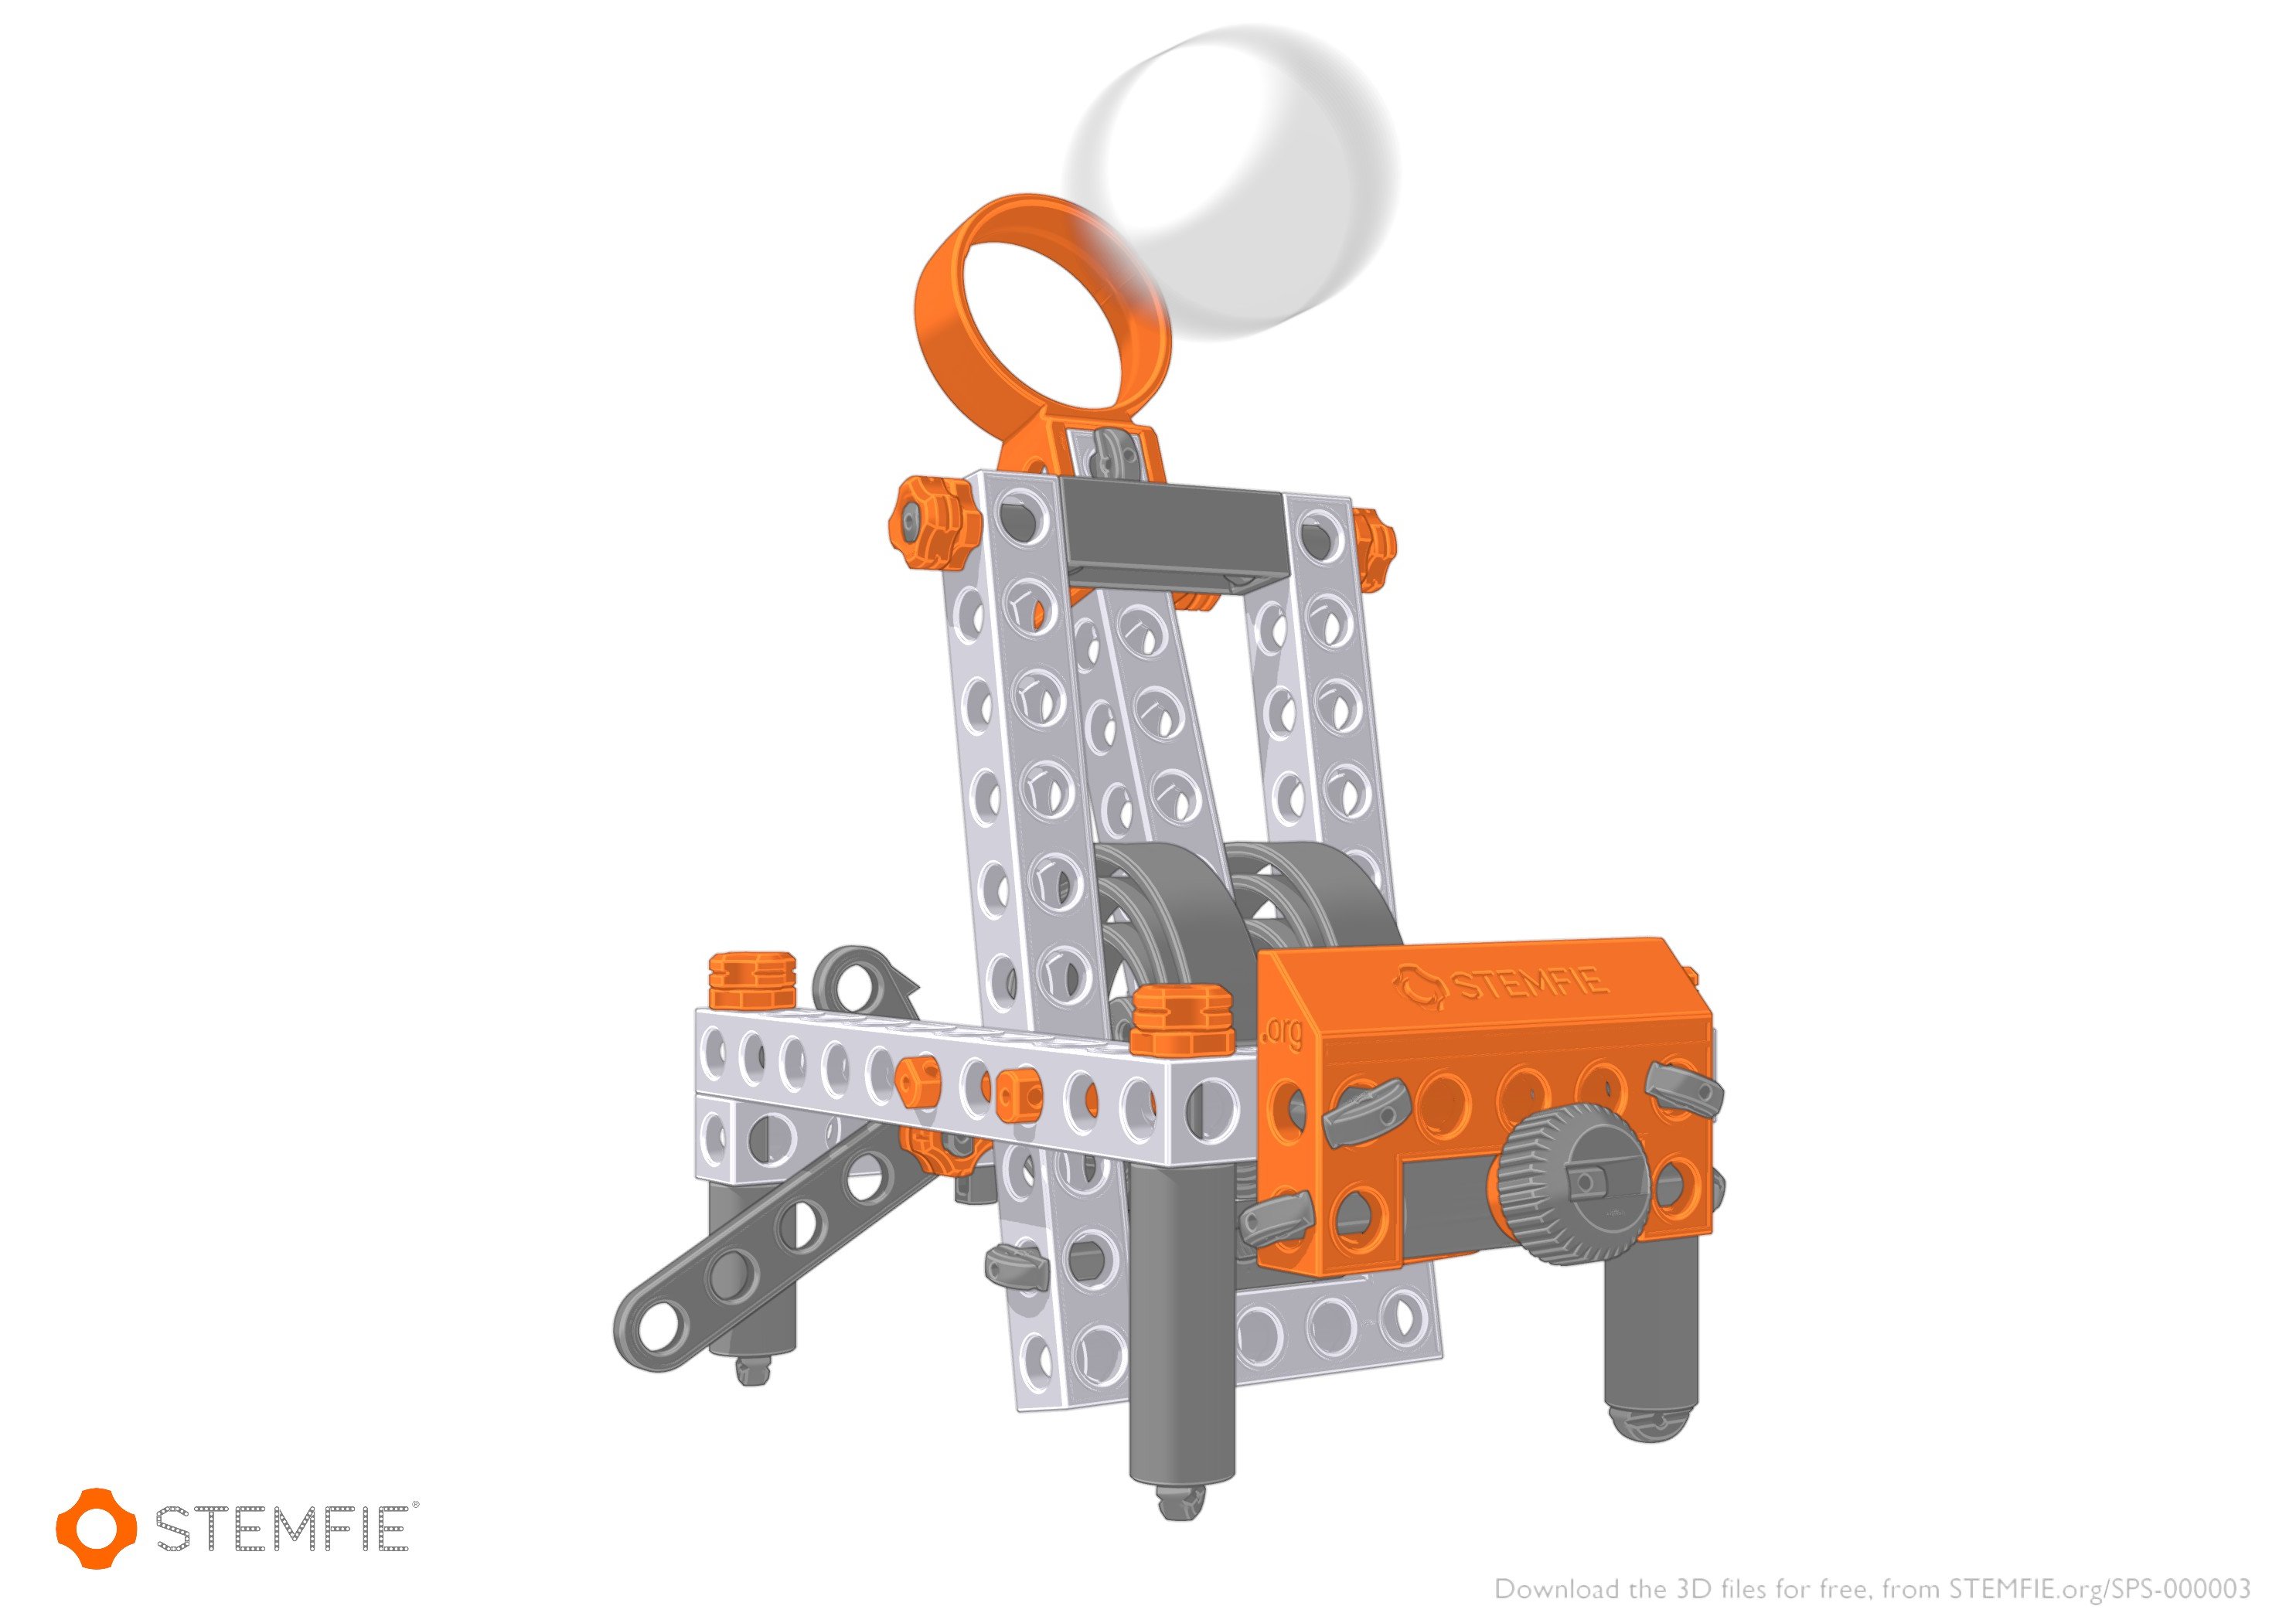
What can you build with it? Well, as every construction kit toy says, you’re only limited by your imagination! However, if your imagination is especially small, you can just use the Stemfie 3D YouTube channel for inspiration. It features everything from a ping pong ball catapult to a rubber-band driven car. Plus, since it’s all 3D printed, you can simply scale up the parts and build even bigger designs. Like a giant catapult that can hurl entire water jugs. Fun!
We’ve seen other projects in this vein before. One of our favorites is [Ivan Miranda]’s giant 3D printed assembly kit that he uses to build big monster toys.
Continue reading “Stemfie, The 3D-Printable Construction Set”


