Too often we hear that 3D printing is at best only a way for making prototypes before you invest in “real” manufacturing. At worst, it’s a way to make little toys for your desk or cubicle. The detractors say that 3D printing doesn’t lend itself to building practical devices, and even if you do manage to print something useful, you probably could have made it faster or better with more traditional manufacturing methods. So naturally we’re especially excited when we see a printed design that manages to buck both criticisms at once.
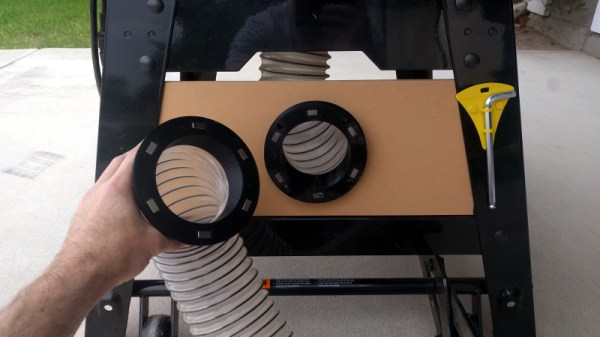
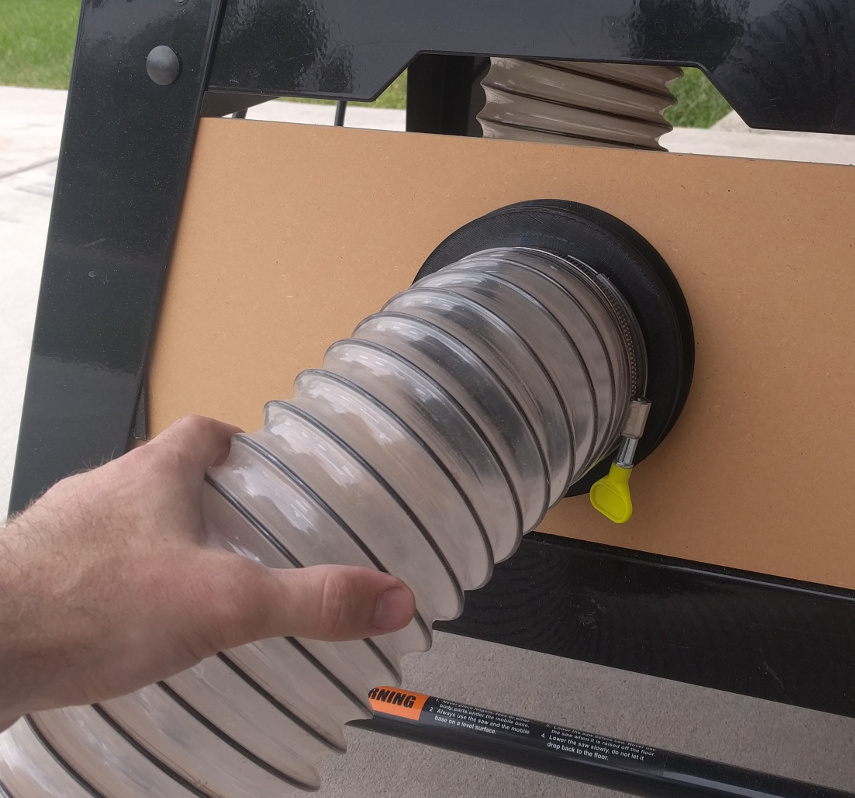 Not only does this magnetic dust port connector created by [Taylor Landry] have a clear practical purpose, but its design largely defies normal construction techniques. It consists of two flanges, sized for common 4″ flexible ducting, which feature embedded magnets on the faces.
This allows the two sides of the coupling to easily be connected and disconnected without relying on threads or a friction fit. Not only would threads likely get caked with sawdust, but the magnetic connection allows the coupling to release in the event somebody trips on the duct or the tool is moved.
Currently only one type of coupling is available, but [Taylor] says he’s looking at adapting the design to other tools. He also mentions that the magnets he’s currently using are a custom size he had left over from a previous project, so if you’re looking to replicate the design you might need to tweak the magnet openings. Luckily, he’s provided the STEP files so you don’t have to hack the STL.
A quick connect dust port like the one [Taylor] has come up with seems like it would be a perfect addition to the whole-shop dust collection systems we’ve covered in the past. In fact, it might not even be the only 3D printed component in the system.