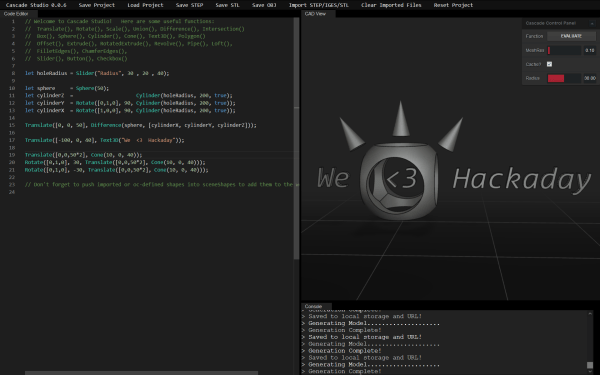
Strong opinions exist on both sides about OpenSCAD. The lightweight program takes megabytes of space, not gigabytes, so many people have a copy, even if they’ve never written a shape. Some people adore the text-only modeling language, and some people abhor the minimal function list. [Johnathon ‘Zalo’ Selstad] appreciates the idea but wants to see something more robust, and he wants to see it in your browser. His project CascadeStudio has a GitHub repo and a live link so you can start tinkering in a new window straight away.
3d154 Articles
3D On The ZX Spectrum 48K
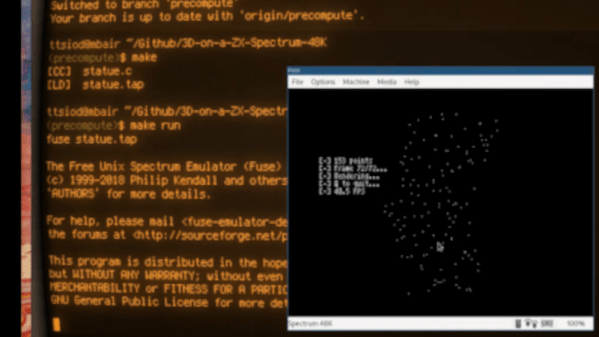
There are times when a project becomes such a big part of a maker’s life that they find themselves revisiting it even years later. [Thanassis] combined this phenomena with his love for the ZX Spectrum when he ported one of his old 3D rendering projects to the ZX Spectrum 48K. The video below shows the result, and they speak for themselves.
The roots of this project go back around three years, when [Thanassis] posted a similar project for the ATMega328 which employed fixed point math tricks for achieving the graphics. The code needed to be even tighter to run on the Spectrum, eventually getting boiled down to just a handful of calculations. This got the proof of concept working with the z88dk compiler, but it wasn’t quite fast enough.
In the end, hand assembly optimizations nearly doubled the performance to a blistering 10 frames per second. There’s also a version that kicks it all the way up to 40 FPS, but only if you give it a few minutes to do the calculations ahead of time. With a few teaks and the right display, this project could produce some very cool retro visuals.
The Smart Home Gains An Extra Dimension
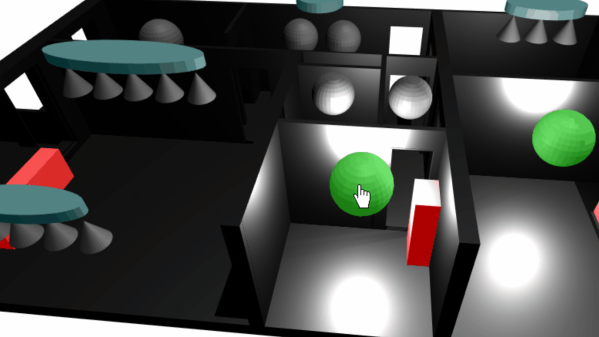
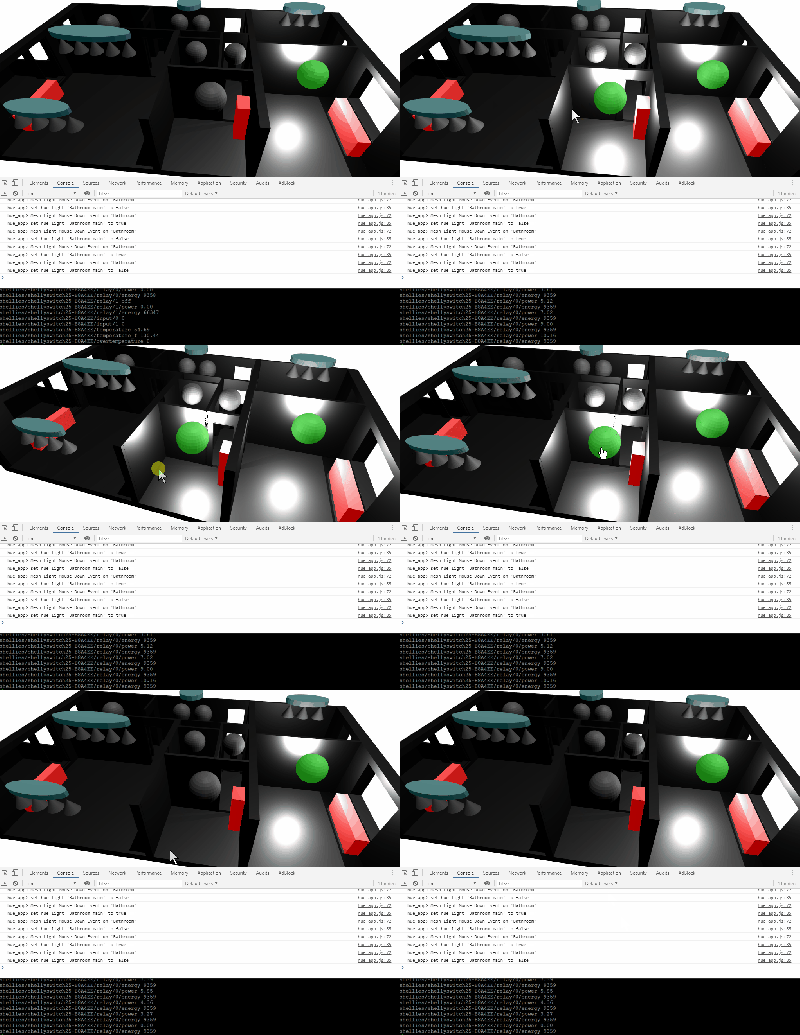
With an ever-growing range of smart-home products available, all with their own hubs, protocols, and APIs, we see a lot of DIY projects (and commercial offerings too) which aim to provide a “single universal interface” to different devices and services. Usually, these projects allow you to control your home using a list of devices, or sometimes a 2D floor plan. [Wassim]’s project aims to take the first steps in providing a 3D interface, by creating an interactive smart-home controller in the browser.
Note: this isn’t just a rendered image of a 3D scene which is static; this is an interactive 3D model which can be orbited and inspected, showing information on lights, heaters, and windows. The project is well documented, and the code can be found on GitHub. The tech works by taking 3D models and animations made in Blender, exporting them using the .glTF format, then visualising them in the browser using three.js. This can then talk to Hue bulbs, power meters, or whatever other devices are required. The technical notes on this project may well be useful for others wanting to use the Blender to three.js/browser workflow, and include a number of interesting demos of isolated small key concepts for the project.
We notice that all the meshes created in Blender are very low-poly; is it possible to easily add subdivision surface modifiers or is it the vertex count deliberately kept low for performance reasons?
This isn’t our first unique home automation interface, we’ve previously written about shAIdes, a pair of AI-enabled glasses that allow you to control your devices just by looking at them. And if you want to roll your own home automation setup, we have plenty of resources. The Hack My House series contains valuable information on using Raspberry Pis in this context, we’ve got information on picking the right sensors, and even enlisting old routers for the cause.
Journey Through The Inner Workings Of A PCB
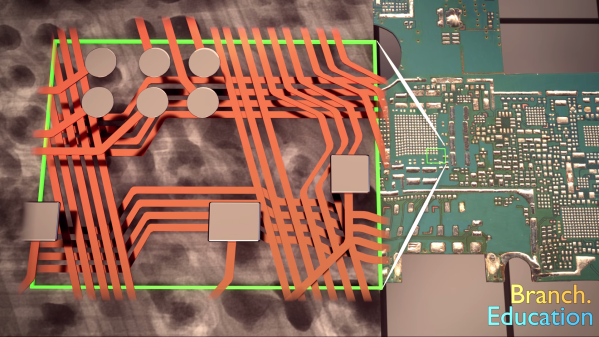
Most electronics we deal with day to day are comprised of circuit boards. No surprise there, right? But how do they work? This might seem like a simple question but we’ve all been in the place where those weird green or black sheets are little slices of magic. [Teddy Tablante] at Branch Eduction put together a lovingly crafted walkthrough flythrough video of how PCB(A)s work that’s definitely worth your time. 
[Teddy]’s video focuses on unraveling the mysteries of the PCBA by peeling back the layers of a smartphone. Starting from the full assembly he separates components from circuit board and descends from there, highlighting the manufacturing methods and purpose behind what you see.
What really stands out here is the animation; at each step [Teddy] has modeled the relevant components and rendered them on the PCBA in 3D. Instead of relying solely on hard to understand blurry X-ray images and 2D scans of PCBAs he illustrates their relationships in space, an especially important element in understanding what’s going on underneath the solder mask. Even if you think you know it all we bet there’s a pearl of knowledge to discover; this writer learned that VIA is an acronym!
If you don’t like clicking links you can find the video embedded after the break. Credit to friend of the Hackaday [Mike Harrison] for acting as the best recommendation algorithm and finding this gem.
Continue reading “Journey Through The Inner Workings Of A PCB”
Behold A 3D Display, Thanks To A Speeding Foam Ball
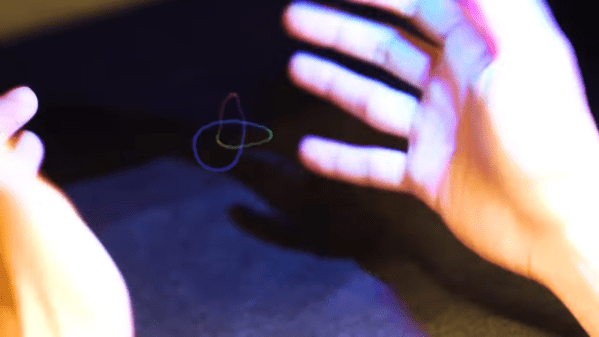
We’ve seen 3D image projection tried in a variety of different ways, but this is a new one to us. This volumetric display by Interact Lab of the University of Sussex creates a 3D image by projecting light onto a tiny foam ball, which zips around in the air fast enough to create a persistence of vision effect. (Video, embedded below.) How is this achieved? With a large array of ultrasonic transducers, performing what researchers call ‘acoustic trapping’.
This is the same principle behind acoustic levitation devices which demonstrate how lightweight objects (like tiny polystyrene foam balls) can be made to defy gravity. But this 3D display is capable of not only moving the object in 3D space, but doing so at a high enough speed and with enough control to produce a persistence of vision effect. The abstract for their (as yet unreleased) paper claims the trapped ball can be moved at speeds of up to several meters per second.
It has a few other tricks up its sleeve, too. The array is capable of simultaneously creating sounds as well as providing a limited form of tactile feedback by letting a user touch areas of high and low air pressure created by the transducers. These areas can’t be the same ones being occupied by the speeding ball, of course, but it’s a neat trick. Check out the video below for a demonstration.
Continue reading “Behold A 3D Display, Thanks To A Speeding Foam Ball”
Watch A 3D Printer Get Designed From The Ground Up
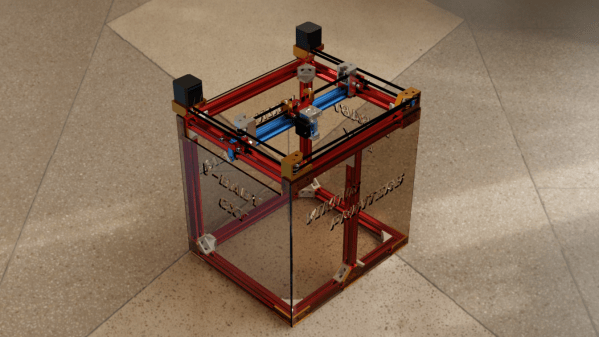
Too often when you see a build video, you only get to see the final product. Even if there’s footage of the build itself, it’s usually only the highlights as a major component is completed. But thankfully that’s not the case with the “V-Baby” CoreXY 3D printer that [Roy Berntsen] has been working on.
Watching through his playlist of videos, you’re able to see him tackle his various design goals. For example he’d like the final design to be both machinable and printable, which is possible, but it certainly adds complexity and time. He also transitions from a triangular base to a rectangular one at some point. These decisions, and the reasons behind them, are all documented and discussed.
Towards the end of the series we can see the final testing and torturing process as he ramps up to a final design release. This should definitely demystify the process for anyone attempting their first 3D printer design from scratch.
Hang Ten With Help From The Surf Window
Unless you live in a special, unique place like Hawaii or Costa Rica it’s unlikely you’ll be able to surf every day. It’s not easy to plan surf sessions or even surf trips to most locations because the weather conditions will need to be just right. Not only the wave height (swell) but also the wind speed and direction, tide, water and air temperature, and even amount and type of marine life present can all impact your surf session. You’ll want something which can easily tell you right away if conditions are good.
This project from [luke] is called the Surf Window shows the surf conditions at the local beach with just one glance. Made out of various pieces of wood, each part represents one of the weather conditions at the beach. A rotating seagull gives the wind direction, for example, and the wave height is represented by 3D, moving waves. All of the parts are connected with various motors and linkages to an Arduino Mega +WiFi R3 which grabs all of its information from Magicseaweed, a surf forecasting site.
The Surf Window can show the current conditions at virtually any surfable beach in the world, so if you really want to know how Jaws, Mavericks, or even Reef Road is breaking right now, you could use this to give you a more nuanced look. Don’t forget to take the correct board for the conditions!