For those with strokes or other debilitating conditions, control over one’s eyelid can be one of the last remaining motor functions. Inspired by [Jeremiah Denton] blinking in Morse code on a televised interview, [MBW] designed an ESP32-based device to decode blinks into words.
While an ESP32 offers Bluetooth for simulating a keyboard and has a relatively low power draw, getting a proper blink detection system to run at 20 frames per second in a constrained environment is challenging. Earlier attempts used facial landmarks to try and determine, based on ratios, whether an eye was open or closed. A cascade detector combined with an XGBoost classifier offered excellent performance but struggled when the eye wasn’t centered. Ultimately a 50×50, 4-layer CNN in TensorFlow Lite processes the camera frames, producing a single output, eye open or closed. For debugging purposes, it streams camera frames over Wi-Fi with annotations via OpenCV, though getting OpenCV to compile for ESP32 was also nontrivial.
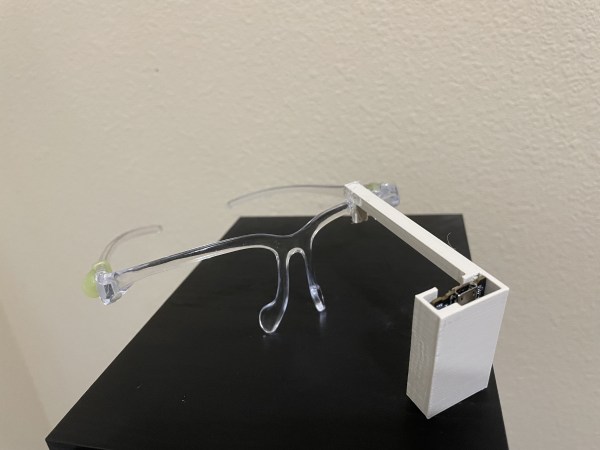
[MBW] trained the model using the MRL dataset and then quantized to int8. Getting the Bluetooth and Wi-Fi stacks to run concurrently was a bit of a pain, as was managing RAM. After exhausting SRAM and IRAM, [MBW] had to move to PRAM. The entire system is built into some lightweight goggles and makes for a fairly comfortable experience.
While TensorFlow and microcontrollers might seem like a bit of an odd couple, at the end of the day, the inference engine is just doing some math on an array of inputs with some weights. We’ve even seen TensorFlow Lite on a Commodore 64. If you don’t know about [Admiral Jerimiah Denton] we can shed some light on it for you.


Continue reading “Hackaday Prize 2023: EyeBREAK Could Be A Breakthrough”