How do the potatoes in that sack keep from sprouting on their long trip from the field to the produce section? Why don’t the apples spoil? To an extent, the answer lies in varying amounts of irradiation. Though it sounds awful, irradiation reduces microbial contamination, which improves shelf life. Most people can choose to take it or leave it, but in some countries, they aren’t overly concerned about the irradiation dosages found in, say, animal feed. So where does that leave non-vegetarians?
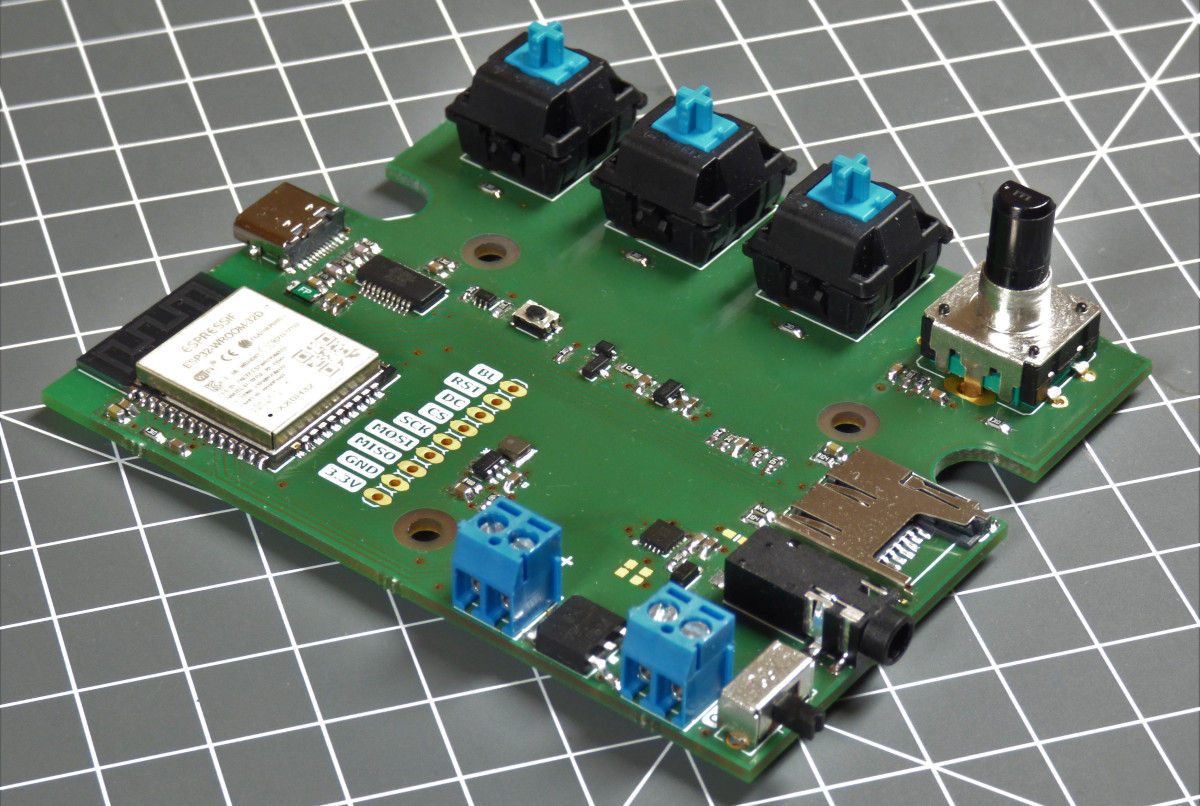
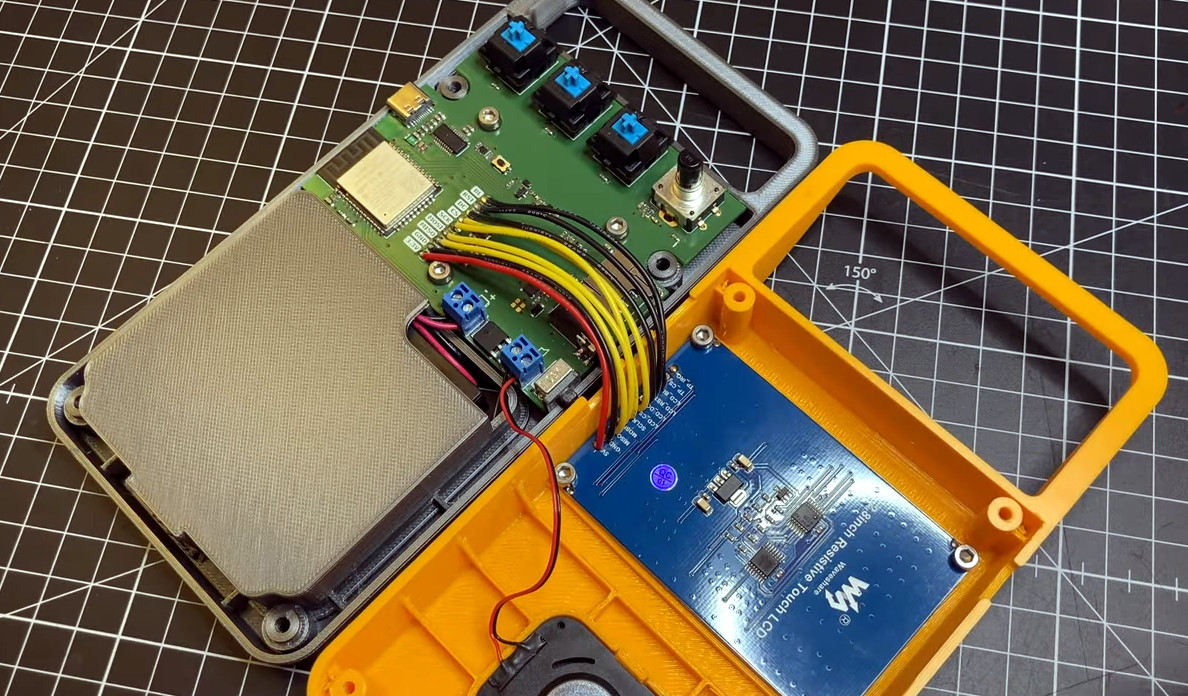
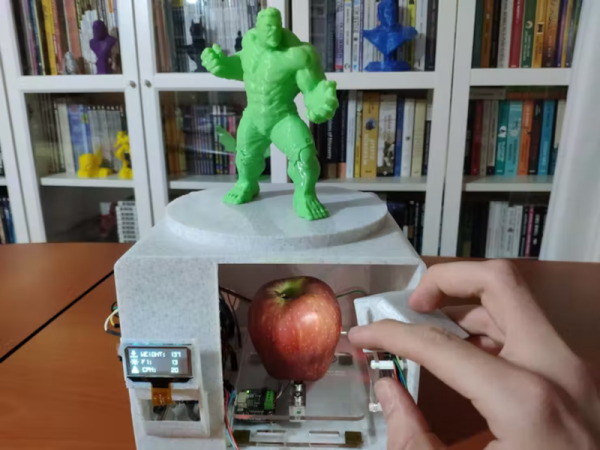
If that line of thinking makes you want to Hulk out, you’re not alone. [kutluhan_aktar] decided to build an IoT food irradiation detector in an effort to help small businesses make educated choices about the feed they give to their animals. The device predicts irradiation dosage level using a combination of the food’s weight, color, and emitted ionizing radiation after being exposed to sunlight for an appreciable amount of time. Using this information, [kutluhan_aktar] trained a neural network running on a Beetle ESP32-C3 to detect the dosage and display relevant info on a transparent OLED screen. Primarily, the device predicts whether the dosage falls into the Regulated, Unsafe, or just plain Hazardous category.
[kutluhan_aktar] lets this baby loose on some uncooked pasta in the short demo video after the break. The macaroni is spread across a load cell to detect the weight, while [kutluhan_aktar] uses a handheld sensor to determine the color.
This isn’t the first time we’ve seen AI on the Hackaday menu. Remember when we tried those AI-created recipes?