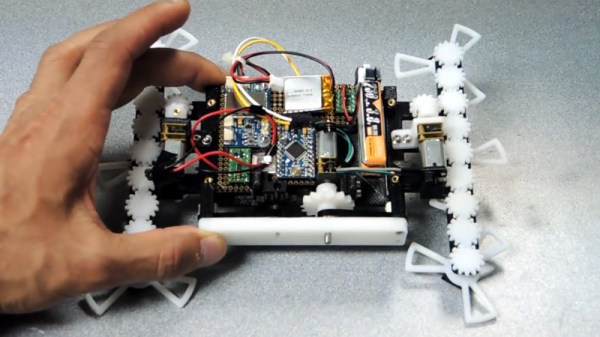
As if we didn’t have enough to worry about in regards to the coming robot uprising, [Ali Aslam] of Potent Printables has recently wrapped up work on a 3D printed robot that can flatten itself down to the point it can fit under doors and other tight spaces. Based on research done at UC Berkeley, this robot is built entirely from printed parts and off the shelf hardware, so anyone can have their own little slice of Skynet.
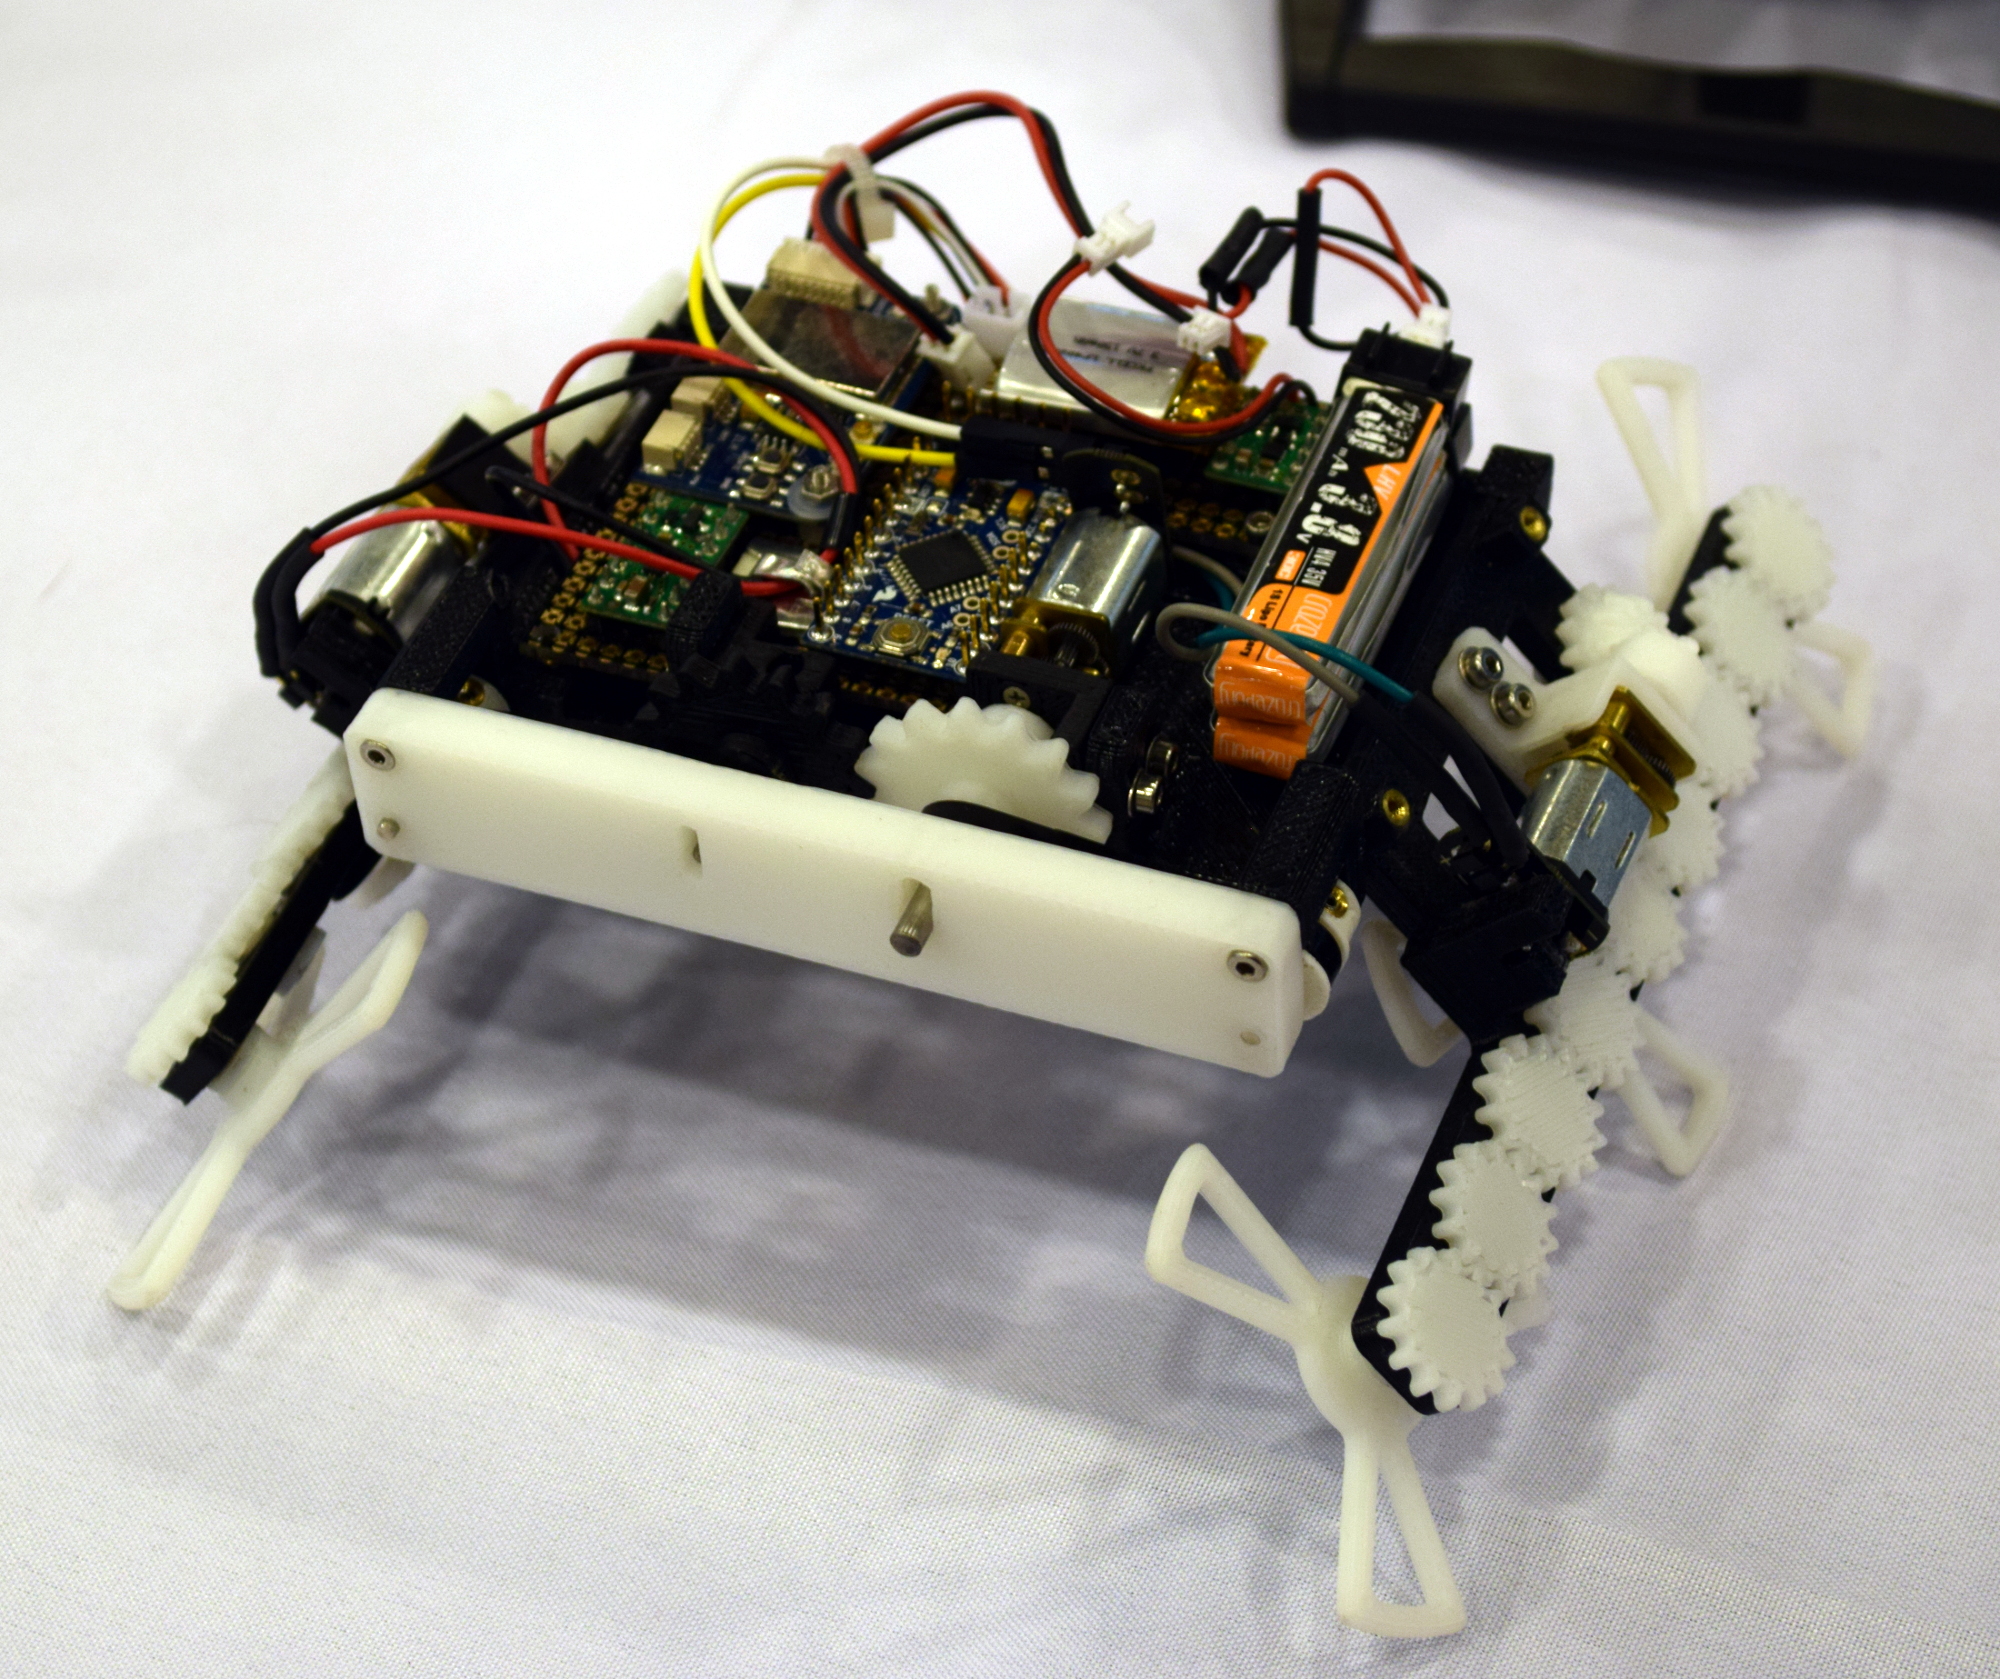
The key to the design are the folding “wings” which allow the robot to raise and lower itself on command. This not only helps it navigate tight spaces, but also gives it considerable all-terrain capability when it’s riding high. Rather than wheels or tracks, the design uses six rotors which look more like propellers than something you’d expect to find on a ground vehicle. These rotors work at the extreme angles necessary when the robot has lowered itself, and allow it to “step” over obstructions when they’re vertical.
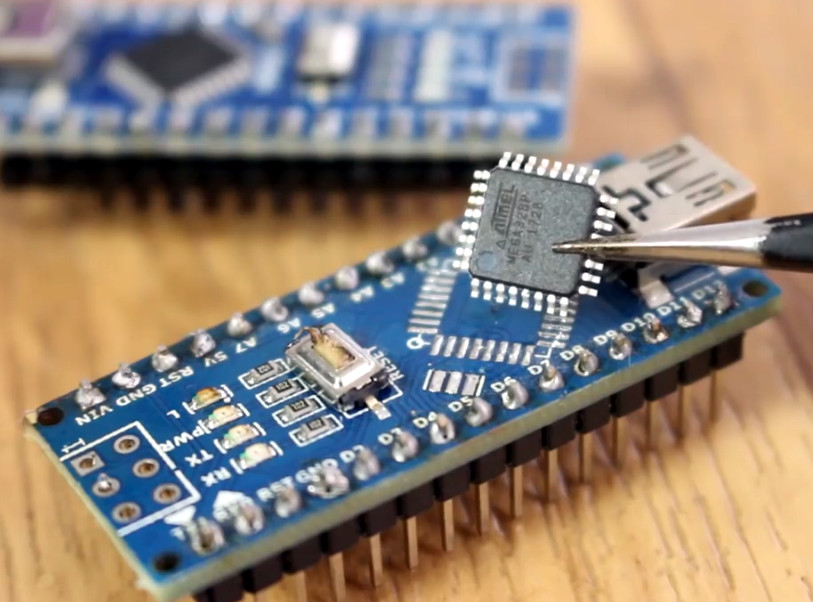
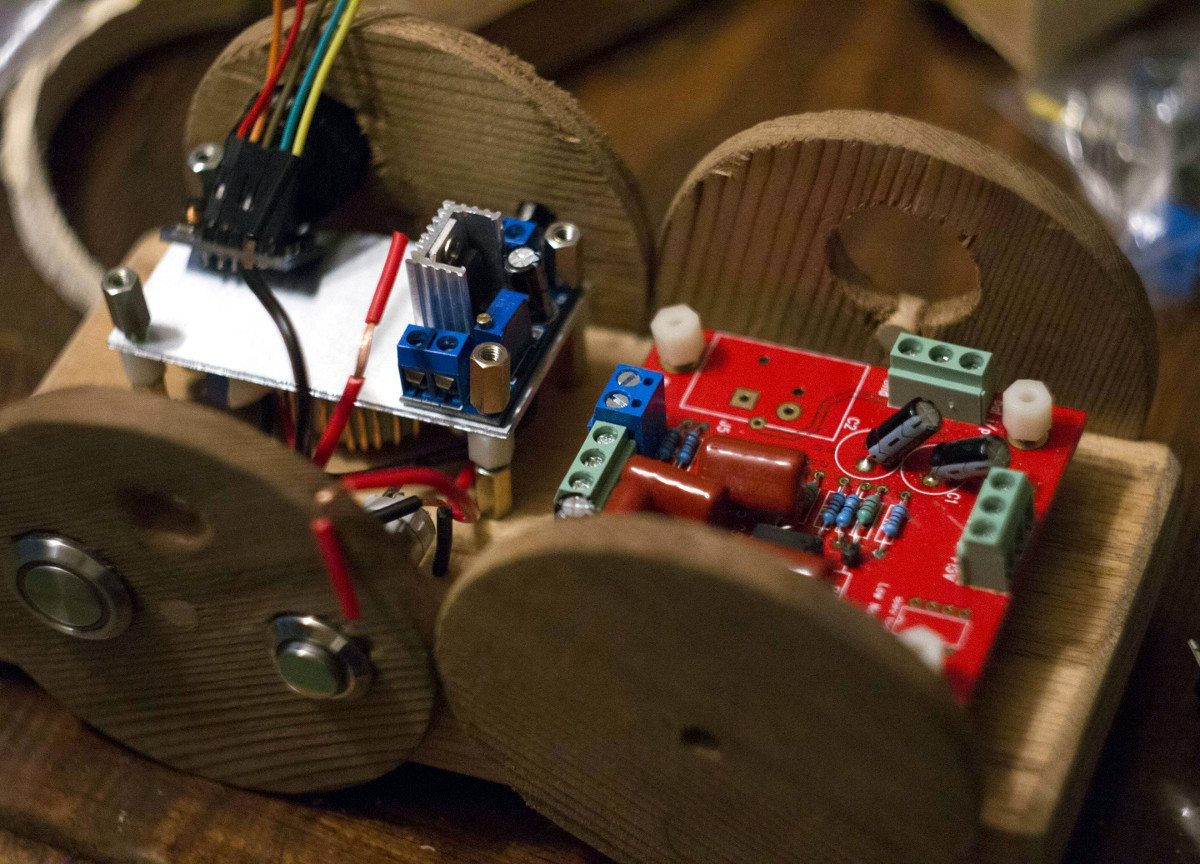
For the electronics, things are about what you’d expect. An Arduino Pro Mini combined with tiny Pololu motor controllers is enough to get the bot rolling, and a Flysky FS-X6B receiver is onboard so the whole thing can be operated with a standard RC transmitter. The design could easily be adapted for WiFi or Bluetooth control if you’d rather not use RC gear for whatever reason.
Want to build your own? All of the STL files, as well as a complete Bill of Materials, are available on the Thingiverse page. [Ali] even has a series of videos on YouTube videos walking through the design and construction of the bot to help you along. Outside of the electronics, you’ll need a handful of screws and rods to complement the 50+ printed parts. Better start warming up the printer now.
As an interesting aside, we got a chance to see this little critter first hand at the recent East Coast RepRap Festival in Maryland, along with a number of other engineering marvels.