Driving a brand new 670 horsepower Roucsh stage 3 Mustang while wearing virtual reality goggles. Sounds nuts right? That’s exactly what Castrol Oil’s advertising agency came up with though. They didn’t want to just make a commercial though – they wanted to do the real thing. Enter [Adam and Glenn], the engineers who were tasked with getting data from the car into a high end gaming PC. The computer was running a custom simulation under the Unreal Engine. El Toro field provided a vast expanse of empty tarmac to drive the car without worry of hitting any real world obstacles.
The Oculus Rift was never designed to be operated inside a moving vehicle, so it presented a unique challenge for [Adam and Glenn]. Every time the car turned or spun, the Oculus’ on-board Inertial Measurement Unit (IMU) would think driver [Matt Powers] was turning his head. At one point [Matt] was trying to drive while the game engine had him sitting in the passenger seat turned sideways. The solution was to install a 9 degree of freedom IMU in the car, then subtract the movements of that IMU from the one in the Rift.
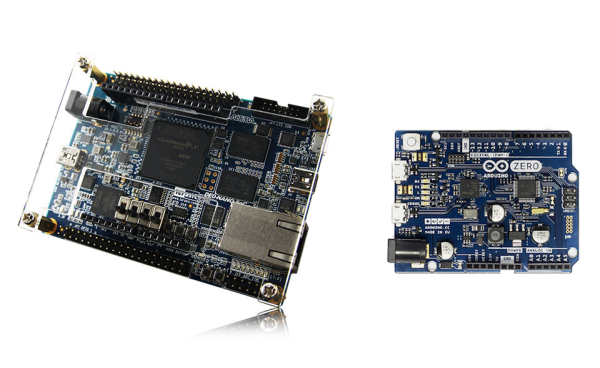
GPS data came from a Real Time Kinematic (RTK) GPS unit. Unfortunately, the GPS had a 5Hz update rate – not nearly fast enough for a car moving close to 100 MPH. The GPS was relegated to aligning the virtual and real worlds at the start of the simulation. The rest of the data came from the IMUs and the car’s own CAN bus. [Adam and Glenn] used an Arduino with a Microchip mcp2515 can bus interface to read values such as steering angle, throttle position, brake pressure, and wheel spin. The data was then passed on to the Unreal engine. The Arduino code is up on Github, though the team had to sanitize some of Ford’s proprietary CAN message data to avoid a lawsuit. It’s worth noting that [Adam and Glenn] didn’t have any support from Ford on this, they just sniffed the CAN network to determine each message ID.
The final video has the Hollywood treatment. “In game” footage has been replaced with pre-rendered sequences, which look so good we’d think the whole thing was fake, that is if we didn’t know better.
Click past the break for the final commercial and some behind the scenes footage.
Continue reading “Castrol Virtual Drift: Hacking Code At 80MPH With A Driver In A VR Helmet”

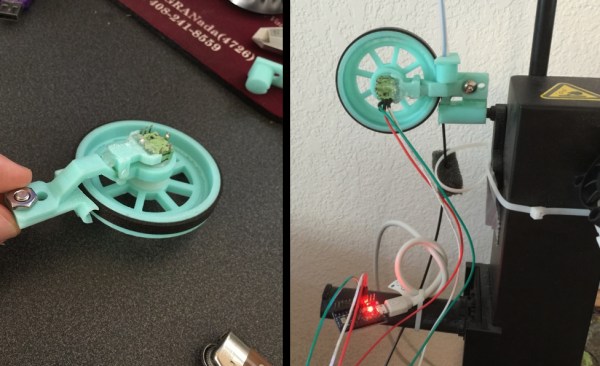
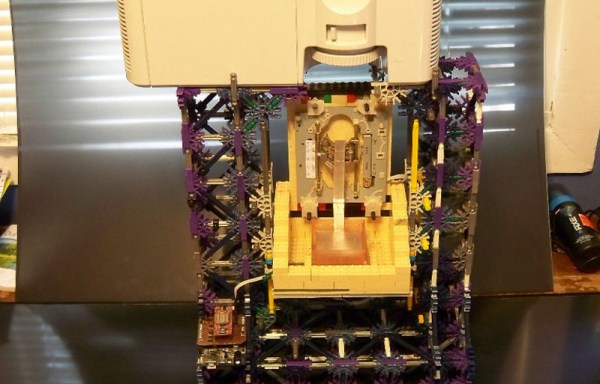
 [Florian] designed a small assembly with a wheel and encoder that measures filament movement. The filament passes under the encoder wheel before it’s fed into the 3D printer. The encoder is hooked up to an Arduino which measures the Gray code pulses as the encoder rotates, and the encoder count is streamed over the serial port to a computer.