This week on the Hacklet we’re looking at Hackaday.io projects that are all about animals! Hackers and makers are well-known animal lovers, in fact many a hacker can be found with a pet curled up at their feet, or on their keyboard!
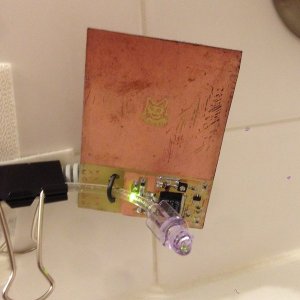 [Brian’s] cat Roger loves drinking from the bathtub faucet. Unfortunately Roger hasn’t learned how to operate the faucet himself, so it gets left on quite a bit. To keep Roger happy while saving water, [Brian] created the Snooty Cat Waterer. Cat’s still don’t have thumbs, so [Brian] turned to capacitive sensing in the form of a Microchip MTCH10 capacitive proximity sensor chip. Coupled with a home etched PC board, the waterer can detect a cat at 3 inches. A valve and water feed teed off the toilet provide the flow. The project is moving along well, though Roger has been slow to warm up to this new water source.
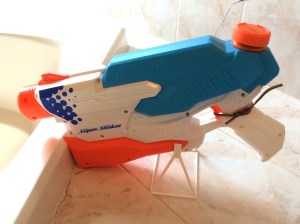 [Jsc] has the opposite problem. His cat has decided that bathtubs are the perfect litter boxes. [Jsc] is taking aim at this little problem with his Cat Dissuader. After a servo controlled squirt bottle proved too anemic for his needs, [Jsc] turned to the Super Soaker Hydrostorm. These electric water guns can be had for as little as $16 on sale. [JSC] didn’t want to permanently modify the gun, so he 3D printed a switchable battery pack.The replacement pack is actually powered by a simple wall wart. Power to the gun is controlled by an Arduino, which senses his cat with a passive infrared sensor. Since the dissuader was installed, [Jsc’s] cat has been a model citizen!
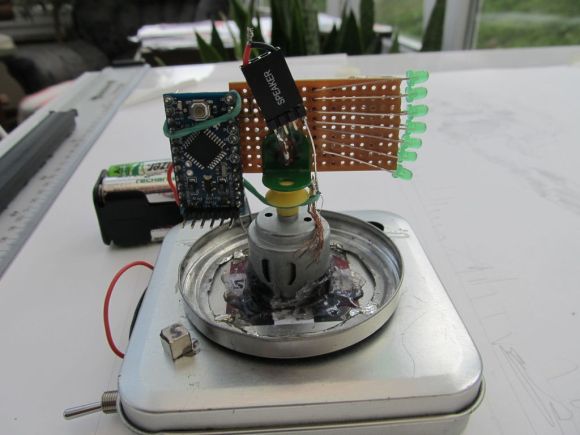
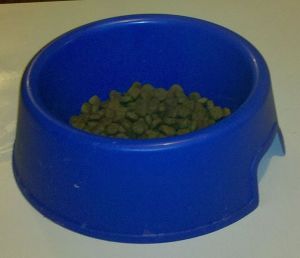 Cat’s don’t get all the love though, plenty of engineers and hackers have dogs around the house. [Colin] loves his dog, but he and his family were forgetting to feed it. He created Feed the Dog to help the household keep its four-legged member from going hungry. [Colin] tried a microcontroller, but eventually settled on implementing the circuit with old-fashioned 4000 series CMOS logic chips. He used a 4060 (14-stage ripple counter w/ internal oscillator) as an 8 hour timer, and 4013 dual flip-flop. Operation of Feed the Dog is as simple as wagging your tail. Once the dog is feed, the human presses a button. A green “Just fed” LED will glow for 30 minutes, then go dark. After about 6 hours, a red LED turns on. After 8 hours, the red LED starts blinking, letting everyone know that it’s time to feed the dog.
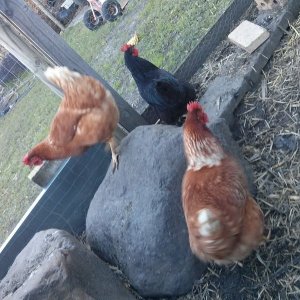
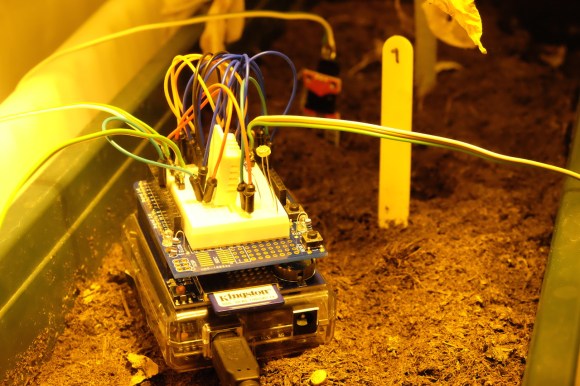
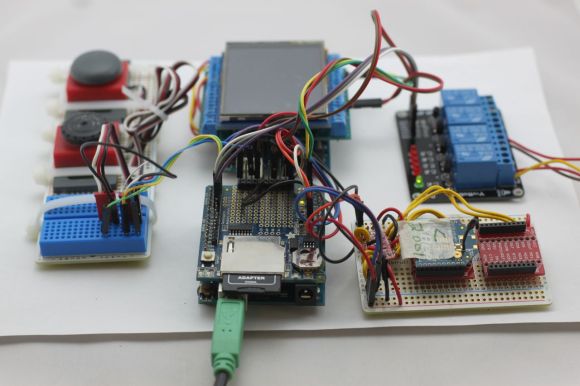
[Steve] has outdoor pets. Chooks to be exact, or chickens for the non Australians out there. He loves watching his birds, especially Darth Vader, who is practicing to become a rooster. To keep track of the birds, he’s created What the Chook?, a sensor suite for the hen-house. He’s using a GCDuiNode with a number of sensors. Temperature, humidity, even a methane detector for when the bedding needs to be replaced. An OV528 JPEG camera allows [Steve] to get pictures of his flock. The entire project connects via WiFi. Steve hopes to power it from a couple of AA batteries. [Steve] also entered What the Chook? in The Hackaday Prize. If he wins, this will be the first case of flightless birds sending a human to space!
Hey – Did you know that Hackaday is building a Hackerspace in Pasadena California? We’re rounding up the local community while our space is being built out. Join us at a Happy Hour Show & Tell Meetup Event hosted by our own [Jasmine Brackett] August 18th! It’s an informal show and tell, so you don’t have to bring a hack to attend. If you’re local to Pasadena, come on down and say hello!