Back in the “beige box” days of computing, it was pretty easy to tell what your machine was doing just by listening to it, because the hard drive was constantly thrashing the heads back and forth. It was sometimes annoying, but never as annoying as hearing the stream of Geiger counter-like clicks stop when you knew it wasn’t done loading a program yet.
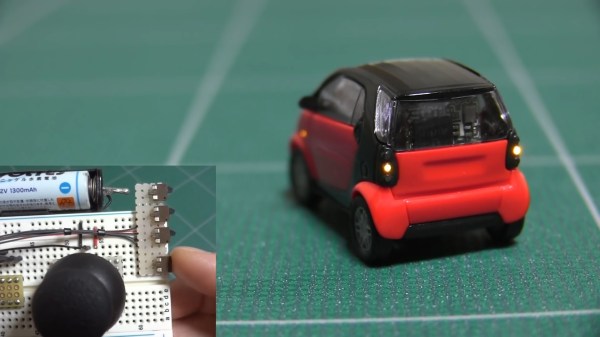
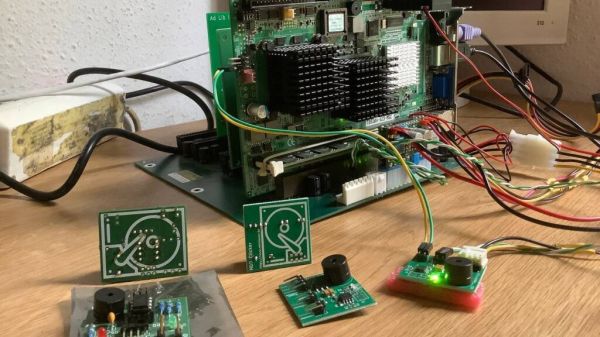
That “happy sound” is getting harder to come by, even on retro machines, which increasingly have had their original thrash-o-matic drives replaced with compact flash and other solid-state drives. This HDD sound simulator aims to fill that diagnostic and nostalgic gap on any machine that isn’t quite clicky enough for you. Sadly, [Matthias Werner] provides no build details for his creation, but between the longish demo video below (by a satisfied customer) and the details of the first version, it’s easy enough to figure out what’s going on here. An ATtiny and a few support components ride on a small PCB along with a piezoelectric speaker. The dongle connects to the hard drive activity light, which triggers a series of clicks from the speaker that sound remarkably like a hard drive heading seeking tracks. A demo starts at 7:09 in the video below; the very brave — or very nostalgic — might want to check out the full defragmentation that starts at 13:11.
Sure, this one is perhaps a bit over-the-top, but in the retrocomputing world, no price is too high to pay in the name of nostalgia. And it’s still far from the most ridiculous hard drive activity indicator we’ve seen.
Continue reading “Tiny Dongle Brings The Hard Drive’s Song Back To Updated Retrocomputers”