A Conference Badge Breathes Life Into A Rotary Phone

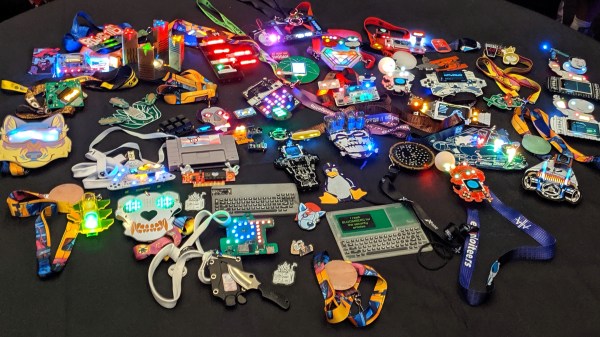
We have covered the astonishing diversity of conference badges to a great extent over the years, and we are always pleased and surprised at the creativity and ingenuity that goes into their creation. But the saddest thing about so many badges is that after the event they go into the drawer and are never touched again, such a missed opportunity!

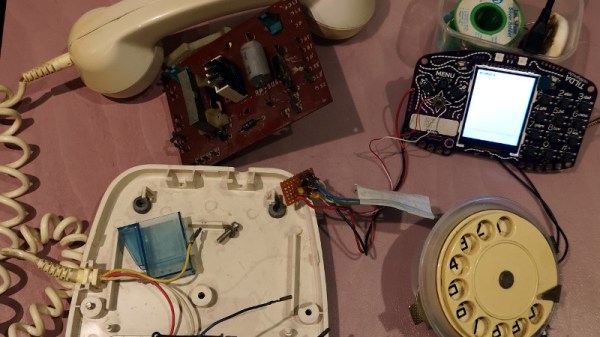
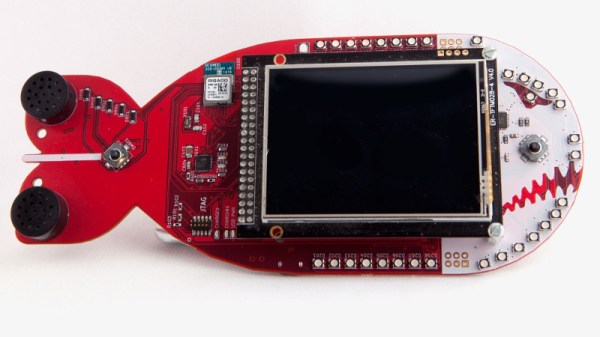
It’s a trend that [Dan] has reversed though, with his rotary dial phone brought to life with an EMF Tilda MkIV. This was the badge from last year’s EMF Camp 2018, and its defining feature was a built-in GSM mobile phone. We didn’t give it a full review at the time because it has problems with the GSM part at the event and it would have been unfair to display what was an amazing badge in a negative light, but once we got it home it was straightforward enough to put a commercial SIM in the slot and use the public networks with it.

[Dan]’s phone is an Eastern European model that came to him through his grandfather. Inside it’s a relatively conventional design, into which he’s patched a couple of the Tilda’s I/O lines from the dial through a debounce circuit. But simply selecting a couple of lines wasn’t enough, as most of those on its expansion port come via a port expander. He needed inputs that could generate an interrupt, so he hijacked a couple from the on-board joystick. He’s included Python code which you can see in action in the video below. It’s important to note that he’s yet to hook up the audio to the badge so this is a work in progress, but it’s an interesting project nevertheless.

Rotary phones hold a special place among hardware hackers, we’ve featured many projects including them. This isn’t the first GSM rotary phone we’ve brought you, and don’t forget they can also talk via Bluetooth.

Continue reading “A Conference Badge Breathes Life Into A Rotary Phone”

These Tips Make Assembling A Few Hundred PCBs Easier

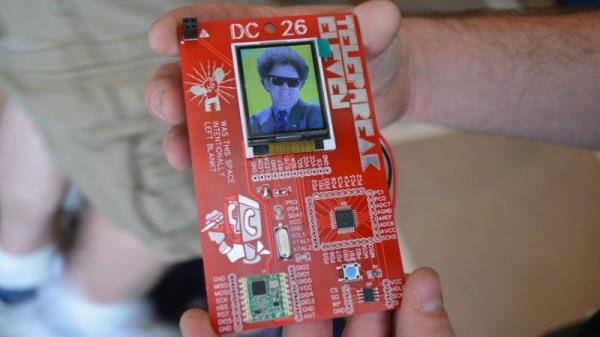
There are a few common lessons that get repeated by anyone who takes on the task of assembling a few hundred PCBs, but there are also unique insights to be had. [DominoTree] shared his takeaways after making a couple hundred electronic badges for DEFCON 26 (that’s the one before the one that just wrapped up, if anyone’s keeping track.) [DominoTree] assembled over 200 Telephreak badges and by the end of it he had quite a list of improvements he wished he had made during the design phase.

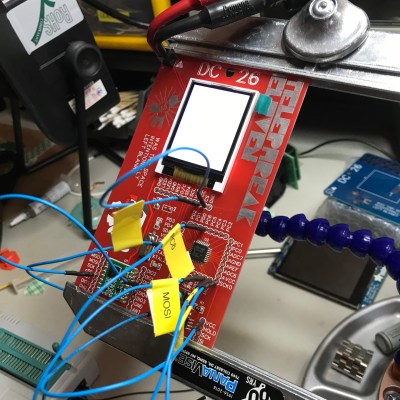
Some tips are clearly sensible, such as adding proper debug and programming interfaces, or baking an efficient test cycle into the firmware. Others are not quite so obvious, for example “add a few holes to your board.” Holes can be useful in unexpected ways and cost essentially zero. Even if the board isn’t going to be mounted to anything, a few holes can provide a way to attach jigs or other hardware like test fixtures.

[DominoTree] ended up having to attach multiple jumper wires to reprogram boards after assembly, and assures us that “doing this a bunch of times really sucked.”
Other advice is more generic but no less important, as with “eliminate as many steps as possible.” Almost anything adds up to a significant chunk of time when repeated hundreds of times. To the basement hacker, something such as pre-cut and pre-tinned wires might seem like a shameful indulgence. But cutting, stripping, tinning, then hand-soldering a wire adds up to significant time and effort by iteration number four hundred (that’s two power wires per badge) even if one isn’t staring down a looming deadline.

[DominoTree] also followed up with additional advice on making assembly easier. Our own [Brian Benchoff] has also shared his observations on the experience of developing and assembling a large number of Hackaday Superconference badges, including what it took to keep things moving along when inevitable problems surfaced.

You don’t need to be making batches of hundreds for these lessons to pay off, so keep them in mind and practice them on your next project.

The Numberwang Badge Brought Cheer To CCCamp 2019

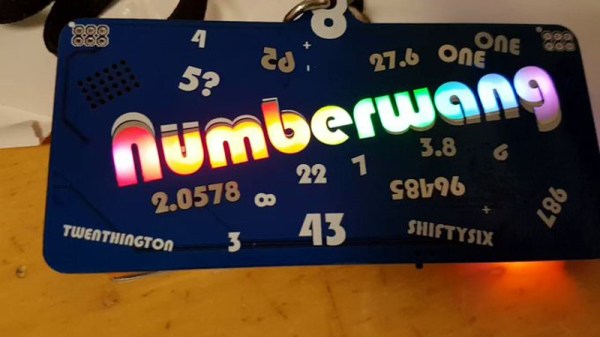
While wandering through CCCamp last weekend, in between episodes of forcing Marmite on the unwary, I ran into the well-known Hackaday.io user [Prof. Fartsparkle]. In a last-minute sprint leading up to the con he built himself the Numberwang badge to join in the colorful after-dark festivities with beautiful board artwork and remarkably enjoyable backlit LED display.

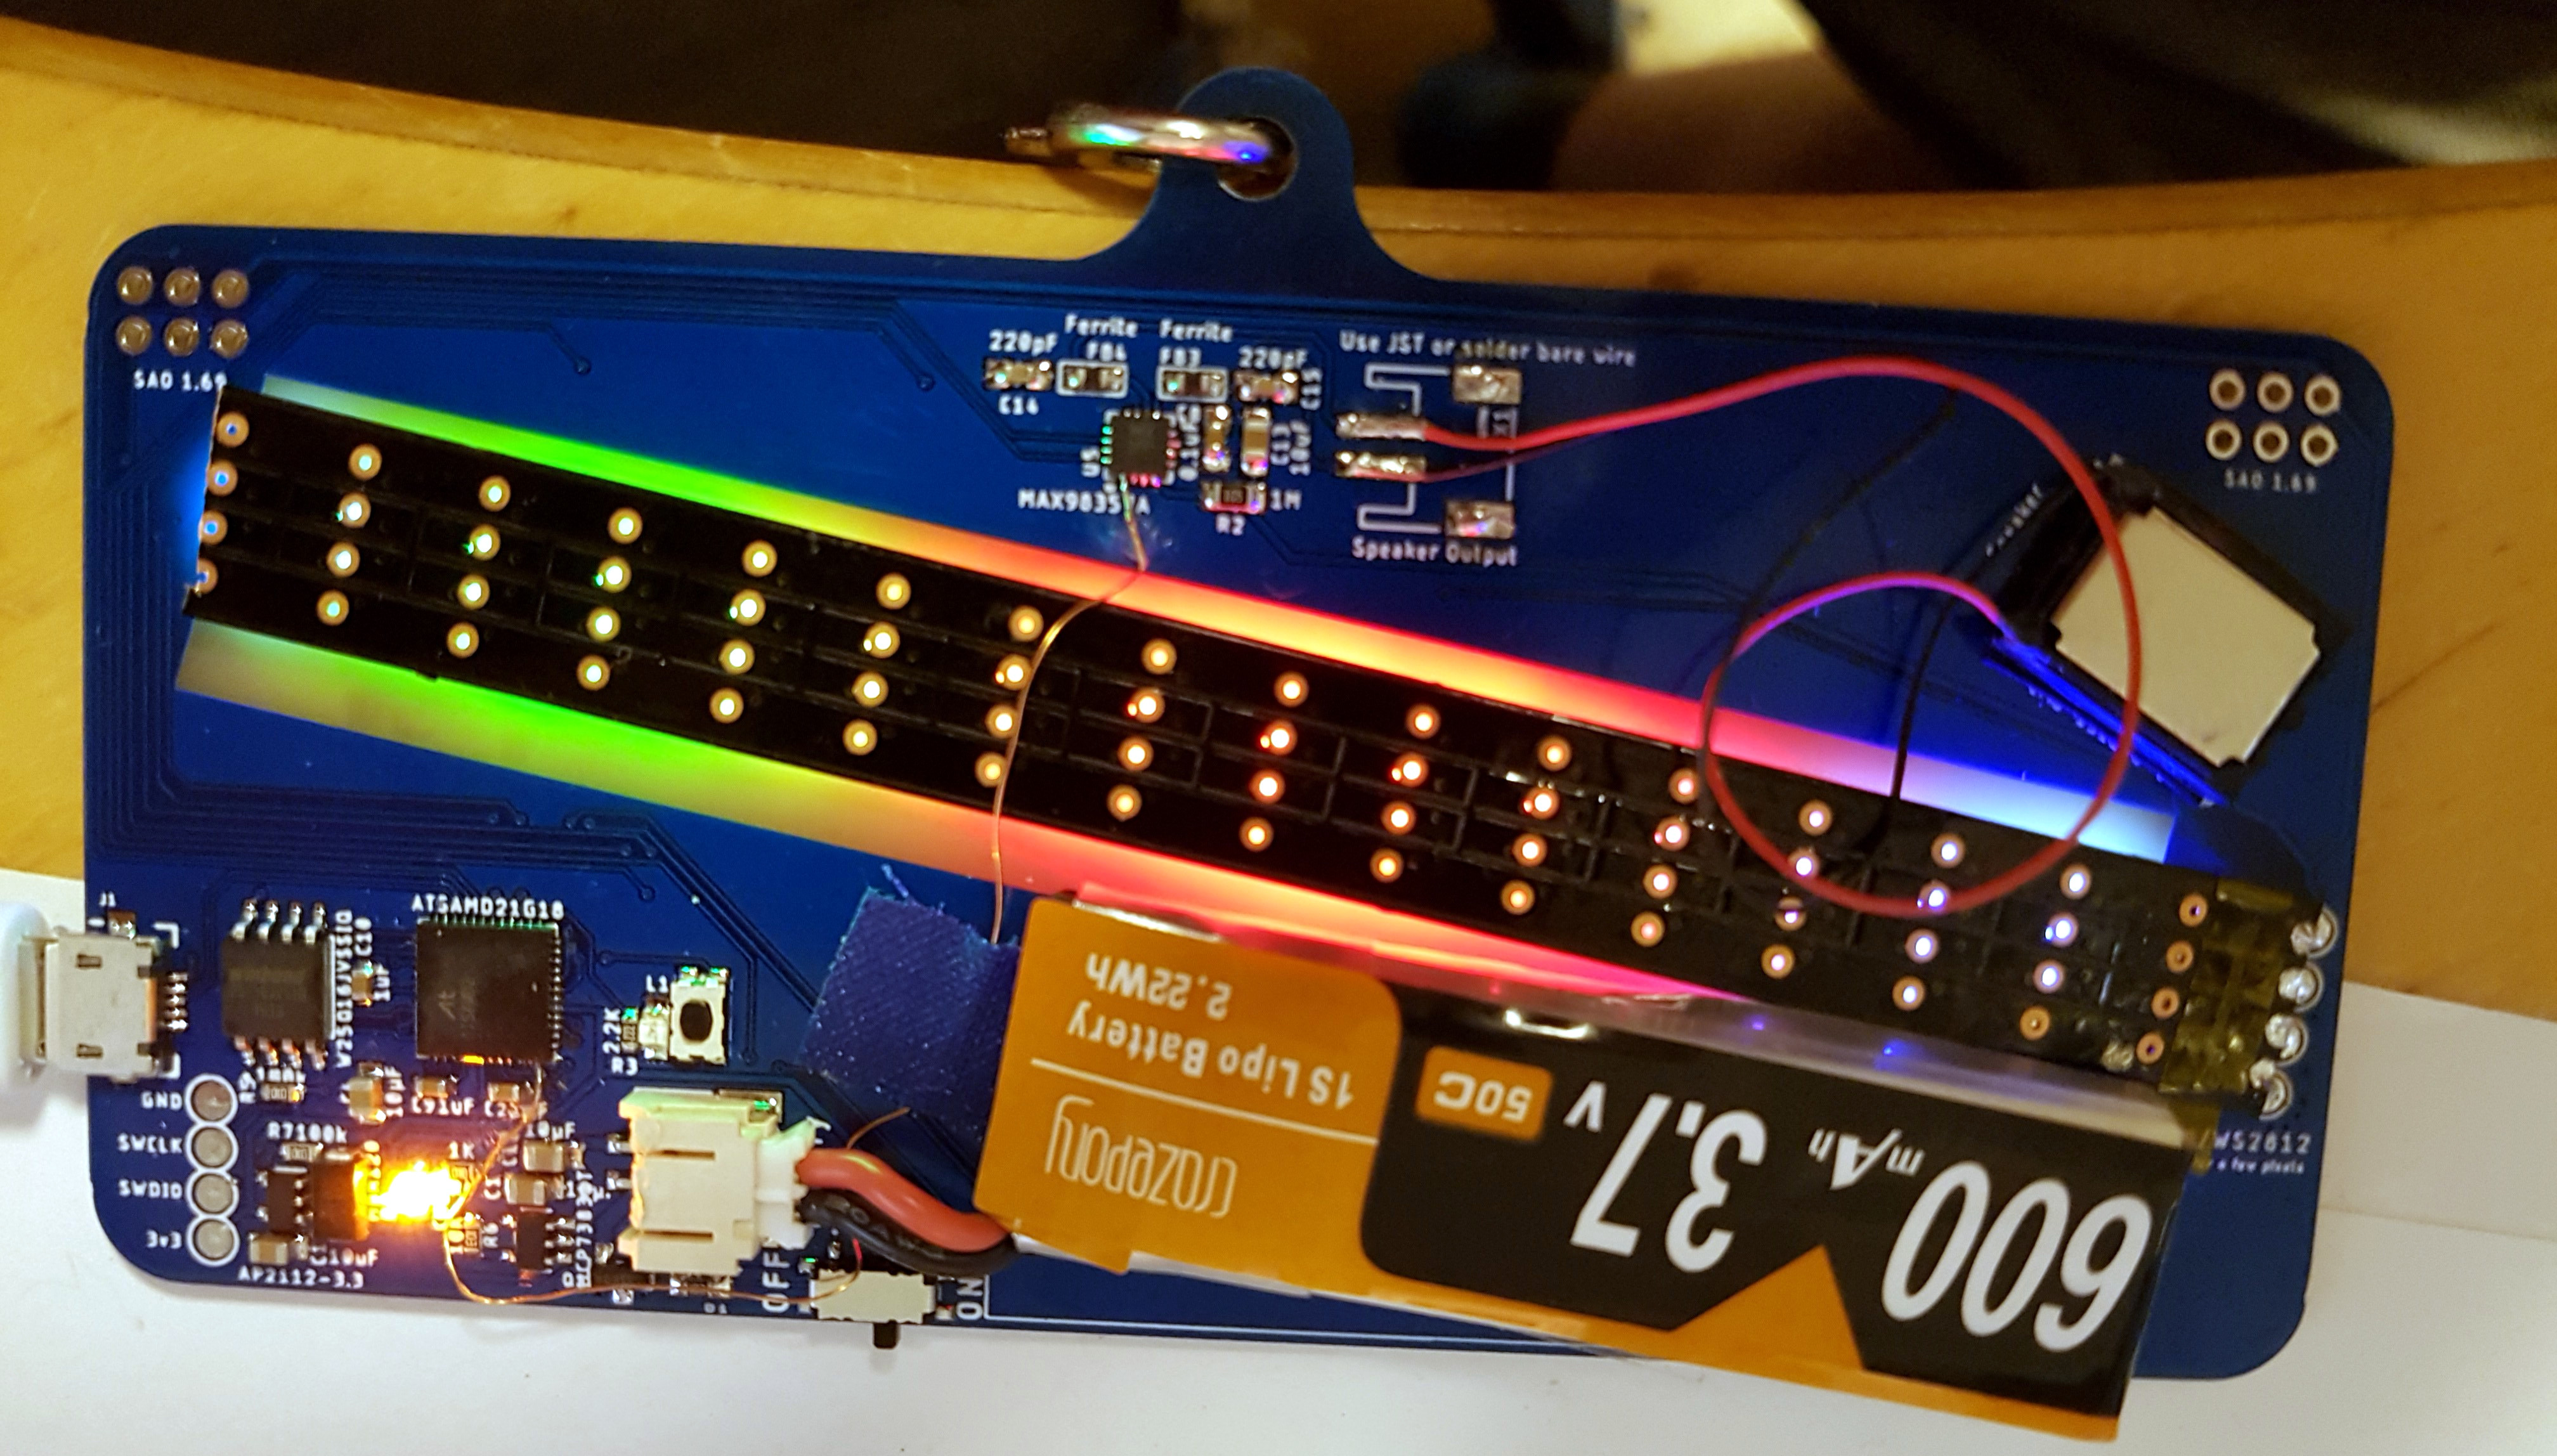
The Numberwang badge itself is a clone of the Adafruit Itsy Bitsy sporting an ATSAMD21G18 CPU and running CircuitPython. It has an LED strip on the reverse shining through the bare FR4 as a diffuser, and the Numberwang effect of selecting random numbers is achieved by a host of random touchable numbers sprinkled across its front. For something he freely admits was a last minute project, we think he’s done a pretty good job!

For those mystified by Numberwang, it is a fictional gameshow from a BBC TV comedy programme that involves contestants answering the quizmaster with random numbers. It joins a rich tradition of such hilarious nonsense, and has as a result become cult television.

If you’re really getting into Numberwang, don’t forget that it’s inspired a programming language.

Continue reading “The Numberwang Badge Brought Cheer To CCCamp 2019”

After The Con: Da Bomb Badge Post Mortem

We’ve reported on the world of electronic badges here at Hackaday since their earliest origins in [Joe Grand]’s work for DEF CON 14 in 2006. In that time we’ve seen an astonishing variety of creations, covering everything from abstract artwork to pure functionality in a wearable device. But it’s not been quite so often that we’ve looked at the other side of the BadgeLife coin, so it’s fascinating to read [John Adams]’ account of the work that went into the production of this year’s 500-piece run of the Da Bomb DEF CON indie badge.

In it, [John] goes over scheduling worries, component sourcing issues, PCB assembly delays, and an in-depth look into the finances of such a project. In case anyone is tempted to look at Badgelife as the route to millions, it rapidly becomes apparent that simply not losing too much money is sometimes the best that can be hoped for. There were a few design problems, one of them being that the SAO I2C bus was shared with the LED controller, resulting in some SAOs compatibility issues. In particular the AND!XOR DOOM SAO had its EEPROM erased, creating something of a headache for the team.

A surprise comes in the distribution: obviously shipping is expensive, so you’d think badge pick-ups at the con would be straightforward alternative. Unfortunately, they became something of a millstone in practice, and organising them was a Herculean task. Astoundingly, some paying customers didn’t bother turn up for their badges. Which was especially infuriating since the team lost valuable conference time waiting for them.

Some of you are BadgeLife creators and will nod sagely at this. Still more of you will wish you were BadgeLife creators and find it a useful primer. For everyone else it’s a fascinating read, and maybe makes us appreciate our badges a bit more.

The images may have departed, but just to return to the origins of BadgeLife, here’s our coverage of that first [Joe Grand] badge.

Hands-On: CCCamp2019 Badge Is A Sensor Playground Not To Be Mistaken For A Watch

Last weekend 5,000 people congregated in a field north of Berlin to camp in a meticulously-organized, hot and dusty wonderland. The optional, yet official, badge for the 2019 Chaos Communication Camp was a bit tardy to proliferate through the masses as the badge team continued assembly while the camp raged around them. But as each badge came to life, the blinkies that blossomed each dusk became even more joyful as thousands strapped on their card10s.

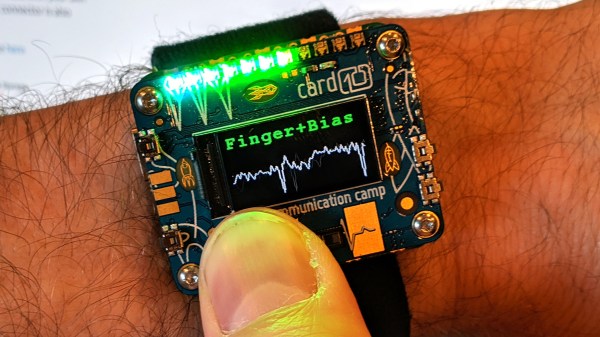
Yet you shouldn’t be fooled, that’s no watch… in fact the timekeeping is a tacked-on afterthought. Sure you wear it on your wrist, but two electrocardiogram (ECG) sensors for monitoring heart health are your first hint at the snoring dragon packed inside this mild-mannered form-factor. The chips in question are the MAX30001 and the MAX86150 (whose primary role is as a pulse sensor but also does ECG). We have high-res ADCs just waiting to be misused and the developers ran with that, reserving some of the extra pins on the USB-C connector for external devices.

There was a 10€ kit on offer that let you solder up some electrode pads (those white circles with gel and a snap for a solid interface with your body’s electrical signals) to a sacrificial USB-C cable. Remember, all an ECG is doing is measuring electrical impulses, and you can choose how to react to them. During the workshop, one of the badge devs placed the pads on his temples and used the card10 badge to sense left/right eye movement. Wicked! But there are a lot more sensors waiting for you on these two little PCBs.

Continue reading “Hands-On: CCCamp2019 Badge Is A Sensor Playground Not To Be Mistaken For A Watch”

Hello: A Mini Badge For CCCamp

Badgelife culture is our community’s very own art form, with a plethora of designs coming forth featuring stunning artwork, impressive hardware, and clever software tricks. But sometimes a badge doesn’t need a brace of LEDs or a meme-inspired appearance to be a success, it just needs to be very good at what it does.

A perfect example is [Gavan Fantom]’s Hello mini badge. The hardware is fairly straightforward, it’s just a small square PCB sporting a LPC1115 microcontroller, 8Mb Flash chip, piezo speaker, and an OLED display. Its functionality is pretty simple as well, in that it exists to display text, images, or short animations. But the badge hides a very well-executed firmware that provides a serial terminal and zmodem file upload capability as well as an on-device interface via a small joystick. Power comes from a 500 mAh lithium-polymer cell, for which the badge integrates the usual charger and power management hardware.

There’s a variety of possibilities for the badge, but we’d guess that most owners will simply use it to display their name with perhaps a little animation. A bit of nifty processing of some video could perhaps get something approaching watchable video on it though, opening up the entertaining possibility of displaying demos or other video content.

[Gavan] will have some of the Hello badges at the upcoming CCCamp hacker camp in Germany if you’re interested, and should be easy enough to find in the EMF village.

Fail Of The Week: How Not To Light Pipe

You’d think that something made out of glass and epoxy would transmit a decent amount of light. Unfortunately for [Jeremy Ruhland], it turns out that FR4 is not great light pipe material, at least in one dimension.

The backstory on this has to do with #badgelife, where it has become popular to reverse mount SMD LEDs on areas of PCBs that are devoid of masking, allowing the light to shine through with a warm, diffuse glow – we’ve even featured a through-PCB word clock that uses a similar technique to wonderful effect. [Jeremy]’s idea was to use 0603 SMD LEDs mounted inside non-plated through-holes to illuminate the interior of the board edgewise. It seems like a great idea, almost like the diffusers used to illuminate flat displays from the edge.

Sadly, the light from [Jeremy]’s LEDs just didn’t make it very far into the FR4 before being absorbed – about 15 mm max. That makes for an underwhelming appearance, but all is certainly not lost. Valuable lessons about PCB design were had, like exactly how to get a fab to understand what you’re trying to do with non-plated holes and why you want to fence the entire edge of the board in vias. But best of all, [Jeremy] explored what’s possible with Oreo construction, and came away with ideas for other uses of the method. That counts as a win in our book.