CD Image Via Twitter: A Handcrafted Game Disc

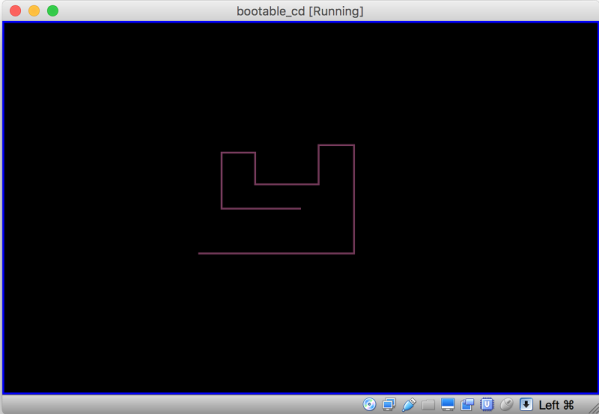
Humans can turn anything into a competition. Someone always wants to be faster or drive a ball farther. Technical pursuits are no different, which is why a lot of people overclock or play regular expression golf. [Alok Menghrajani] sets himself some odd challenges. A few years ago, he hand-built a bootable floppy image that had a simple game onboard and managed to fit it in a Twitter message. Twitter has increased their number of characters, so — you guessed it — this time he’s back with a CDROM image.

His tweet is a command line that starts with perl. The text is base64-encoded binary and if you run the Tweet from a shell — which is an odd thing to do with a Tweet, we grant you, you’ll be rewarded with a file called cd.iso. You could burn that to a CDROM, but it is more likely you’ll just mount in a virtual machine and boot that. [Alok] says it does work in QEMU, VirtualBox, and — yes — even a real CD.

Continue reading “CD Image Via Twitter: A Handcrafted Game Disc”

Unbricking A 3D Printer The Hard Way: By Writing A Bootloader

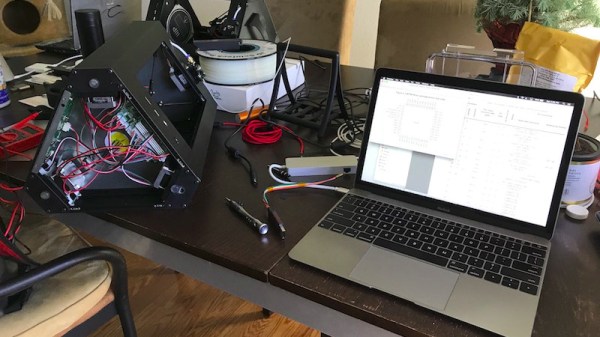
There’s a sinking feeling when a firmware upgrade to a piece of equipment goes wrong. We’ve all likely had this happen and  bricked a device or two. If we are lucky we can simply reapply the upgrade or revert to a previous version, and if we’re unlucky we have to dive into a serial debug port to save the device from the junk pile. But what happens when both those routes fail? If you are [Arko], you reverse-engineer the device and write your own bootloader for it.

The offending bricked object was a Monoprice MP Mini Delta 3D printer to which he was foolhardy enough to apply new firmware after seeing a friend’s machine taking it without issue. Finding the relevant debug interface on its main PCB he applied the firmware upgrade again, only to realise that in doing so he had overwritten its bootloader. The machine seemed doomed, but he wasn’t ready to give up.

What follows in his write-up is a detailed examination of the boot mechanism and memory map of an ARM Cortex M0 processor as found in the Monoprice’s STM32F070CB. We learn about vector tables for mapping important addresses of interrupts and execution points, and the mechanics of a bootloader in setting up the application it launches. This section is well worth a read on its own, even for those with no interest in bricked 3D printers.

In the end he had a working bootloader to which he appended the application firmware, but sadly when he powered up the printer there was still no joy. The problem was traced to the serial connection between the ARM doing the printer’s business and the ESP8266 running its display. After a brainstorm suggestion with a friend, a piece of code was found which would set the relevant registers to allow it to run at the correct speed.

So after a lot of work that resulted in this fascinating write-up, there was a working 3D printer. He suggests that mere mortals try asking Monoprice for a replacement model if it happens to their printers, but we’re extremely glad he persevered. Without it we would never have had this fascinating write-up, and would be the poorer without the learning experience.

This isn’t the first time we’ve brought you 3D printer bootloader trickery.

Over The Air Updates For Your Arduino

An Arduino and a data radio can make a great remote sensor node. Often in such situations, the hardware ends up installed somewhere hard to get to – be it in a light fitting, behind a wall, or secreted somewhere outdoors. Not places that you’d want to squeeze a cable repeatedly into while debugging.

[2BitOrNot2Bit] decided this simply wouldn’t do, and decided to program the Arduinos over the air instead.

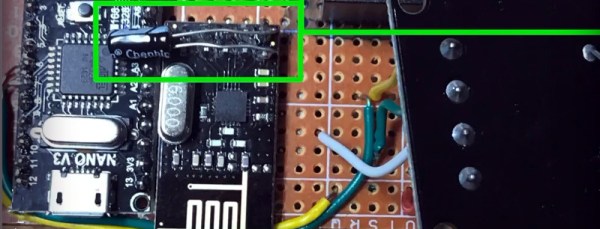
Using the NRF24L01 chip with the Arduino is a popular choice to add wireless communications to a small project. By installing one of these radios on both the remote hardware and a local Arduino connected to the programming computer, it’s possible to remotely flash the Arduino without any physical contact whatsoever using Optiboot.

The writeup is comprehensive and covers both the required hardware setup for both ends of the operation as well as how to install the relevant bootloaders. If you’re already using the NRF24L01 in your projects, this could be the ideal solution to your programming woes. Perhaps you’re using a different platform though – like an Arduino on WiFi? Don’t worry – you can do OTA updates that way, too.

Write Your Own X86 Bootloader

What if you want to make a very lean machine and do without any operating system? Or maybe you want to try to write your own OS, even just for the challenge or fun? Maybe you were reading up on a cool OS architecture and thought to yourself, “I can write that!”. Well, before diving into your code, you’d first have to write something called a bootloader.

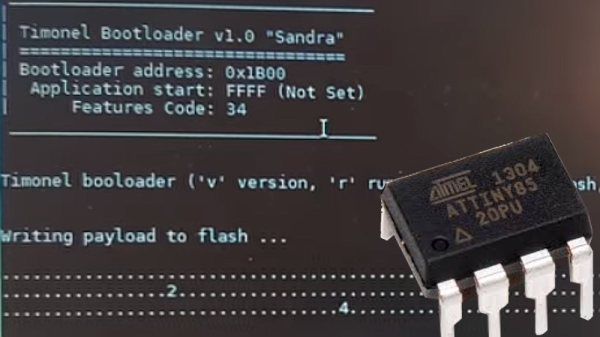
A bootloader is code that runs early on in a PC’s, Mac’s, Raspberry Pi’s or microcontroller’s boot sequence, before anything like an operating system is up. Often its job is to set up minimal hardware, such as RAM, and then load the OS or your embedded code.

[Alex Parker] has written a three-part series of clear blog posts that make writing the bootloader part easy, at least for x86 machines. And the nice thing is that you don’t need an x86 to get started. He does it on a Mac using the QEMU processor emulator, though he also talks about doing it under Windows and Linux.

In the first part of the series, the bootloader leaves you in the x86’s real mode, with 16-bit instructions and access to one megabyte of memory — think pre-80286 days, or 1982 for those of us who were computing back then. To prove it works, he uses BIOS calls to display “Hello world!”. This also shows that through the BIOS, you have a set of peripherals you can work with.

In the second part, he shows how to set up 32-bit protected mode and a Global Descriptor Table, making access to a large amount of memory easier.

In the first two parts, the code is written in assembly, so in the third part he finishes the series by showing how to load C++ code into memory and execute it. That C++ code would of course be your application, which we’ll leave to your imagination.

It’s reasonably rare to write bootloader code for a desktop computer — much less so for microcontrollers. For instance, [Dmitry Grinberg] wrote his own bootloader so that he could have encrypted ROM images for his AVR on USB. And we’ve talked about [Lady Ada]’s guide to burning Arduino bootloaders. But if you want to get down to the bare metal on your x86, the bootloader is the place to start. And it’s not so bad.

Doing It With Fewer Bytes Than Bill Gates

The MITS Altair 8800 occupies a unique place in computing history as the first commercially succesful microcomputer for personal rather than business use. It is famous as the platform upon which the first Microsoft product ran, their first BASIC interpreter.

[Josh Bensadon] has an Altair 8800, and became intrigued by its bootloader. The simplest method of programming the machine is through binary using a set of switches on the front panel, and he remarks that there should be a warning in the manual: “fingers will get sore after repeated use of the small switches on the ALTAIR”.

In the Altair manual there are two listings, one 21 byte, and another in 20 bytes. Bill Gates is on record as saying that their first effort was 46 bytes long, but with more work he managed to create one in 17 bytes. Now [Josh] has beaten that, he’s created an Altair 8800 bootloader in only 14 bytes.

His write-up goes into great detail about how those bytes are shaved off, and provides us with a fascinating insight into the 8800’s architecture. Even if your 8-bit assembler is a little rusty, it’s a fascinating read.

We’ve featured Altair-inspired projects many times here at Hackaday, but rarely the real thing. This Altair PC case with the ability to emulate the original was rather a nice idea, as was this Altair front panel project. If you want the joy without the heartache though, there is an online emulator.

How To Add More Games To The NES Classic

The hype around the NES Classic in 2016 was huge, and as expected, units are already selling for excessively high prices on eBay. The console shipped with 30 games pre-installed, primarily first-party releases from Nintendo. But worry not — there’s now a way to add more games to your NES Classic!

Like many a good hack, this one spawned from a forum community. [madmonkey] posted on GBX.ru about their attempts to load extra games into the console. The first step is using the FEL subroutine of the Allwinner SOC’s boot ROM to dump the unit’s flash memory. From there, it’s a matter of using custom tools to inject extra game ROMs before reburning the modified image to the console. The original tool used, named hakchi, requires a Super Mario savegame placed into a particular slot to work properly, though new versions have already surfaced eliminating this requirement.

While this is only a software modification, it does come with several risks. In addition to bricking your console, virus scanners are reporting the tools as potentially dangerous. There is confusion in the community as to whether these are false positives or not. As with anything you find lurking on a forum, your mileage may vary. But if you just have to beat Battletoads for the umpteenth time, load up a VM for the install process and have at it. This Reddit thread (an expansion from the original pastebin instructions) acts as a good starting point for the brave.

Only months after release, the NES Classic is already a fertile breeding ground for hacks — last year we reported on this controller mod and how to install Linux. Video of this ROM injection hack after the break.

Continue reading “How To Add More Games To The NES Classic”

Reverse Engineering An ST-Link Programmer

We’re not sure why [lujji] would want to hack ST’s ST-Link programmer firmware, but it’s definitely cool that he did, and his writeup is a great primer in hacking embedded devices in two parts: first he unpacks and decrypts the factory firmware and verifies that he can then upload his own encrypted firmware through the bootloader, and then he dumps the bootloader, figures out where it’s locking the firmware image, and sidesteps the protection.

[lujji]’s project was greatly helped out by having the firmware’s encryption keys from previous work by [Taylor Killian]. Once able to run his own code on an intact device, [lujji] wrote a quick routine that dumped the entire flash ROM contents out over the serial port. This gave him the bootloader binary, the missing piece in the two-part puzzle.

If you’ve ever broken copy protection of the mid-1990’s, you won’t be surprised what happened next. [lujji] located the routine where the bootloader adds in the read protection, and NOPped it out. After uploading firmware with this altered bootloader, [lujji] found that it wasn’t read-protected anymore. Game over!

We glossed over a couple useful tips and tricks along the way, so if you’re into reversing firmware, give [lujji]’s blog a look. If you just want a nice ARM programmer with UART capabilities, however, there’s no reason to go to these extremes. The Black Magic Probe project gives you equal functionality and it’s open source. Or given that the official ST-Link programmers are given away nearly free with every Nucleo board, just buying one is clearly the path of least resistance. But a nice hack like this is its own reward for those who want to take that path. Thanks, [lujji] for writing it up.