A sideshow in the playground wars of the early 1980s over who had the best home computer lay in the quality of their onboard BASIC interpreters. Where this is being written the cream of the crop was Acorn’s BBC Basic, while Sinclair owners could hold their own, and the Commodore 64 was regarded as powerful, but not easy to program. It’s a teenage memory brought to mind by [Liam Proven], who argues in a blog post that Commodore’s BASIC left a problematic legacy that can still be felt today.
It’s an interesting proposition, and one with its roots in Commodore founder Jack Tramiel’s 1977 deal with Bill Gates to acquire a version of Microsoft BASIC for his machines, in which he paid a one-off fee for unlimited uses of the language rather than a per-sale levy. The argument in the post is that this led to later Commodore machines being hamstrung by an outdated BASIC interpreter as a cost saving measure. It fits well with those 1980s memories from school computer labs, because by comparison its competitors six years after the deal had the benefit of language extensions missing in Commodore’s 64.
Where [Liam]’s analysis becomes interesting is in how he perceives the effect of this long-in-the-tooth BASIC; he postulates that the sheer number of Commodore 8-bit machines sold ensured it had a dominant position in the market place and thus coloured the perception of BASIC as a programming language in the years that followed. We’re not so sure about his view that this led eventually to some of the shortcomings in computing today, but we agree wholeheartedly with him that Commodore were less than competent in marketing their hardware.
We look forward to hearing your take on the matter in the comments, and meanwhile for some perspectives on the Commodore of the day who better to relate them than somebody who had a ringside seat. Our colleague [Bil Herd] has shared with us some of his Commodore recollections over the years, including the Commodore 128 story, an account of the 1985 CES show, and a two-parter on the TED chip and its speech capabilities.
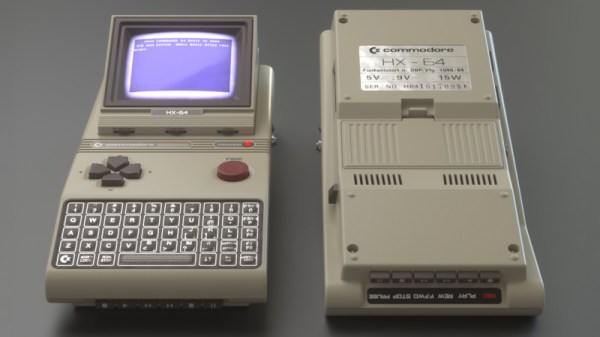
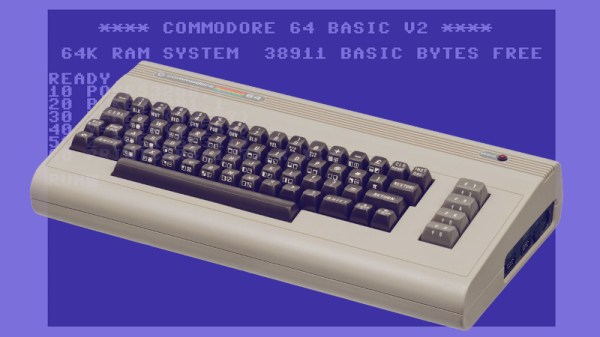
Header image: Commodore BASIC / Public Domain, and Evan-Amos / Public domain.